Building a Powerful API with Node.js, Express, and React
Congratulations! You will successfully built a powerful API using Node.js, Express, and React.
Discover how to create a robust and dynamic API using Node.js, Express, and React. This comprehensive guide walks you through everything from setting up your development environment to integrating a React frontend and utilizing EchoAPI for efficient API testing. Whether you're a beginner or an experienced developer, this guide has something for everyone.
Today, we're diving into the exciting world of Node.js, Express, and React. Whether you're a seasoned programmer or just starting, this blog post will guide you through building a powerful API using these popular technologies. We'll cover the basics, walk through setting up your environment, and explore how these tools work together. Plus, we'll show you how EchoAPI can make your life easier. So, grab your favorite coding snack, and let's get started!
Why Node.js, Express, and React?
Before we jump into the code, let's discuss why these technologies are worth your attention.
Node.js
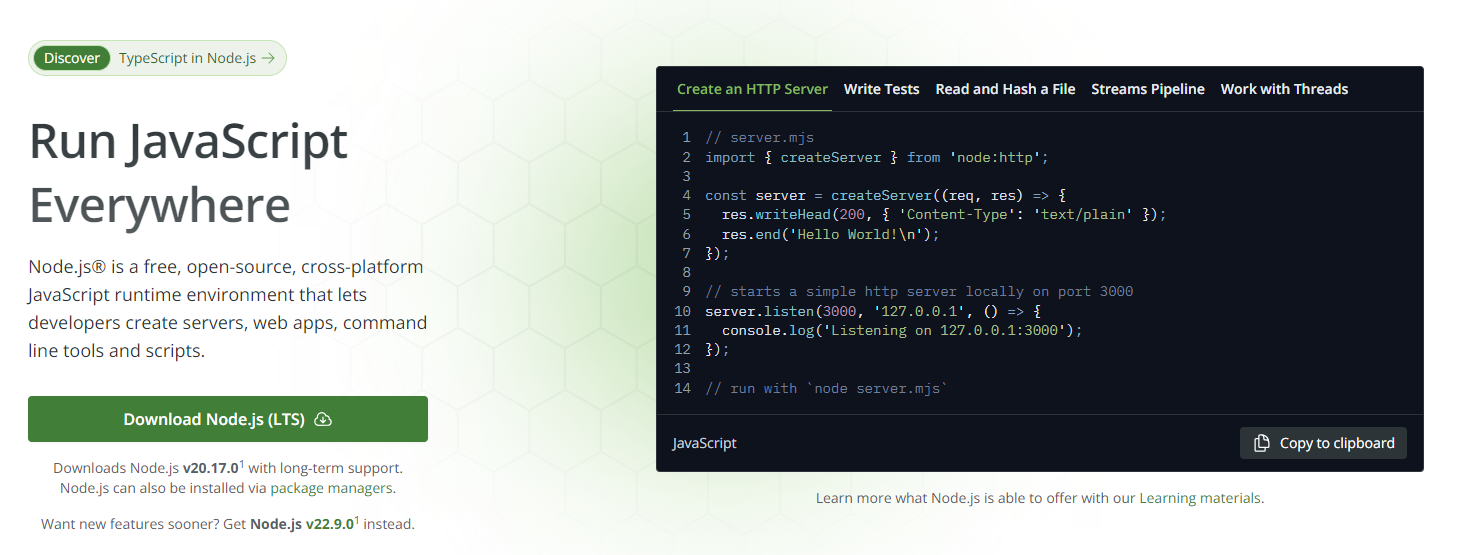
Node.js is a runtime environment that allows you to run JavaScript on the server side. It's built on Chrome's V8 JavaScript engine, making it fast and efficient. With Node.js, you can build scalable network applications, handle multiple requests simultaneously, and use a single programming language (JavaScript) for both client and server-side development.
Express
Express is a lightweight and flexible Node.js web application framework. It provides a robust set of features for building web and mobile applications. With Express, you can easily set up a server, manage routes, and handle HTTP requests and responses. It's the backbone of many Node.js applications and pairs perfectly with React.
React
React is a JavaScript library for building user interfaces. It's maintained by Facebook and a community of individual developers and companies. React allows you to create reusable UI components and manage the state of your application efficiently. When combined with Node.js and Express, you can build dynamic, responsive web applications with ease.
Setting Up Your Development Environment
To get started, let's set up your development environment. Here's a step-by-step guide:
- Install Node.js: Head over to the Node.js website and download the latest version. Follow the installation instructions for your operating system.
- Install npm: npm (Node Package Manager) comes bundled with Node.js. You can check if it’s installed by running
npm -vin your terminal. - Set Up a New Project: Create a new directory for your project and navigate to it in your terminal. Initialize a new Node.js project by running
npm init. Follow the prompts to create apackage.jsonfile. - Install Express: Run
npm install expressto install Express. - Install React: You’ll use Create React App to set up a new React project. Run
npx create-react-app clientto create a new React app in aclientdirectory. - Install EchoAPI: To make API development and testing easier, we'll use EchoAPI. You can download it for free from the EchoAPI website.
Building Your API with Node.js and Express
Now that your environment is set up, let’s build a simple API using Node.js and Express.
Step 1: Set Up Express Server
Create a new file called server.js in your project's root directory. Add the following code to set up a basic Express server:
const express = require('express');
const app = express();
const port = 3000;

app.get('/', (req, res) => {
  res.send('Hello World!');
});

app.listen(port, () => {
  console.log(`Server running at http://localhost:${port}`);
});
Run node server.js in your terminal. You should see "Server running at http://localhost:3000". Open your browser and navigate to http://localhost:3000 to see "Hello World!".
Step 2: Create API Routes
Next, let's create some API routes. In your server.js file, add the following code to create a simple API that returns a list of books:
const books = [
  { id: 1, title: '1984', author: 'George Orwell' },
  { id: 2, title: 'To Kill a Mockingbird', author: 'Harper Lee' },
  { id: 3, title: 'The Great Gatsby', author: 'F. Scott Fitzgerald' }
];

app.get('/api/books', (req, res) => {
  res.json(books);
});
Now, when you navigate to http://localhost:3000/api/books, you'll see a JSON response with the list of books.
Step 3: Connect to a Database
To make our API more dynamic, let's connect to a database. We’ll use MongoDB for this example. First, install Mongoose by running npm install mongoose.
Create a new file called db.js and add the following code to connect to MongoDB:
const mongoose = require('mongoose');

mongoose.connect('mongodb://localhost:27017/library', {
  useNewUrlParser: true,
  useUnifiedTopology: true
});

const db = mongoose.connection;
db.on('error', console.error.bind(console, 'connection error:'));
db.once('open', () => {
  console.log('Connected to MongoDB');
});

module.exports = db;
In your server.js file, require the db.js file to connect to the database:
const db = require('./db');
Now, let's create a Mongoose model for our books. Create a new file called book.js and add the following code:
const mongoose = require('mongoose');

const bookSchema = new mongoose.Schema({
  title: String,
  author: String,
});

const Book = mongoose.model('Book', bookSchema);

module.exports = Book;
In your server.js file, update the /api/books route to fetch books from the database:
const Book = require('./book');

app.get('/api/books', async (req, res) => {
  const books = await Book.find();
  res.json(books);
});
You can now add, update, and delete books from your MongoDB database, and your API will dynamically reflect these changes.
Integrating React with Node.js and Express
Now that we have our API set up, let’s integrate it with a React frontend.
Step 1: Set Up Proxy
To make requests to our API from the React frontend, we'll set up a proxy. Open the client/package.json file and add the following line:
"proxy": "http://localhost:3000"
Step 2: Fetch Data from API
In your React app, let's create a component that fetches data from the API and displays it. Open the client/src/App.js file and replace its contents with the following code:
import React, { useEffect, useState } from 'react';
import './App.css';

function App() {
  const [books, setBooks] = useState([]);

  useEffect(() => {
    fetch('/api/books')
      .then(response => response.json())
      .then(data => setBooks(data));
  }, []);

  return (
    <div className="App">
      <h1>Books</h1>
      <ul>
        {books.map(book => (
          <li key={book.id}>{book.title} by {book.author}</li>
        ))}
      </ul>
    </div>
  );
}

export default App;
Run npm start in the client directory to start the React development server. You should see a list of books fetched from your API displayed on the page.
Efficient API Testing with EchoAPI
API development is incomplete without proper testing. EchoAPI simplifies the testing process with its user-friendly interface and powerful features. By using EchoAPI, you can quickly test your endpoints, validate responses, and automate testing processes. Visit the EchoAPI website to download and integrate it into your API development workflow for a more streamlined and efficient experience.
1. Setting Up EchoAPI 📋
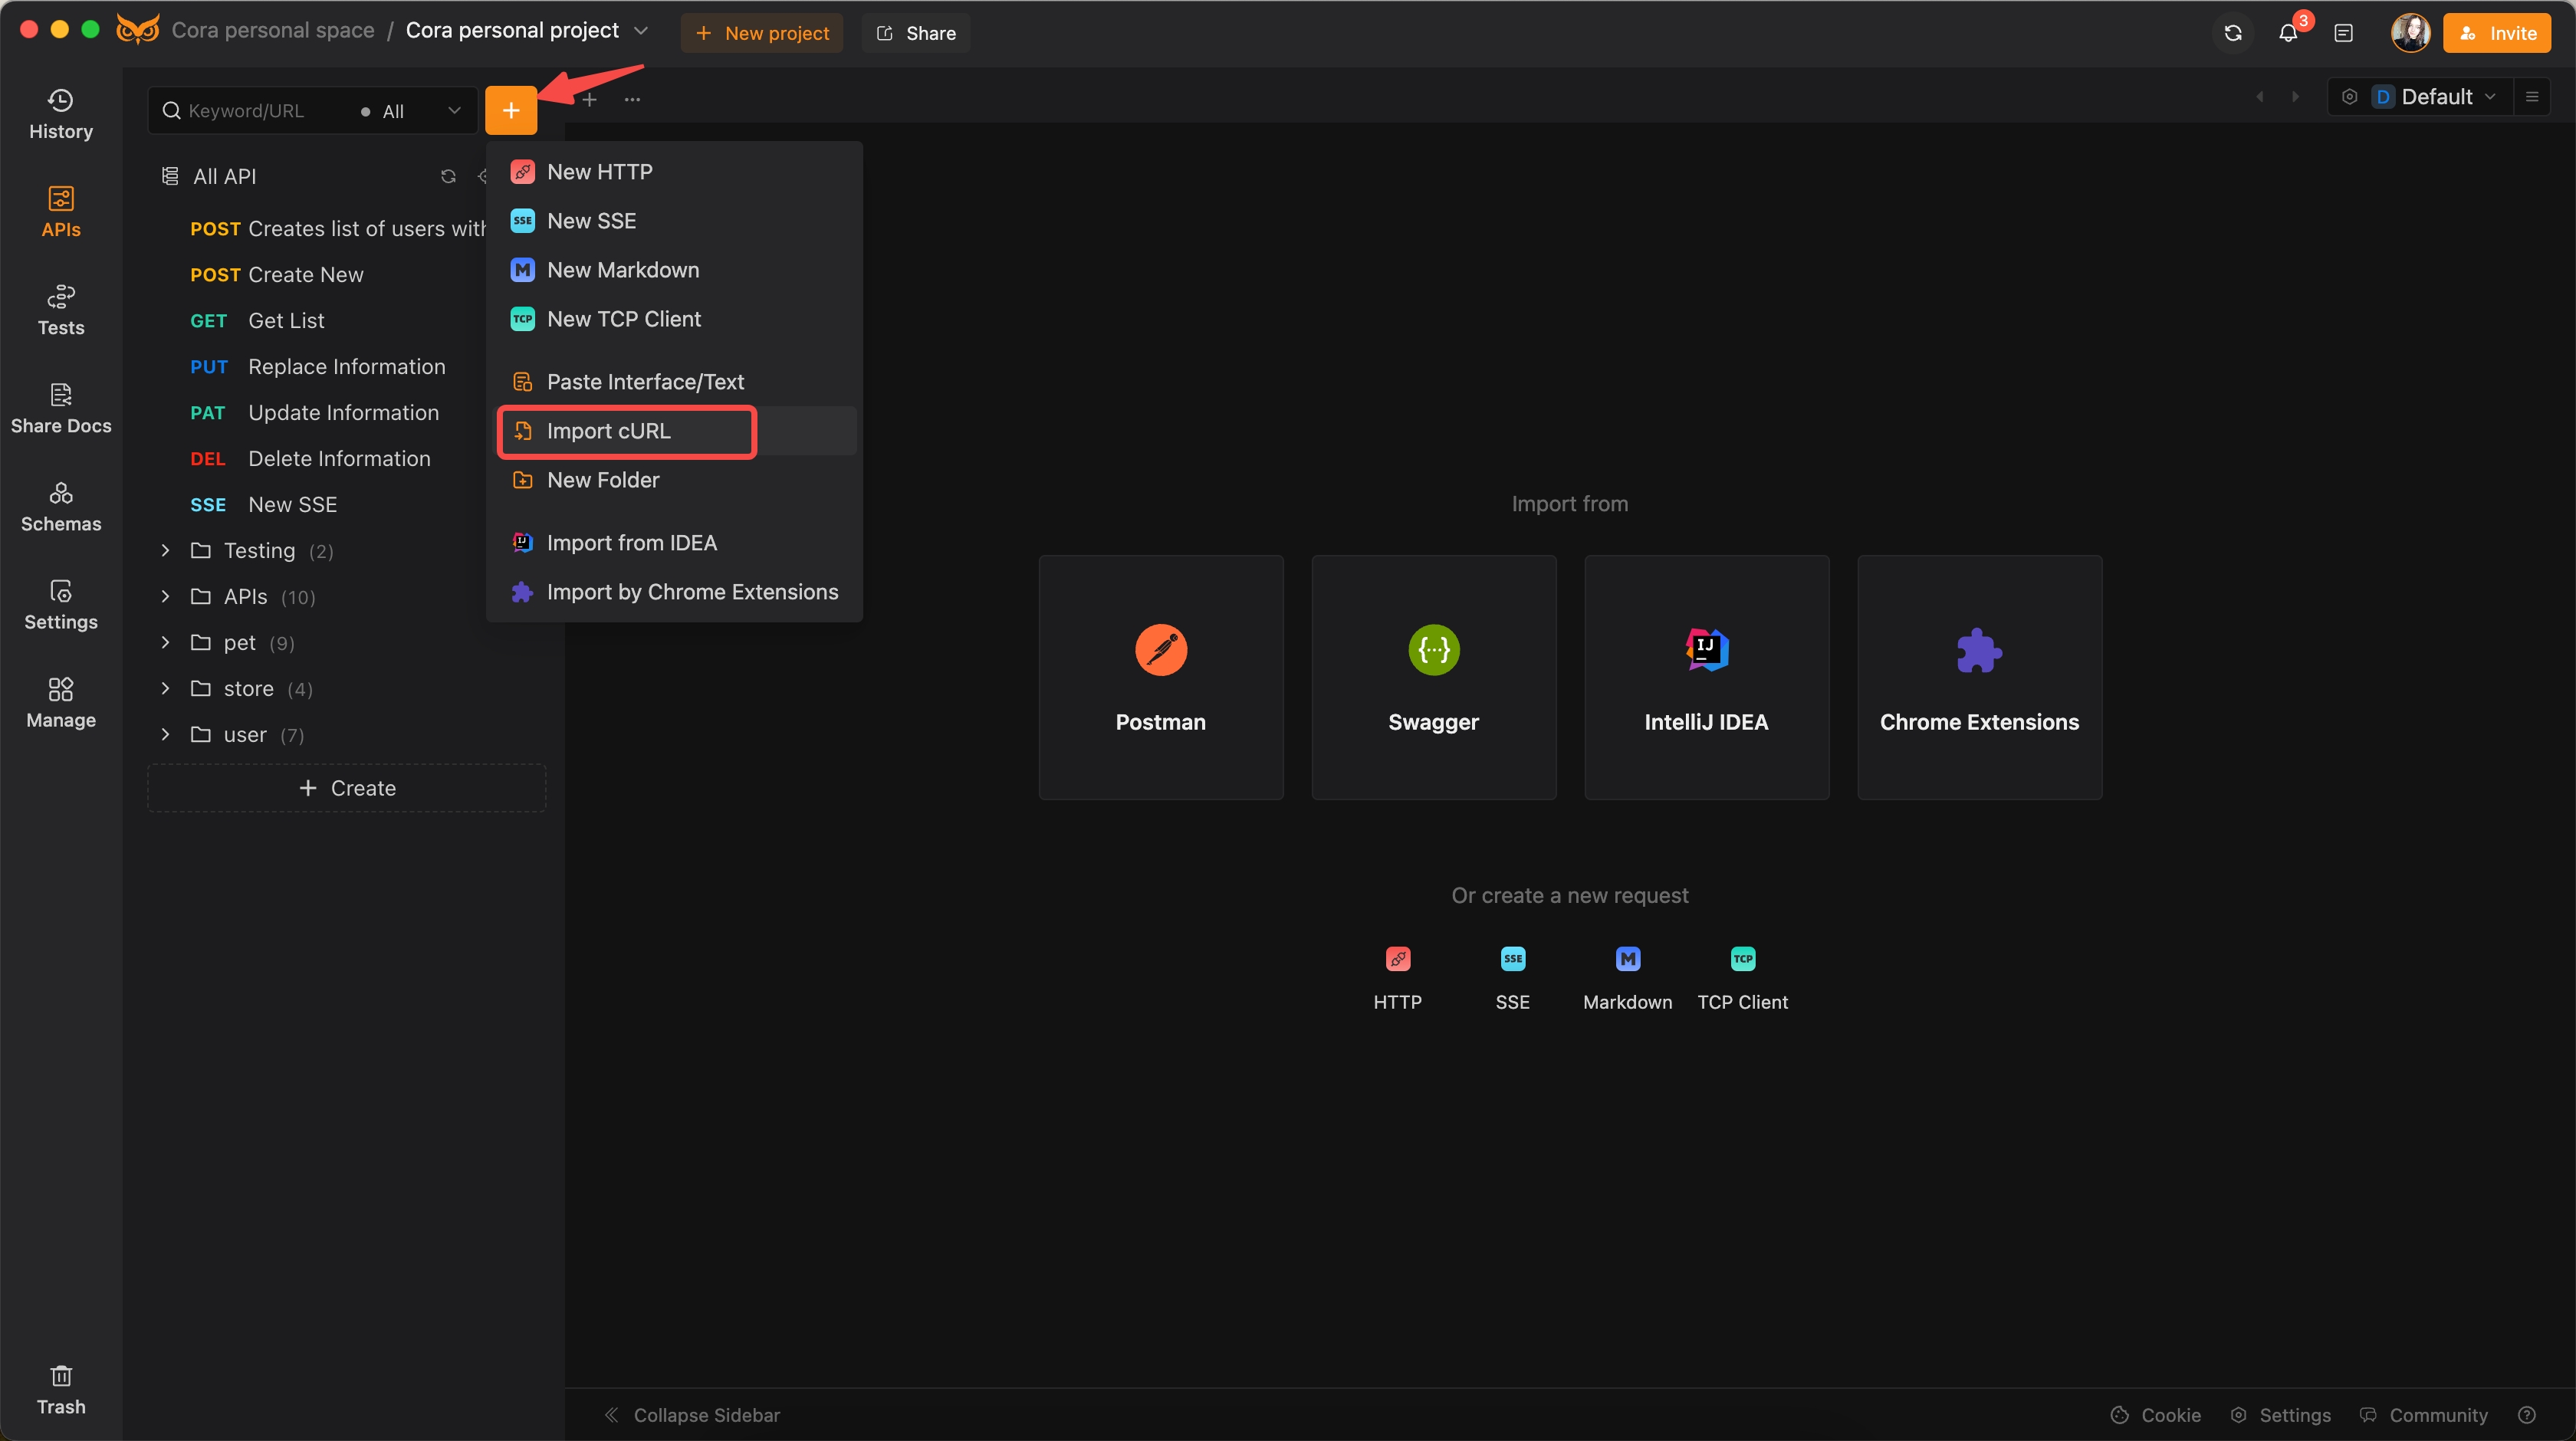
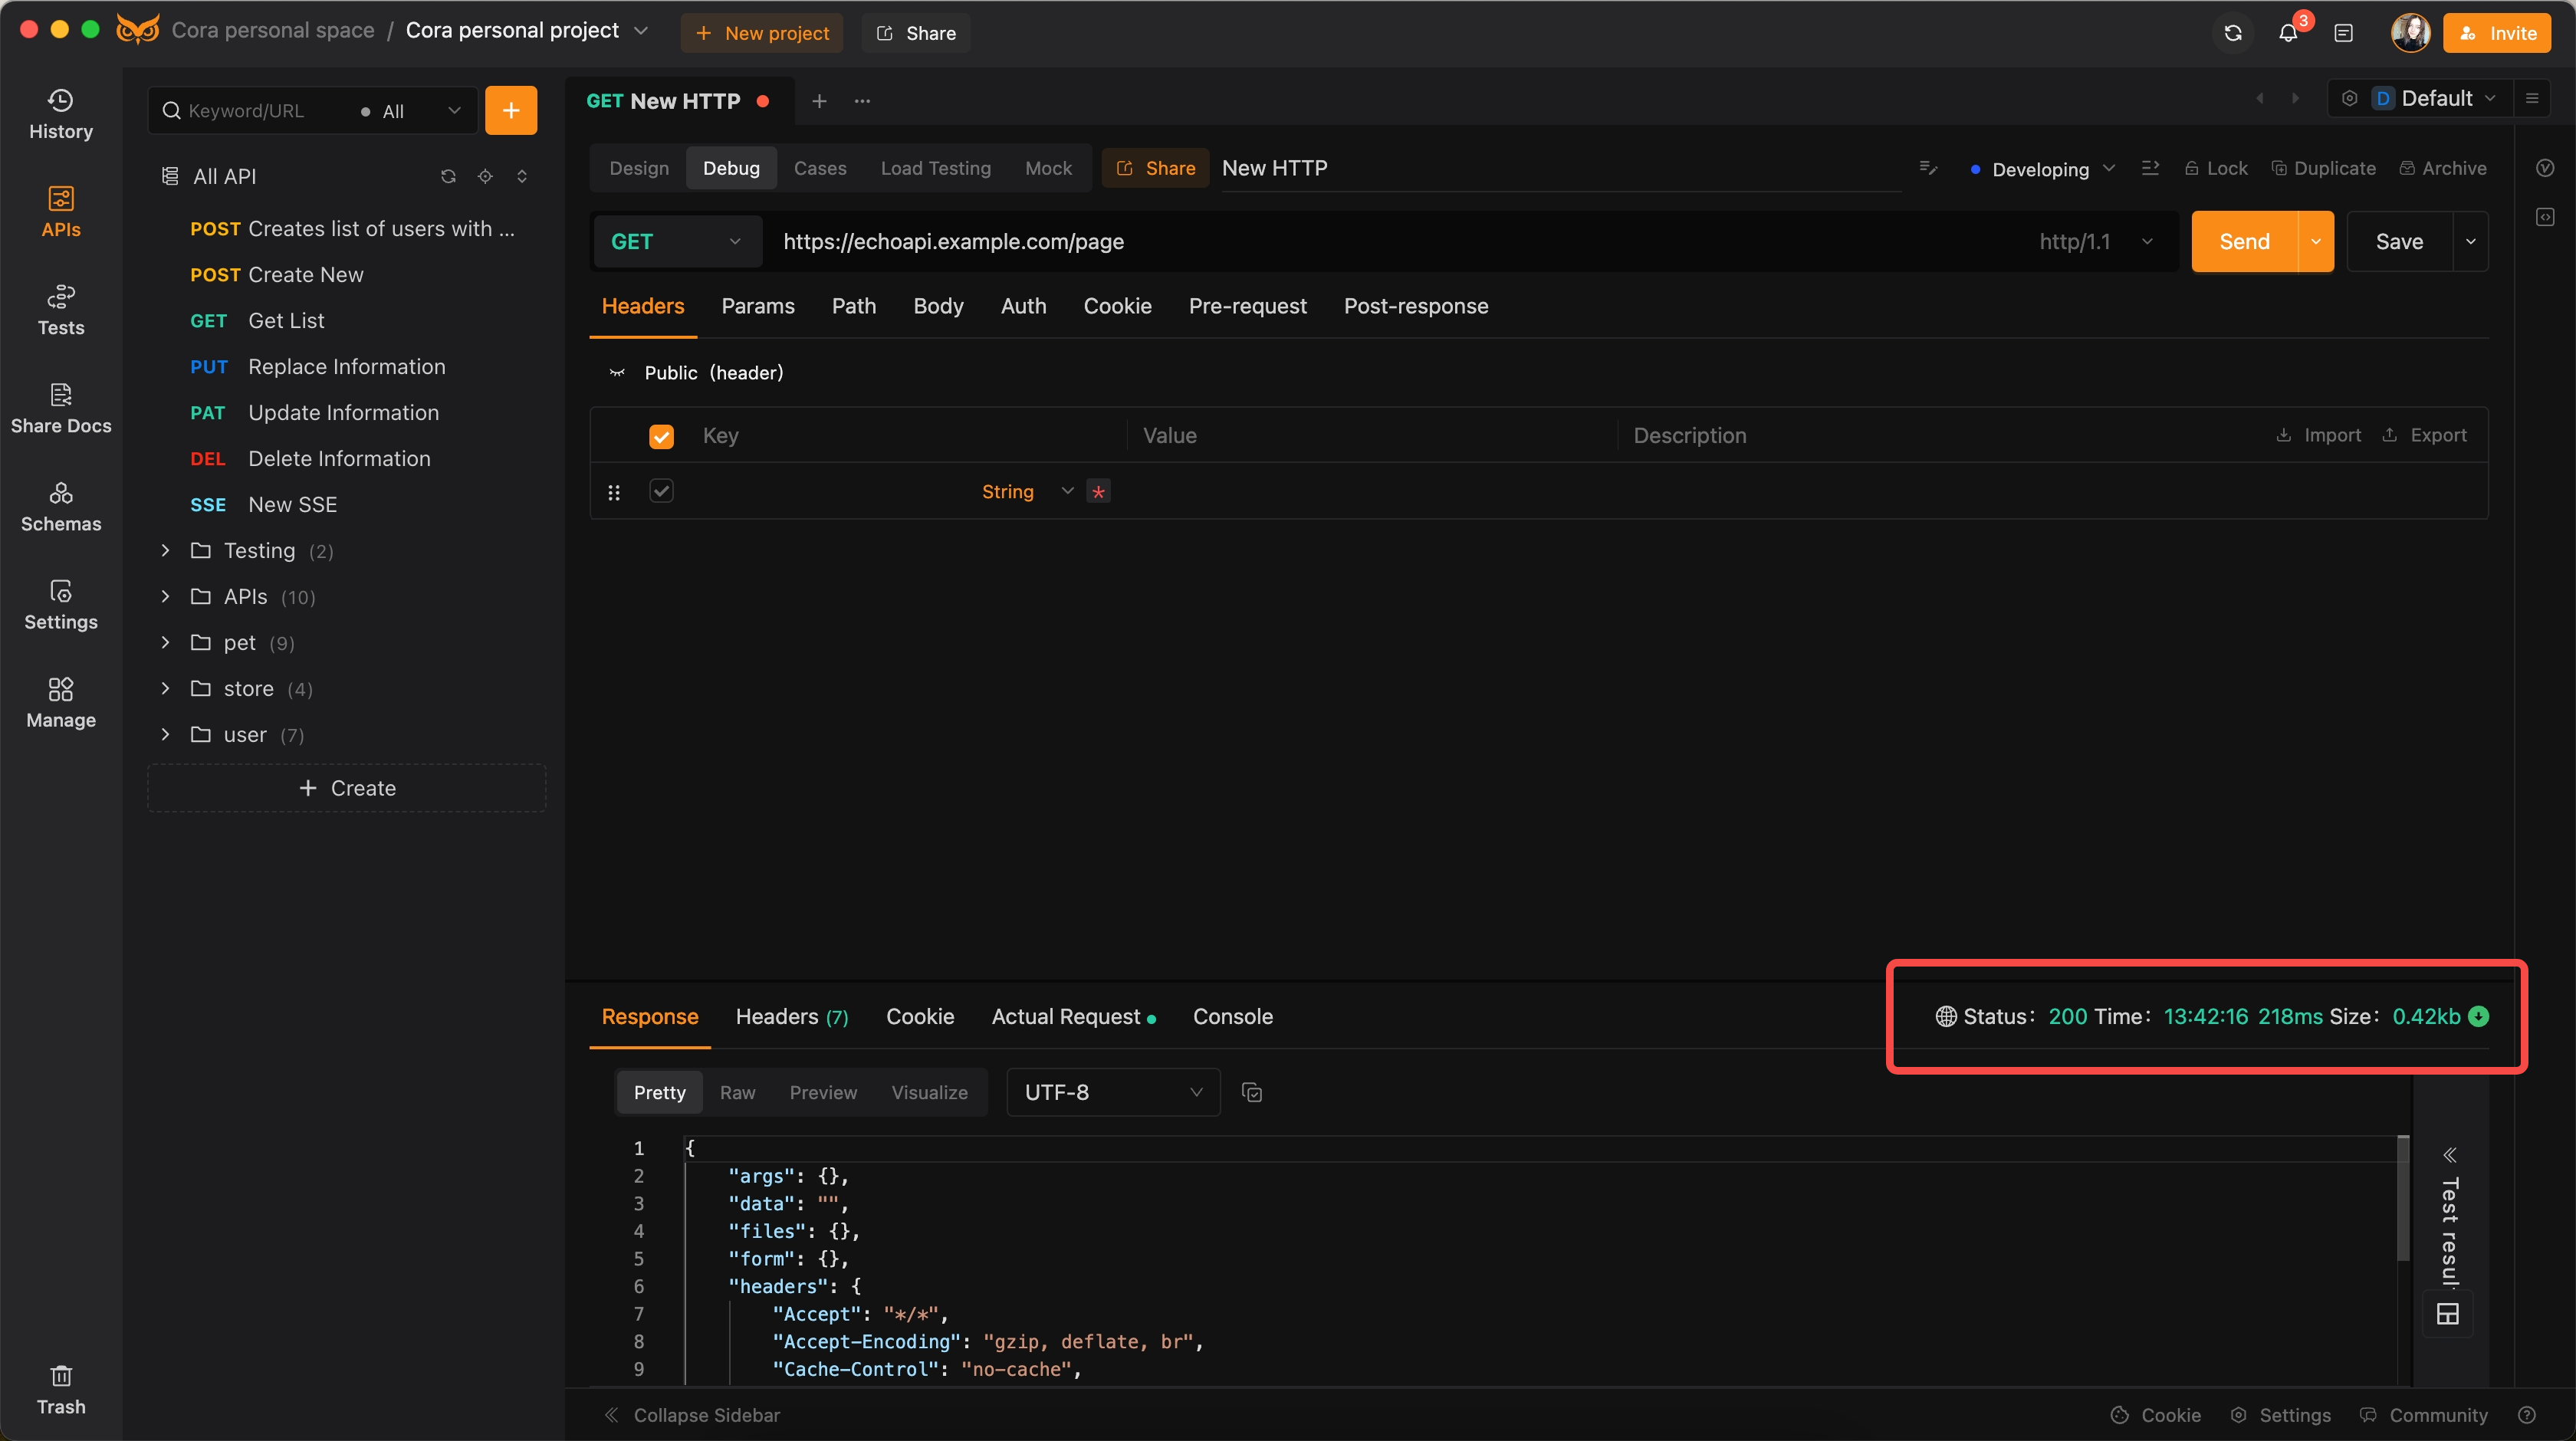
Leverage EchoAPI to test and compare the load times of your optimized versus non-optimized web pages. This can help you identify performance improvements effectively.
curl -w "@curl-format.txt" -o /dev/null -s "https://echoapi.example.com/page"
2. Analyzing Response Times 📉
Measure and log the response times before and after optimization efforts to quantify the performance gains. This step can highlight how your optimizations impact load speed.
3. Automating Testing with CI/CD ⚙️
Integrate EchoAPI within your Continuous Integration/Continuous Deployment (CI/CD) pipeline to continually monitor page load performance and quickly identify any regressions. This ensures that performance remains optimal across all updates.
Example curl-format.txt:
echoapi run "https://open.echoapi.com/open/ci/automated_testing?ci_id=MjE4MDIzMzg1MTk5MTY1NDQwOjEwMjUzNjYzNTA2NjIwNDE5OjEzMTI1Nzk3MzQyMzcxODk5&token=eyJhbGciOiJIUzI1NiIsInR5cCI6IkpXVCJ9.eyJ1c2VyX2lkIjoyMTgwMjMzODUxMTUyNzkzNjAsImlzcyI6ImFwaXBvc3QiLCJleHAiOjE3MjYyOTI2MzJ9.429eP2JlEApWAWCCK6zqy3HoKYHPNRq7LK95xde-Tro" -r html
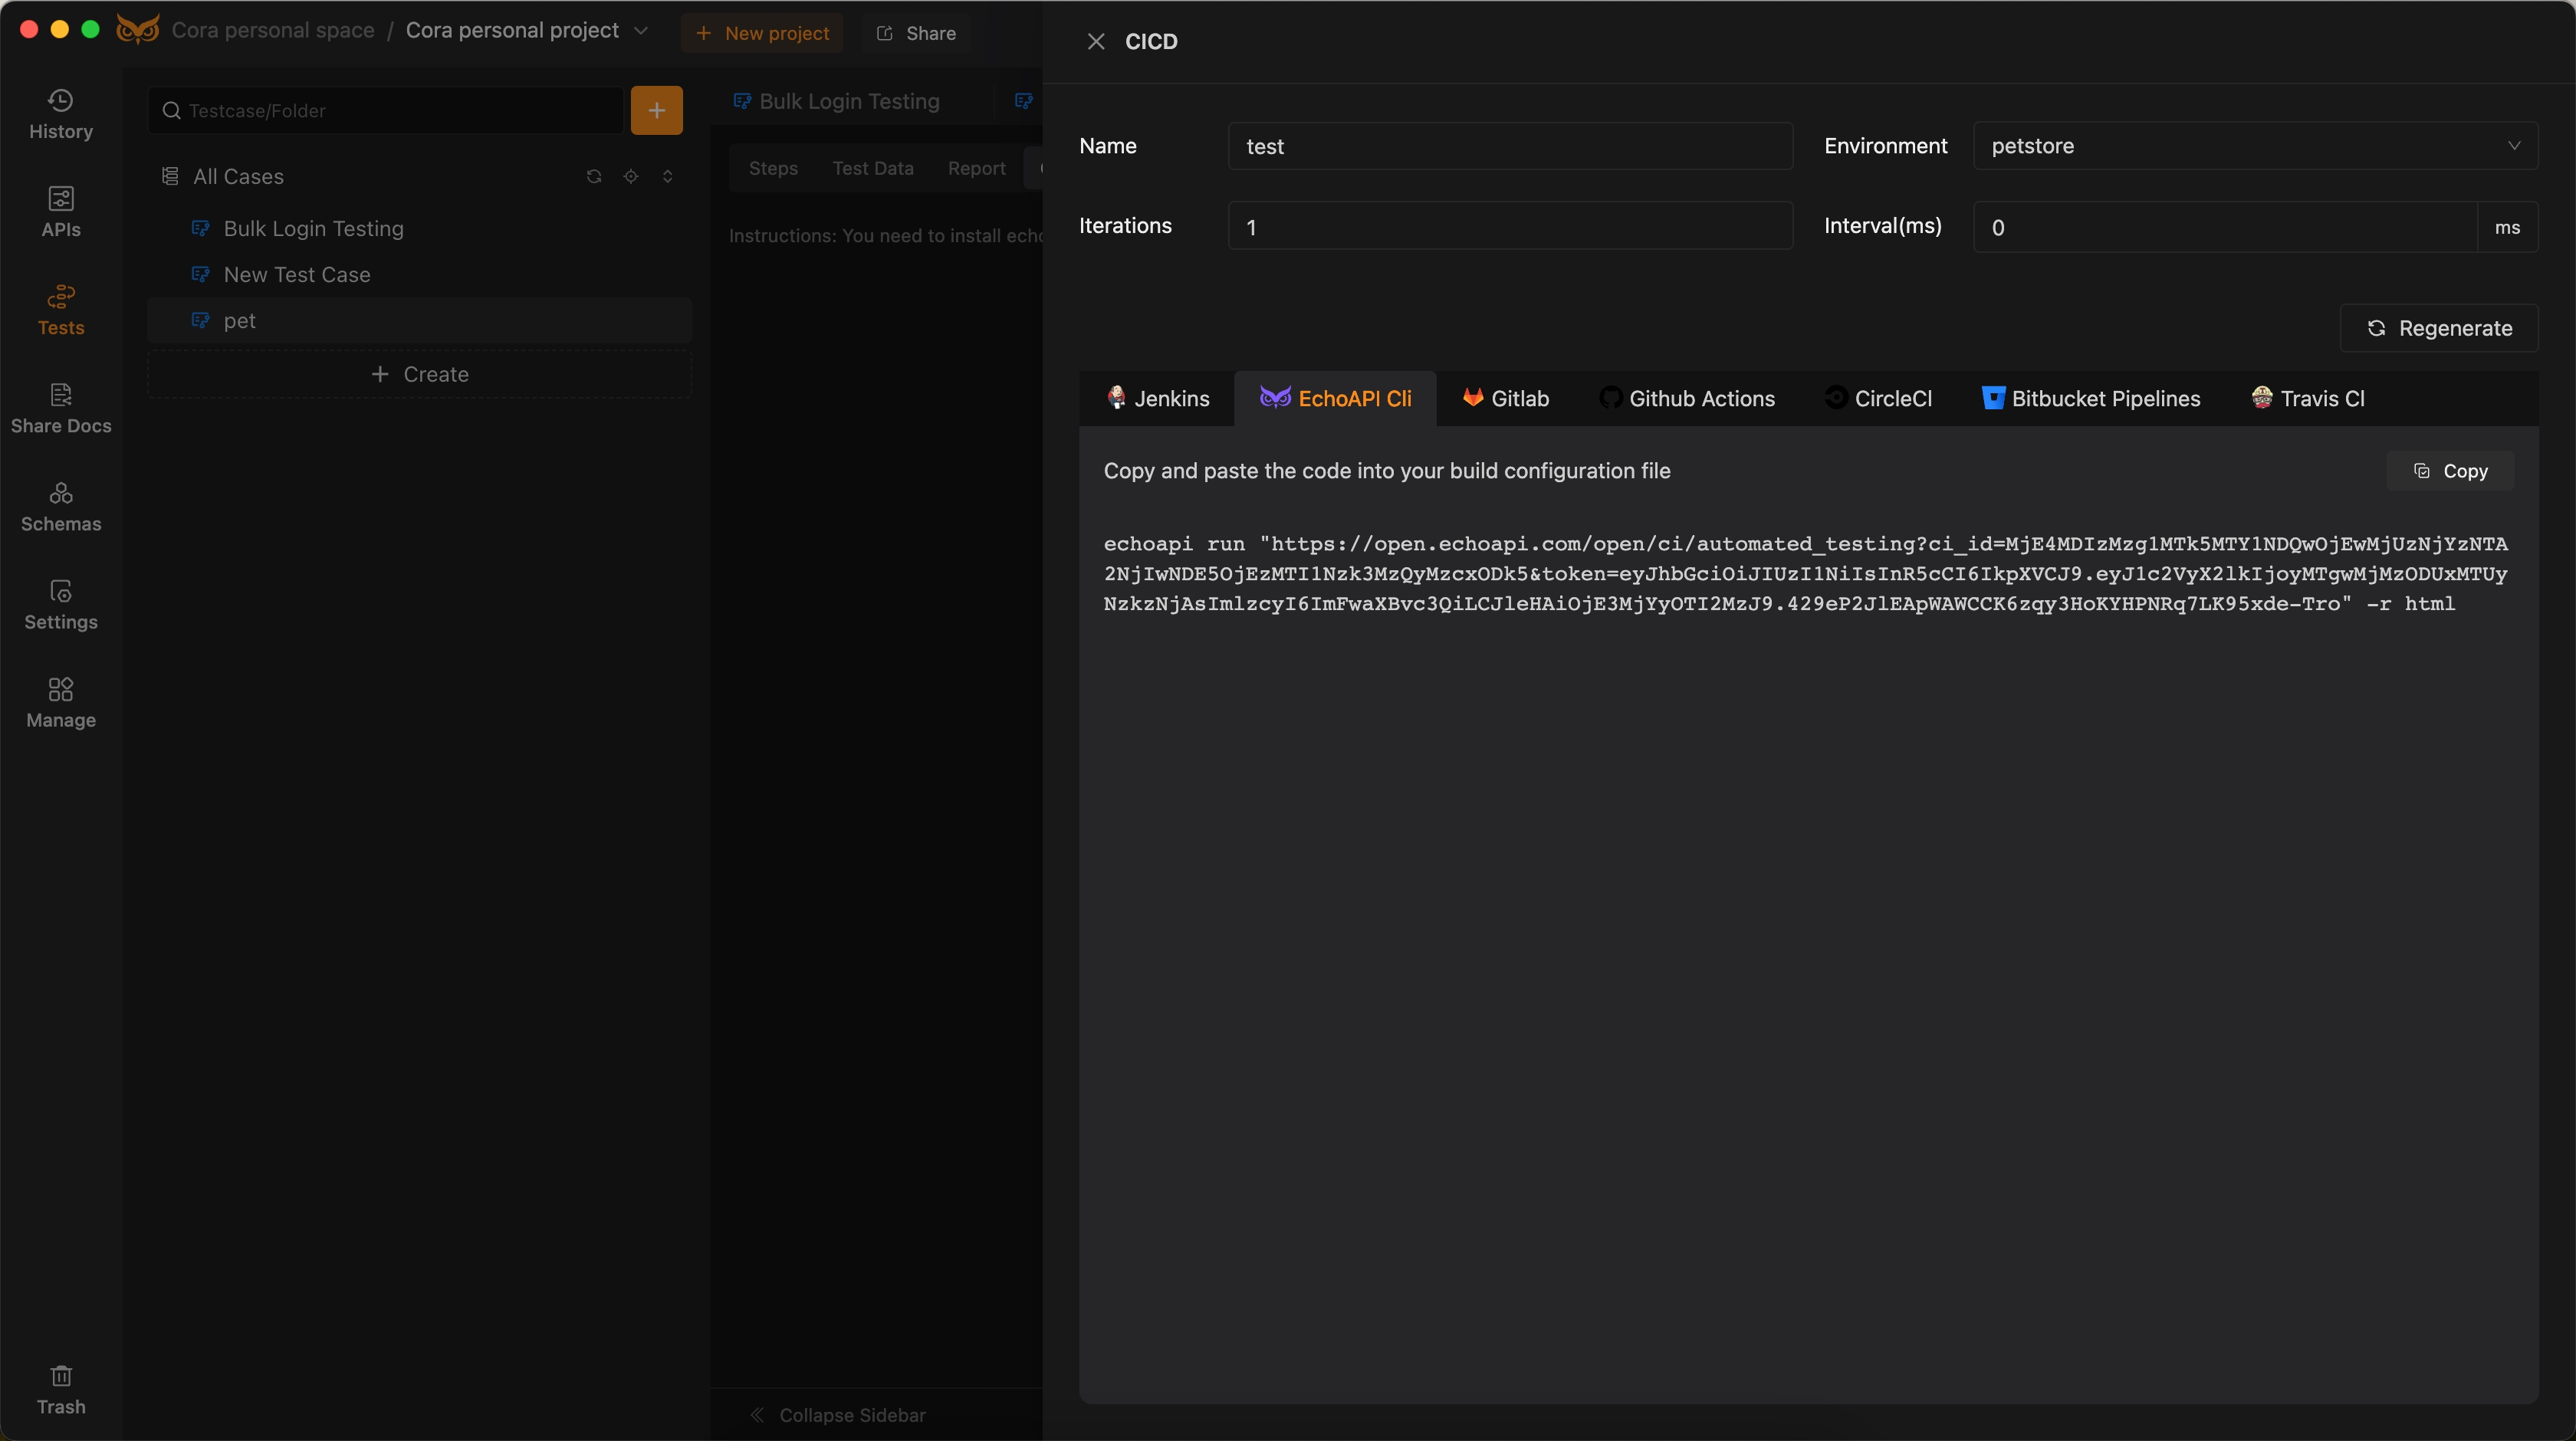
By including EchoAPI in your toolkit, you can ensure that your web pages are consistently performant, providing a smooth and efficient experience for your users.
Conclusion
Congratulations! You've successfully built a powerful API using Node.js, Express, and React. You've learned how to set up your development environment, create API routes, connect to a database, and integrate React with your backend. Plus, you've discovered how EchoAPI can simplify testing your API.
Remember, this is just the beginning. There are countless ways to extend and improve your application. You can add authentication, implement more complex routes, and enhance your frontend with additional features. Happy coding!


 EchoAPI for VS Code

 EchoAPI for IntelliJ IDEA

 EchoAPl-Interceptor

 EchoAPl CLI
 EchoAPI Client
 API Design
 API Debug
 API Documentation
 Mock Server


