Exploring Bruno API Testing: Authentication in Bruno
Whether you're handling headers, body content, or parameters, Bruno makes it easy to add your authentication details. Simply input them in the Auth tab of your request, and it will take care of the rest.

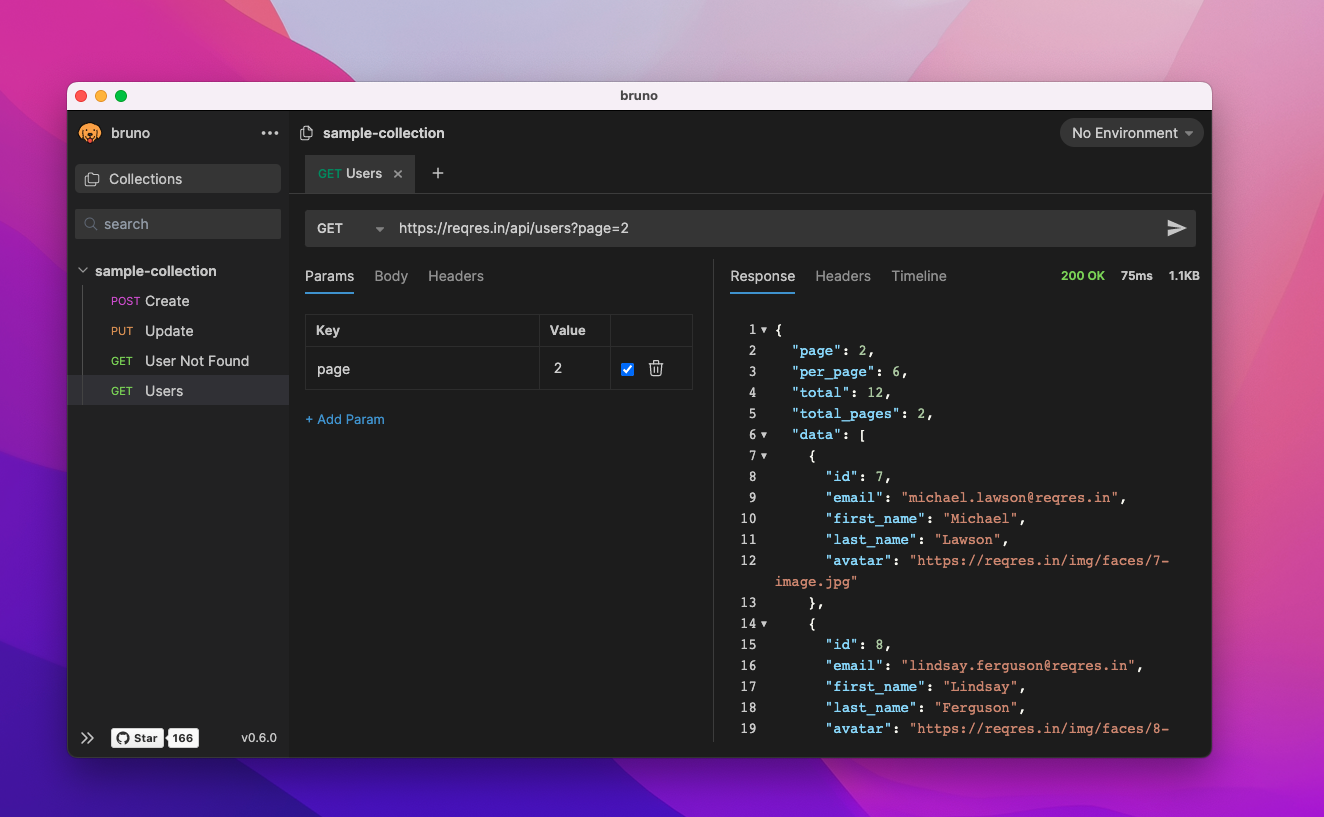
Hey there! If you’re diving into the world of API testing, you've probably heard of Bruno. It’s a powerful tool that helps you manage your API requests, especially when it comes to authentication. Using Bruno, you can send authentication details either at the request level or for the entire collection, which is super handy if you prefer using one method across all your requests.
Have you ever worked with APIs that require a digital certificate? Bruno allows you to integrate client certificates and certificate authorities (CAs) seamlessly. Whether you're handling headers, body content, or parameters, Bruno makes it easy to add your authentication details. Simply input them in the Auth tab of your request, and it will take care of the rest.

Supported Authentication Protocols
Bruno supports various authentication methods, and here’s a quick breakdown of the protocols you can use:
OAuth 2.0
Let’s start with OAuth 2.0, which supports multiple grant types. Whether you’re using Authorization Code, Client Credentials, or Password Credentials, Bruno has you covered.
Authorization Code:
To set it up at the collection level, navigate to the Auth tab in your collection settings, select OAuth 2.0, and specify the grant type. Add a simple script to capture the access token, and you're ready to go!
Client Credentials:
Just like with Authorization Code, you’ll follow a similar process but select Client Credentials as the grant type. This allows server-to-server authentication without user intervention.
Password Credentials:
This method is straightforward – you provide the username and password, and Bruno will manage the rest. It’s ideal for situations where user consent isn’t applicable.
Basic and Bearer Authentication
Don't forget about Basic Auth and Bearer Tokens. For Basic Auth, just enter your API username and password, and Bruno will handle the encoding for you. Bearer Tokens are also a breeze; plug in your access token in the designated field, and you're good to go with the necessary headers.

AWS Sig v4 and Digest Auth
If you’re working with AWS, the AWS Signature (Sig v4) is essential. It requires a few more configurations, but Bruno makes it simple. Similarly, if you're dealing with Digest Auth, just select it from the dropdown, and you'll be able to authenticate securely.
Digest Auth
With Digest authentication, the client initiates the process by sending the first request to the API. In response, the server provides specific details, including a nonce (a unique number used only once), a realm value, and a 401 Unauthorized status. Next, the client sends back an encrypted array of data that incorporates the username, password, and the information received from the server during the initial request. The server then generates an encrypted string from the received data and compares it to the one sent by the client to verify the request.
To use Digest authentication, go to the Authorization tab for your request and select "Digest Auth" from the Auth Type dropdown menu.

Why Choose EchoAPI?
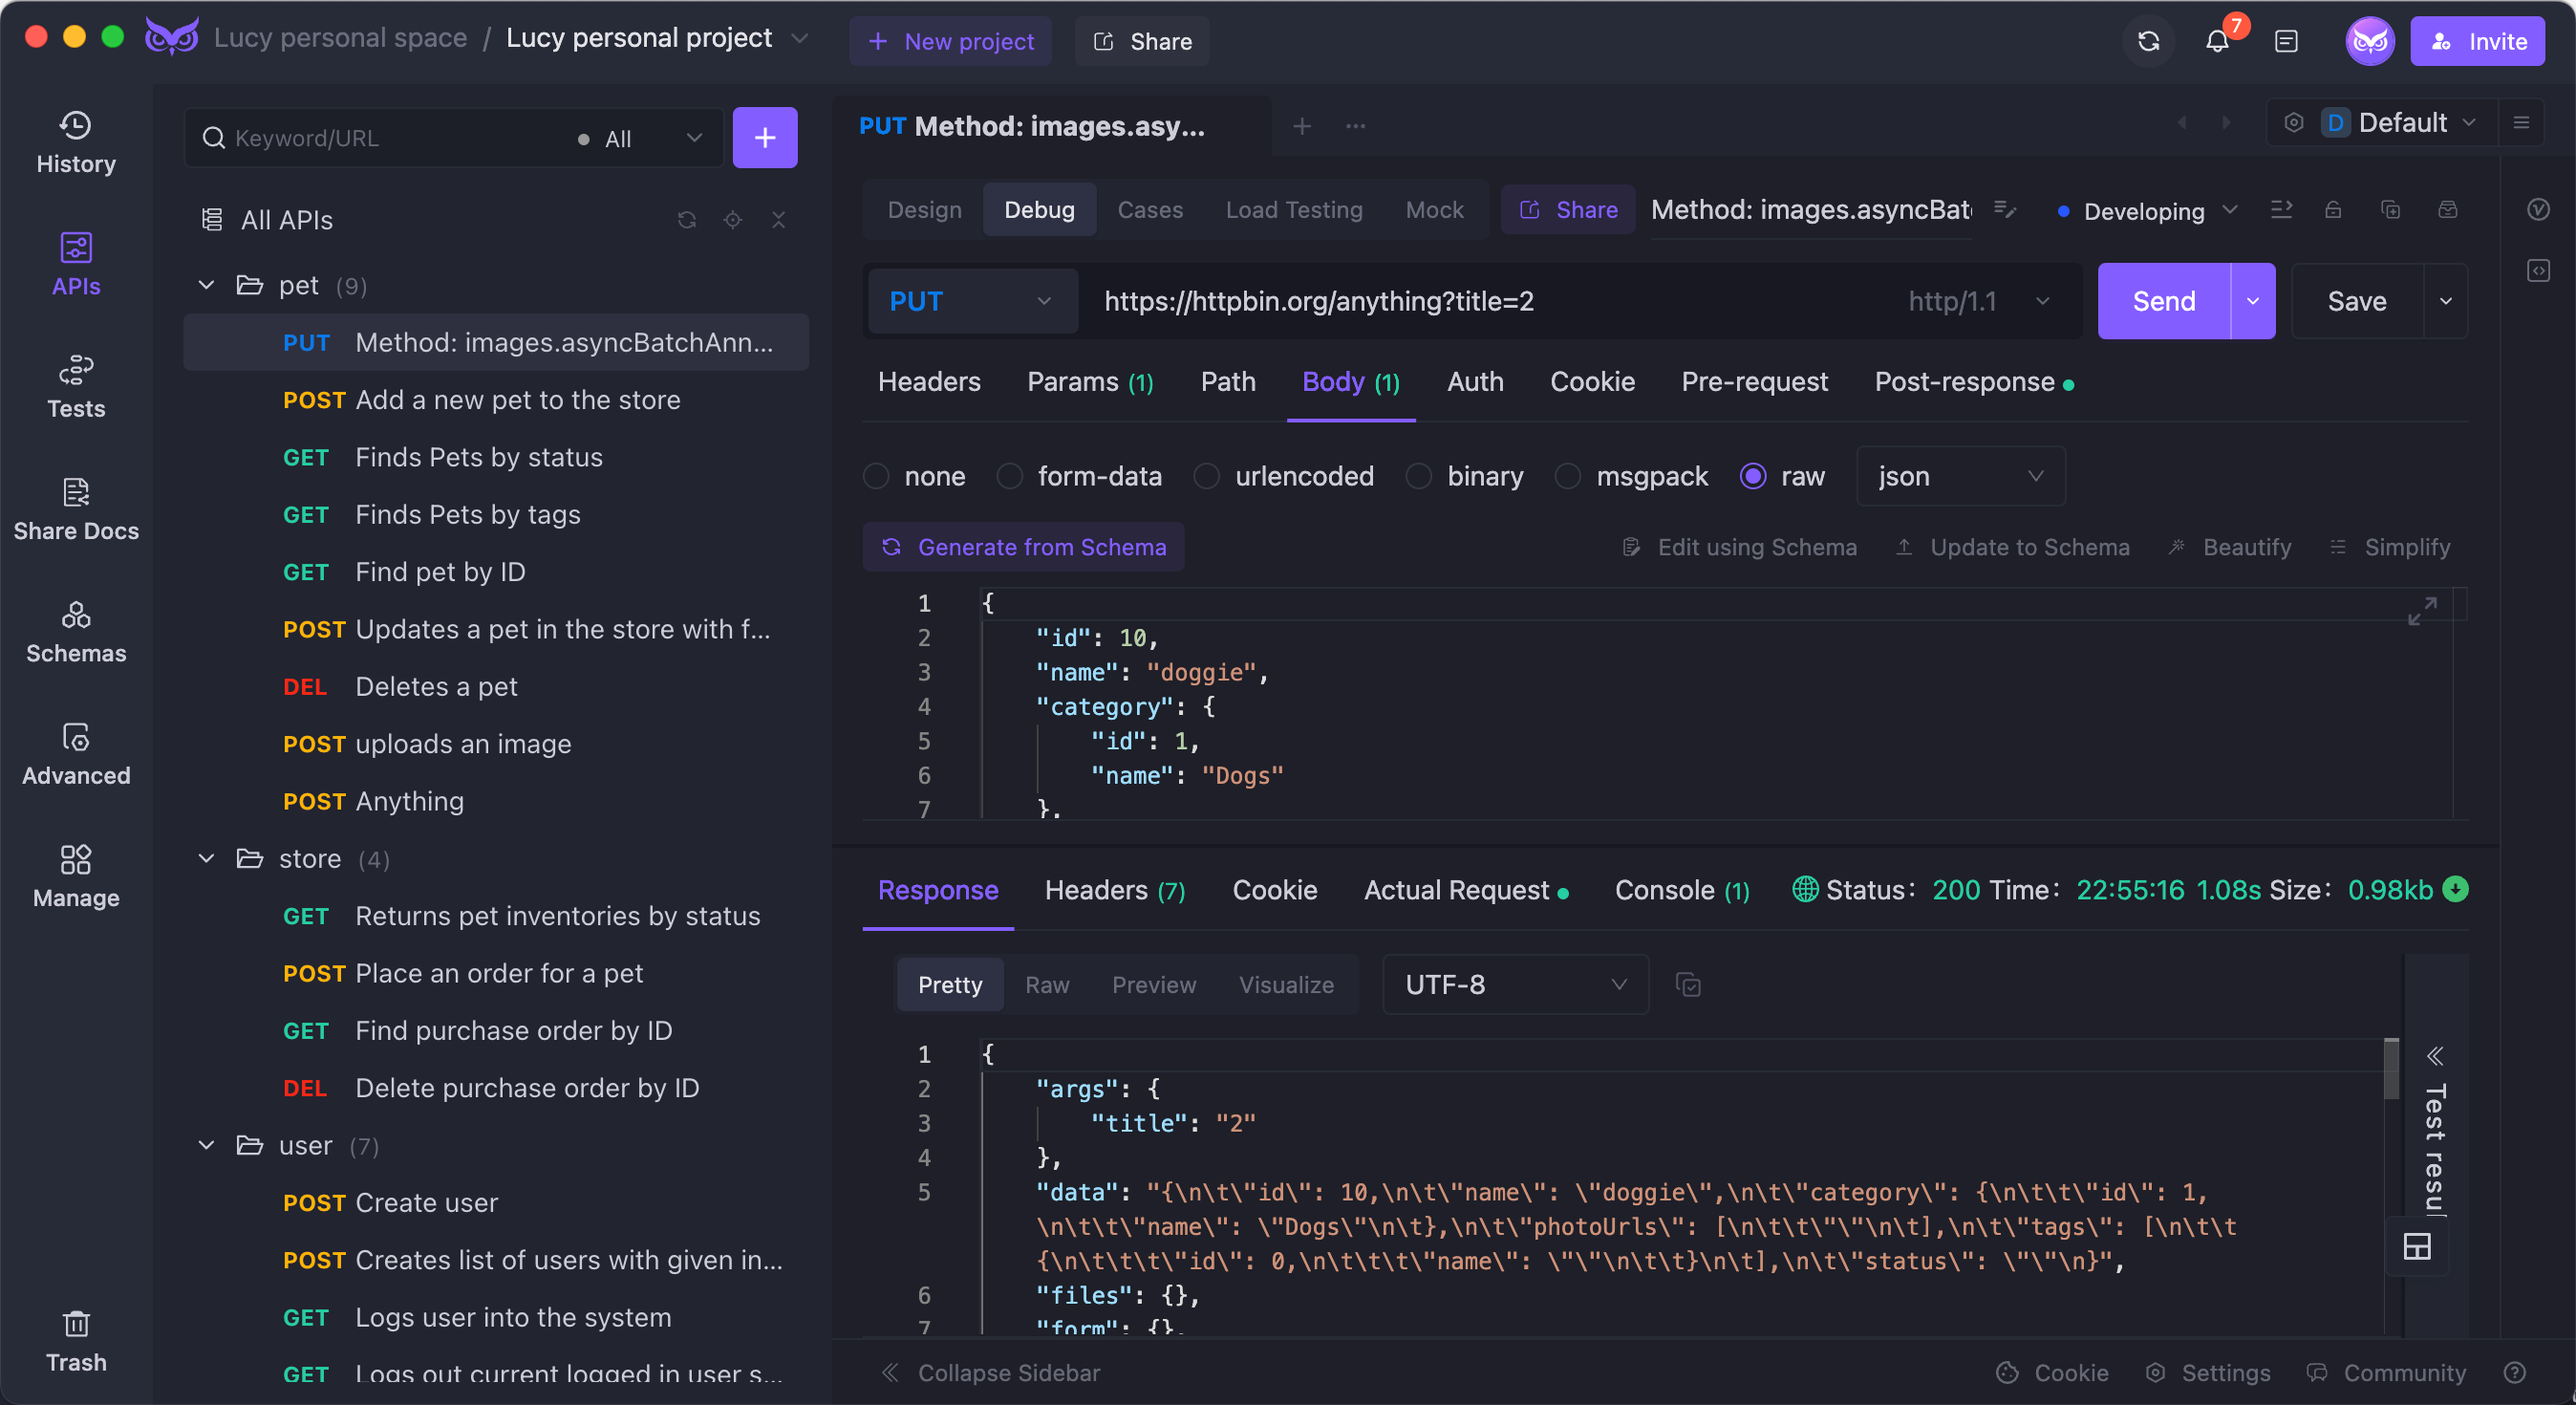
Now, if you’re looking for something even more streamlined, check out EchoAPI. This tool is perfect for lightweight API collaboration and allows you to skip the login process entirely.


Key Features of EchoAPI:
- No login required: Get started instantly without any hassle.
- Supports Scratch Pad: Perfect for quick tests and notes.
- Ultra-lightweight: Minimalistic design makes it easy to use.
- 100% compatible with Postman script syntax: Transitioning from Postman is a breeze.
Whether you're a seasoned developer or just getting started, both Bruno and EchoAPI will elevate your API testing experience. Give them a try!


 EchoAPI for VS Code

 EchoAPI for IntelliJ IDEA

 EchoAPl-Interceptor

 EchoAPl CLI
 EchoAPI Client
 API Design
 API Debug
 API Documentation
 Mock Server


