How to Build APIs with Flask in Python
This guide walks you through setting up Flask, creating endpoints, and responding with JSON data. By the end, you'll know how to develop dynamic APIs and test them using EchoAPI, ensuring robust performance. Perfect for beginners looking to dive into API development and testing!
Have you ever wondered how your favorite apps talk to each other? How does clicking a button on your phone instantly connect you to a world of information? The magic behind this is something called an API, which stands for Application Programming Interface. It’s like a messenger that takes requests, tells a system what you want, and brings back the response. Sounds cool, right?

Today, we’re going to learn how to build your very own API using Flask, a super easy and lightweight Python web framework. Don’t worry if that sounds fancy — we’ll break it down step by step in a fun and simple way!
Step 1: What You Need to Get Started
Before we begin, you need a few tools:
- Python installed on your computer (if you don’t have it, just grab it from the Python website!).
- Flask library for Python (You can install it by opening your terminal or command prompt and typing pip install flask).
That’s it! We’re ready to roll.
Step 2: What’s Flask?
Flask is like a tiny toolbox for building web applications and APIs. It’s not as big and bulky as other frameworks, but it’s perfect for simple projects, and it’s easy to learn! Imagine it as a small restaurant kitchen where you can whip up quick meals.
Step 3: Setting Up a Simple API
Let’s build an API that can take a request and give a response. Here’s the basic structure:
Open your favorite code editor (VS Code, Sublime, or even Notepad if you're feeling brave).
Create a new file and name it app.py.
Here’s the code you need:
from flask import Flask, jsonify

app = Flask(__name__)

# Creating a simple API endpoint
@app.route('/hello', methods=['GET'])
def hello_world():
    return jsonify({"message": "Hello, World!"})

if __name__ == '__main__':
    app.run(debug=True)
Let’s Break This Down:
- Importing Flask and jsonify: We need Flask to build our web app, and jsonify is used to return data in a JSON format (which is just a fancy way computers like to communicate).
- @app.route(‘/hello’, methods=[‘GET’]): This is where we tell Flask what URL we want to respond to (/hello, in this case). When someone visits this URL, they’ll get a message from our API.
- return jsonify({"message": "Hello, World!"}): This sends back a JSON response that says “Hello, World!” in a format that other systems can understand.
Step 4: Running Your API
To run this, go to your terminal, navigate to where your app.py file is located, and type:
python app.py
Boom! Your very first API is live on your local machine. Open a browser and visit http://127.0.0.1:5000/hello to see the magic happen. You’ll see a message pop up saying: {"message": "Hello, World!"}
Step 5: Making Your API Do More
Let’s say you want your API to return a list of fruits. Here's how you do it:
from flask import Flask, jsonify

app = Flask(__name__)

@app.route('/fruits', methods=['GET'])
def get_fruits():
    fruits = ['apple', 'banana', 'cherry', 'date', 'elderberry']
    return jsonify(fruits)

if __name__ == '__main__':
    app.run(debug=True)
Now, if you visit http://127.0.0.1:5000/fruits, you’ll get a list of fruits in JSON format. Easy, right?
Step 6: Handling User Requests (Dynamic Routes)
Let’s take it up a notch! What if you want to create an API that gives specific information based on user input? For example, if someone wants details about a particular fruit. We can do that with dynamic routes.
Here’s how:
from flask import Flask, jsonify

app = Flask(__name__)

fruits_info = {
    'apple': 'A sweet red fruit.',
    'banana': 'A long yellow fruit.',
    'cherry': 'A small red fruit.'
}

@app.route('/fruits/<fruit_name>', methods=['GET'])
def get_fruit_info(fruit_name):
    info = fruits_info.get(fruit_name, "Fruit not found!")
    return jsonify({"fruit": fruit_name, "info": info})

if __name__ == '__main__':
    app.run(debug=True)
Now, if you go to http://127.0.0.1:5000/fruits/apple, it will say, "A sweet red fruit." If you ask for a fruit that’s not on the list, it will tell you "Fruit not found!"
Step 7: Wrapping Up and the Next Step
Congratulations!You’ve just built your first API using Flask. You now know how to:
- Set up a basic API with Flask.
- Respond with data in JSON format.
- Use dynamic routes to make your API more flexible.
Now that you’ve successfully built your first API using Flask and tested it locally, the next step is ensuring that everything works as expected, especially when dealing with real-world scenarios and external clients. This is where API testing tools like EchoAPI come into play.
You can get more information and a deeper understanding of using HTTP methods and testing APIs via the links below.
Understanding and Using HTTP Methods: GET, POST, PUT, DELETE .
API Load Testing: A Key to Enhancing System Performance .

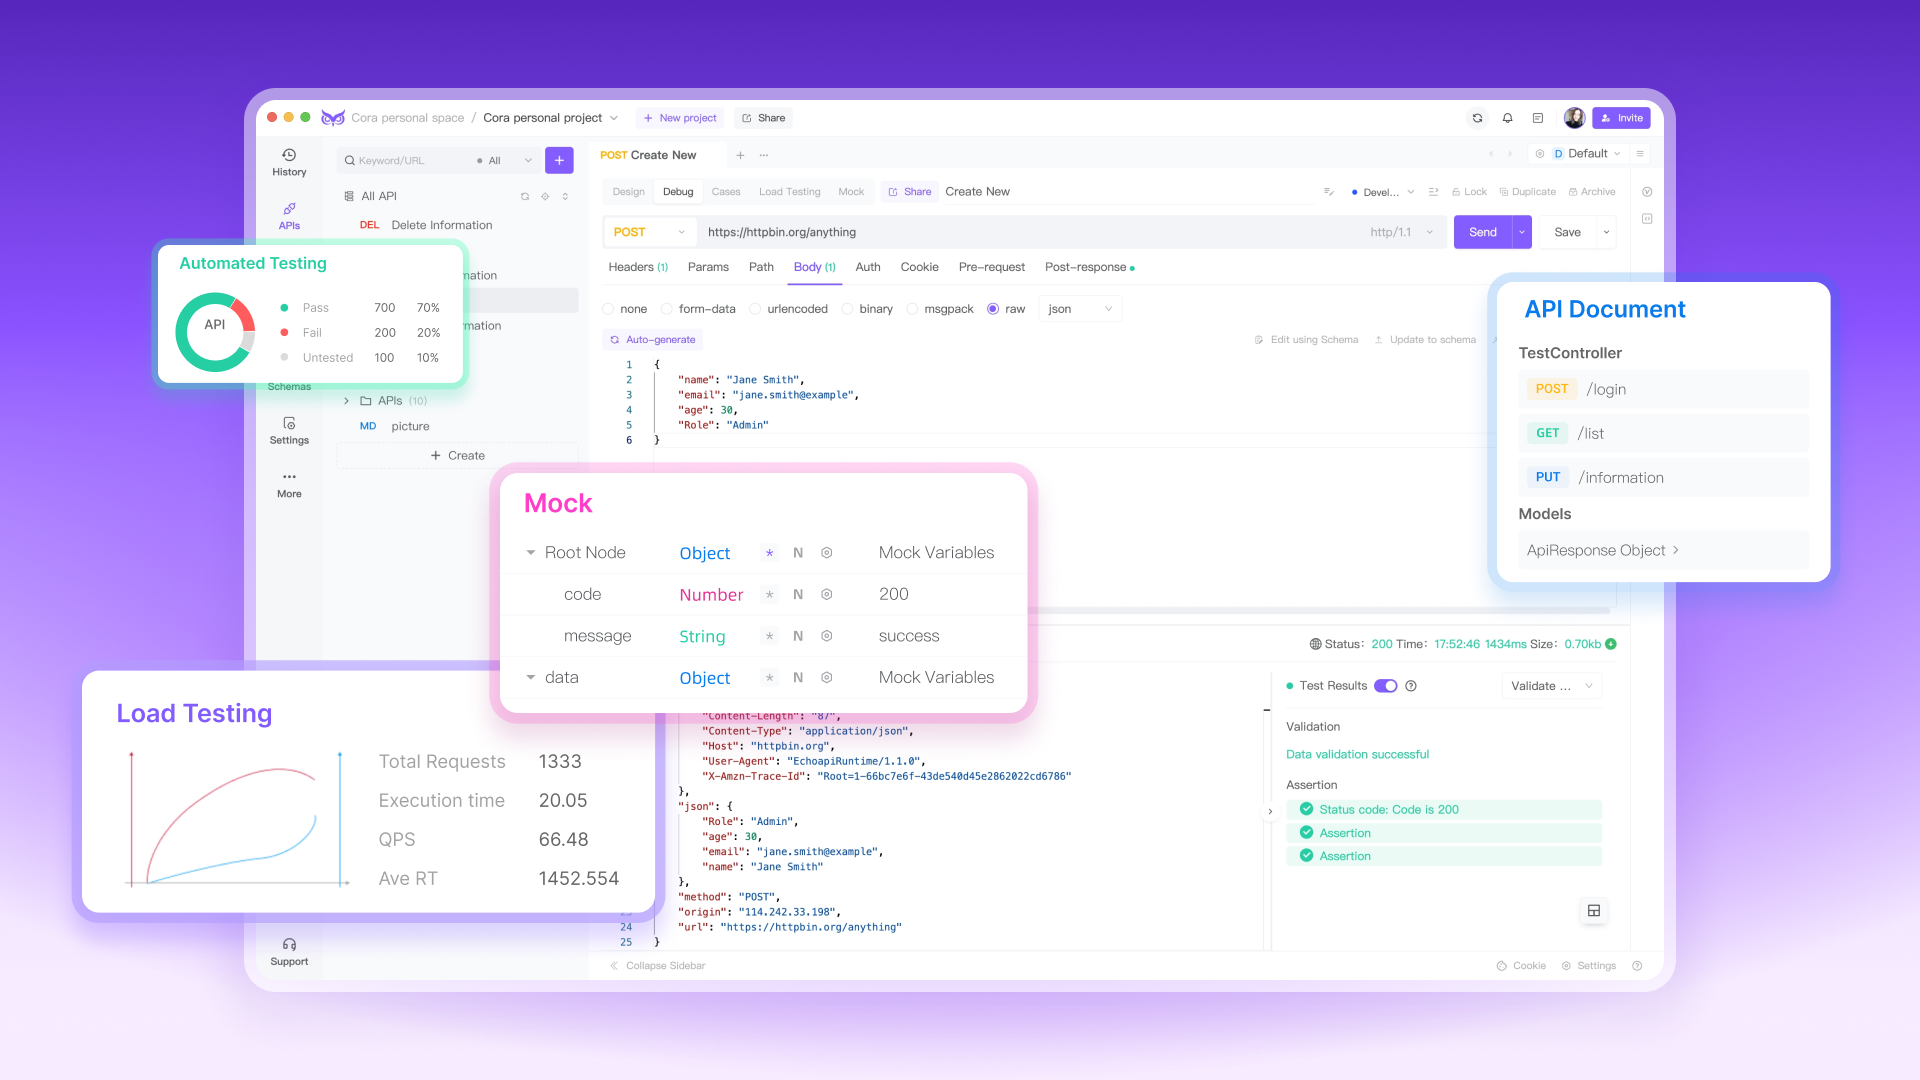
EchoAPI is a comprehensive API development tool that covers API Debugging, API Design, Load Testing, Documentation, and Mock Servers. You can start testing quickly without needing to create an account or sign in. It includes a Built-in Scratch Pad for notes, offers an affordable price for developers and teams, and has a lightweight native client that runs smoothly without slowing down your system. These features make EchoAPI a versatile, accessible, and cost-effective tool for API testing.
By using EchoAPI, you can thoroughly test your newly created API, simulate various request conditions, and ensure your application responds correctly before it goes live. Let’s dive into how you can leverage EchoAPI for testing your API.


 EchoAPI for VS Code

 EchoAPI for IntelliJ IDEA

 EchoAPl-Interceptor

 EchoAPl CLI
 EchoAPI Client
 API Design
 API Debug
 API Documentation
 Mock Server


