How to Make Requests to the Payoneer API: A Comprehensive Guide
For developers seeking seamless payment solutions, the Payoneer API offers robust capabilities. This guide covers key features of Payoneer's API, how to obtain and securely store API keys, and provides a detailed guide using EchoAPI.
For developers seeking to integrate seamless payment solutions, the Payoneer API provides a robust pathway. This article delves into what Payoneer is, what developers look for in the Payoneer API, how to obtain API keys, and a step-by-step guide to making API requests using EchoAPI, including importing cURL code onto EchoAPI.
What is Payoneer?
Payoneer is a leading global payment platform that provides businesses and professionals with solutions to send and receive cross-border payments. Founded in 2005, Payoneer supports millions of users worldwide and partners with major companies such as Amazon, Upwork, Airbnb, and more. With Payoneer, users can hold funds in multiple currencies, transfer money to local bank accounts, and manage their financial transactions more efficiently.

What Developers Look For in the Payoneer API
Developers leveraging the Payoneer API seek several key features that enhance the API's utility and integration process:
1.Ease of Integration: Simple and clear API documentation is crucial for quick and efficient integration into existing systems. Detailed guides and examples help developers implement the API smoothly.
2.Security: High-level encryption and secure compliance standards are essential to protect both service providers and end-users. Developers look for APIs that ensure data security and privacy.
3.Comprehensive Functionality: Developers need a wide range of API endpoints to support various financial operations, such as sending payments, invoicing, checking account balances, and accessing transaction histories.
4.Scalability: An API must handle large volumes of transactions and scale alongside growing business needs without compromising performance.
5.Reliability: Consistent uptime and robust performance metrics ensure dependable operations, which are critical for financial services.
How to Obtain Payoneer API Keys
Before making requests to the Payoneer API, you need to obtain API keys, which authenticate your requests. Here is how you can do it:
1.Create a Payoneer Account: If you don’t already have a Payoneer account, sign up on the Payoneer website.
2.Apply for API Access: After logging into your Payoneer account, navigate to the API section and apply for API access. You need to provide information about your application and its intended use.
3.API Approval: Your application will be reviewed by the Payoneer team. Once approved, you will receive your API keys, which usually include a Client ID and Client Secret.
4.Store Keys Securely: Ensure that these keys are stored securely as they are crucial for authentication of your API requests.
Making Payoneer API Requests with EchoAPI
EchoAPI is a great platform for testing and making API requests. Here’s a step-by-step guide to using EchoAPI to make your first Payoneer API request:
1.Sign Up or Log In: Register for an EchoAPI account on the EchoAPI website or log in if you already have an account.
2.Create a New Project: Within your dashboard, create a new project to organize your API requests.
3.Set Up Environment Variables: Add your Payoneer API keys (Client ID and Client Secret) as environment variables in EchoAPI to manage them securely.
4.Draft Your Request: Use the request builder in EchoAPI to draft your API call. Select the appropriate method (GET, POST, etc.), and input the endpoint URL and necessary headers (including your authentication headers).
5.Send Request: Click ‘Send’ to execute the API request. EchoAPI will display the response for you to verify if the request was successful.
Importing cURL Code Into EchoAPI
If you have hand-coded your API requests using cURL, you can import this code into EchoAPI easily for testing and further modifications. Here’s how:
1.Get Your cURL Command: Write your cURL command or acquire it from your existing codebase.
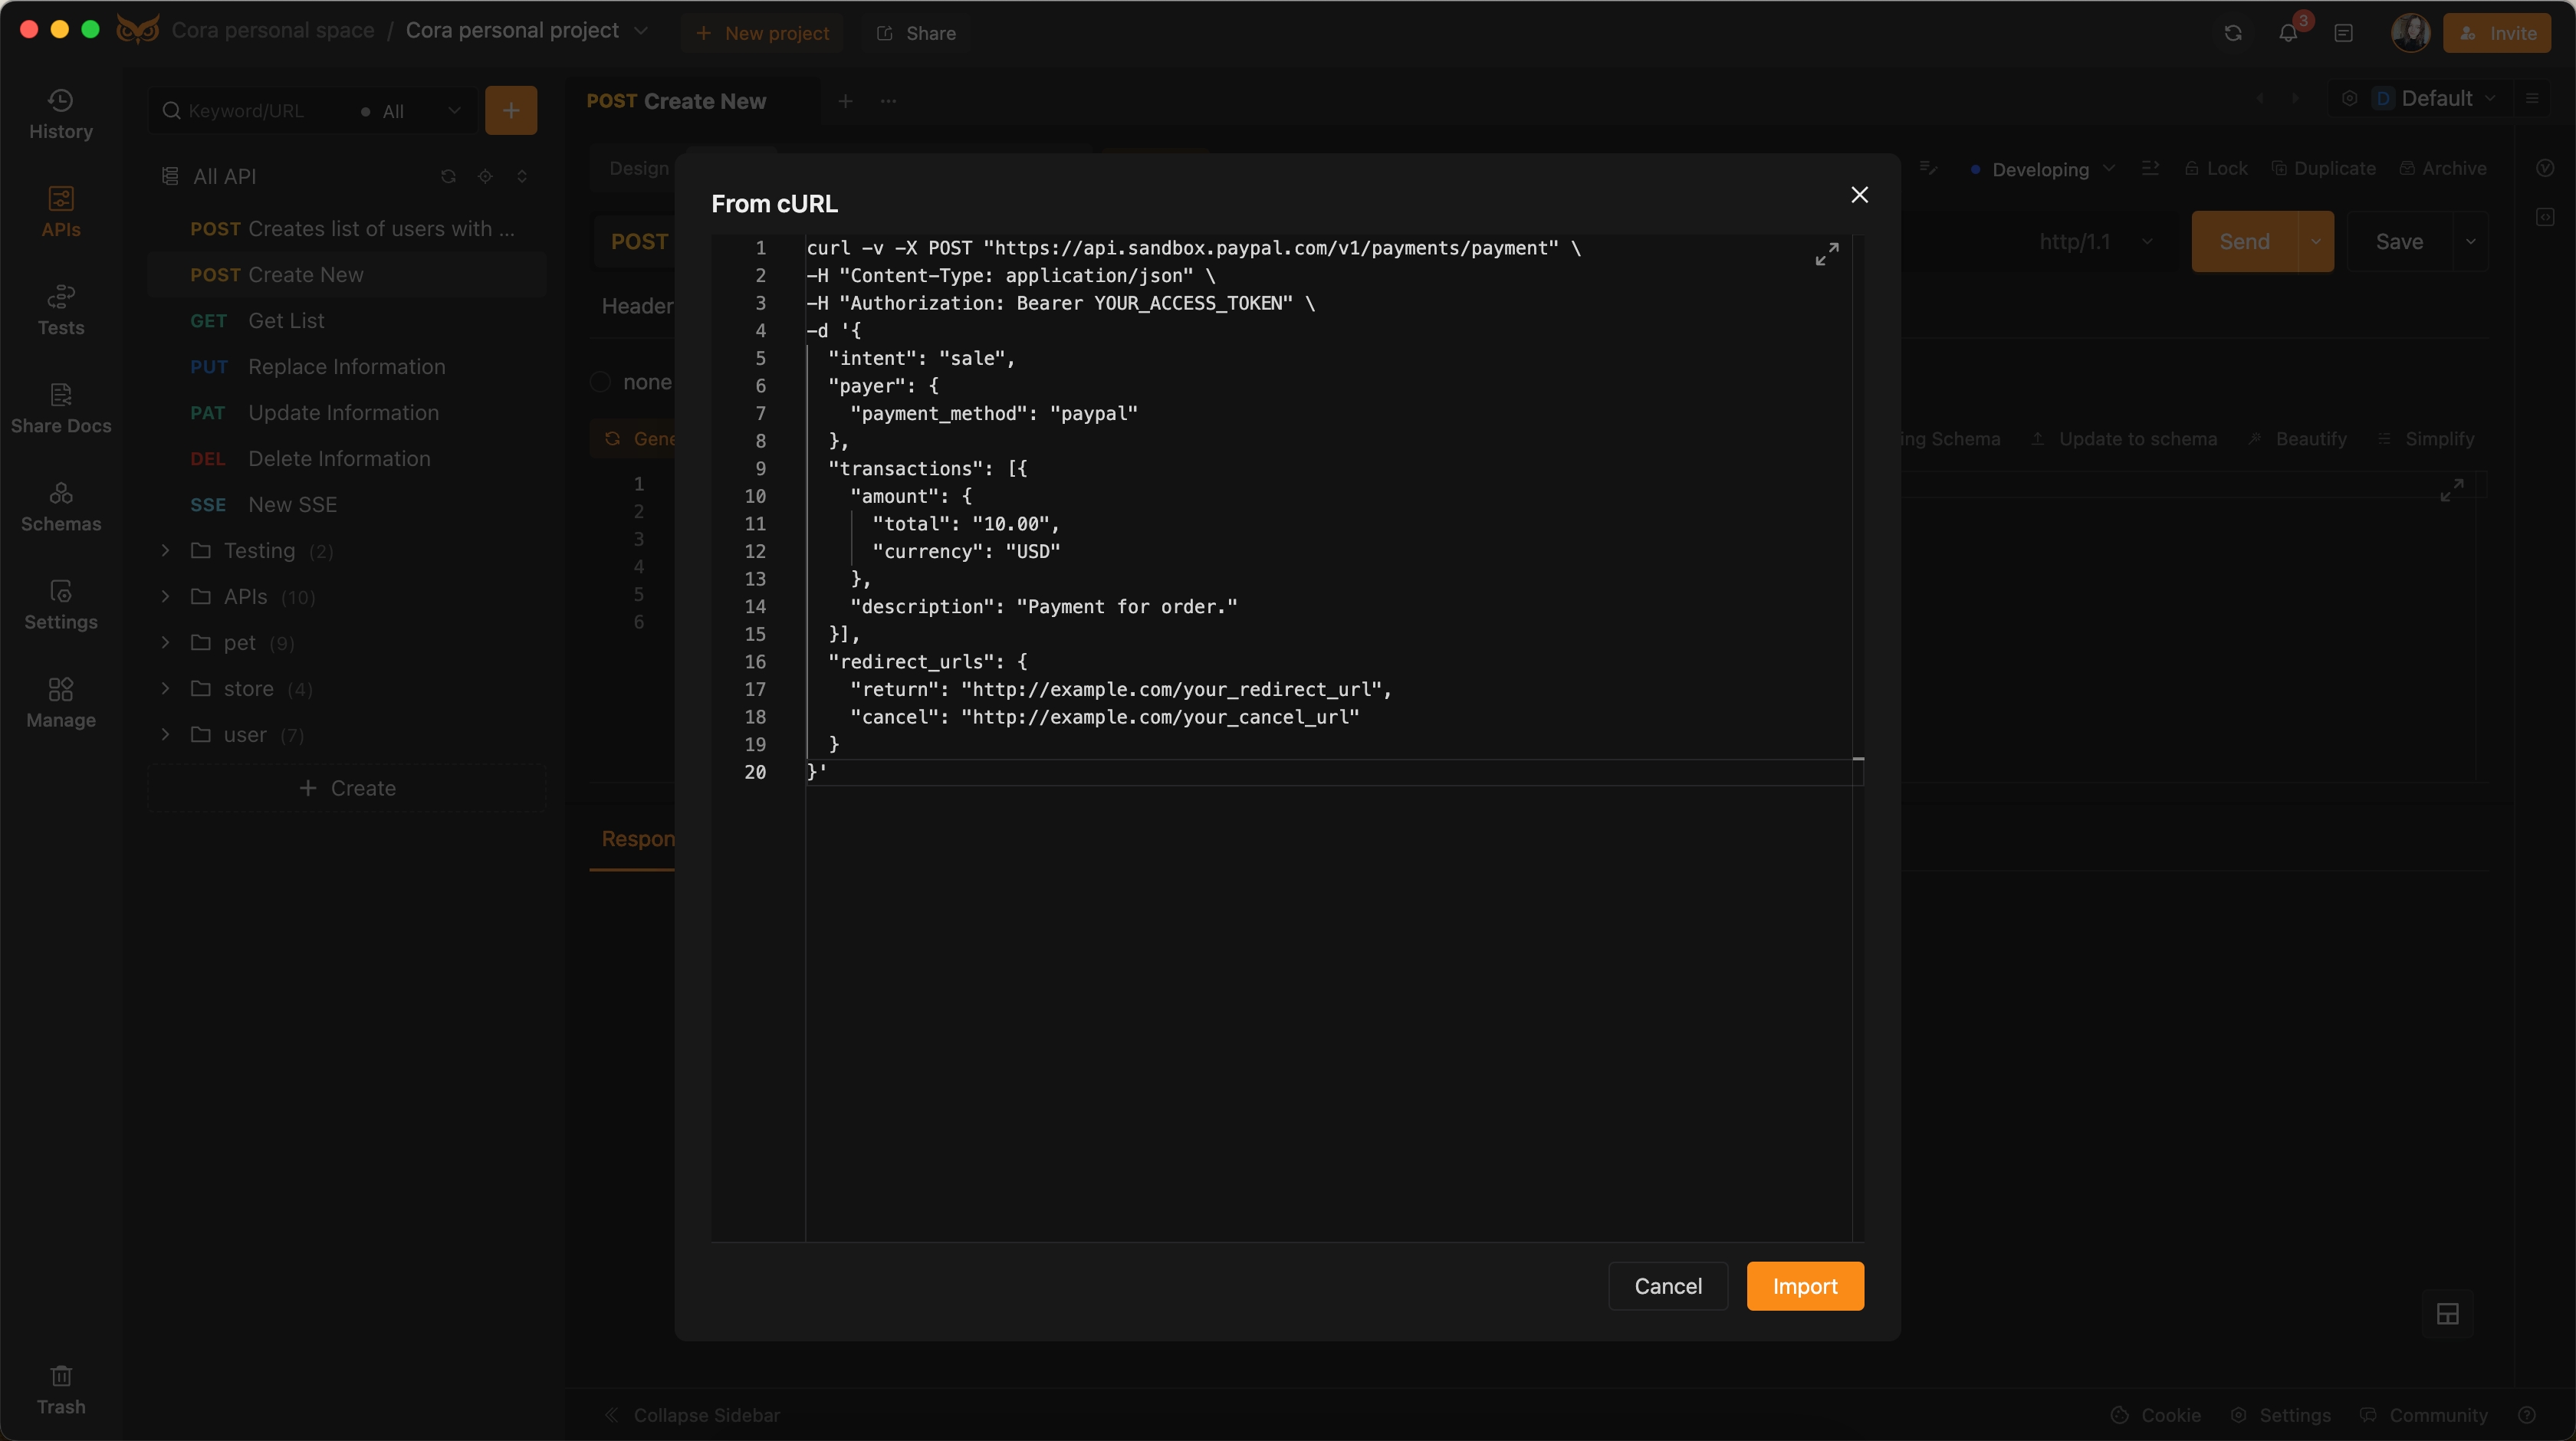
curl -v -X POST "https://api.sandbox.payoneer.com/v1/payments/payment" \
-H "Content-Type: application/json" \
-H "Authorization: Bearer YOUR_ACCESS_TOKEN" \
-d '{
  "intent": "sale",
  "payer": {
    "payment_method": "payoneer"
  },
  "transactions": [{
    "amount": {
      "total": "10.00",
      "currency": "USD"
    },
    "description": "Payment for order."
  }],
  "redirect_urls": {
    "return": "http://example.com/your_redirect_url",
    "cancel": "http://example.com/your_cancel_url"
  }
}'
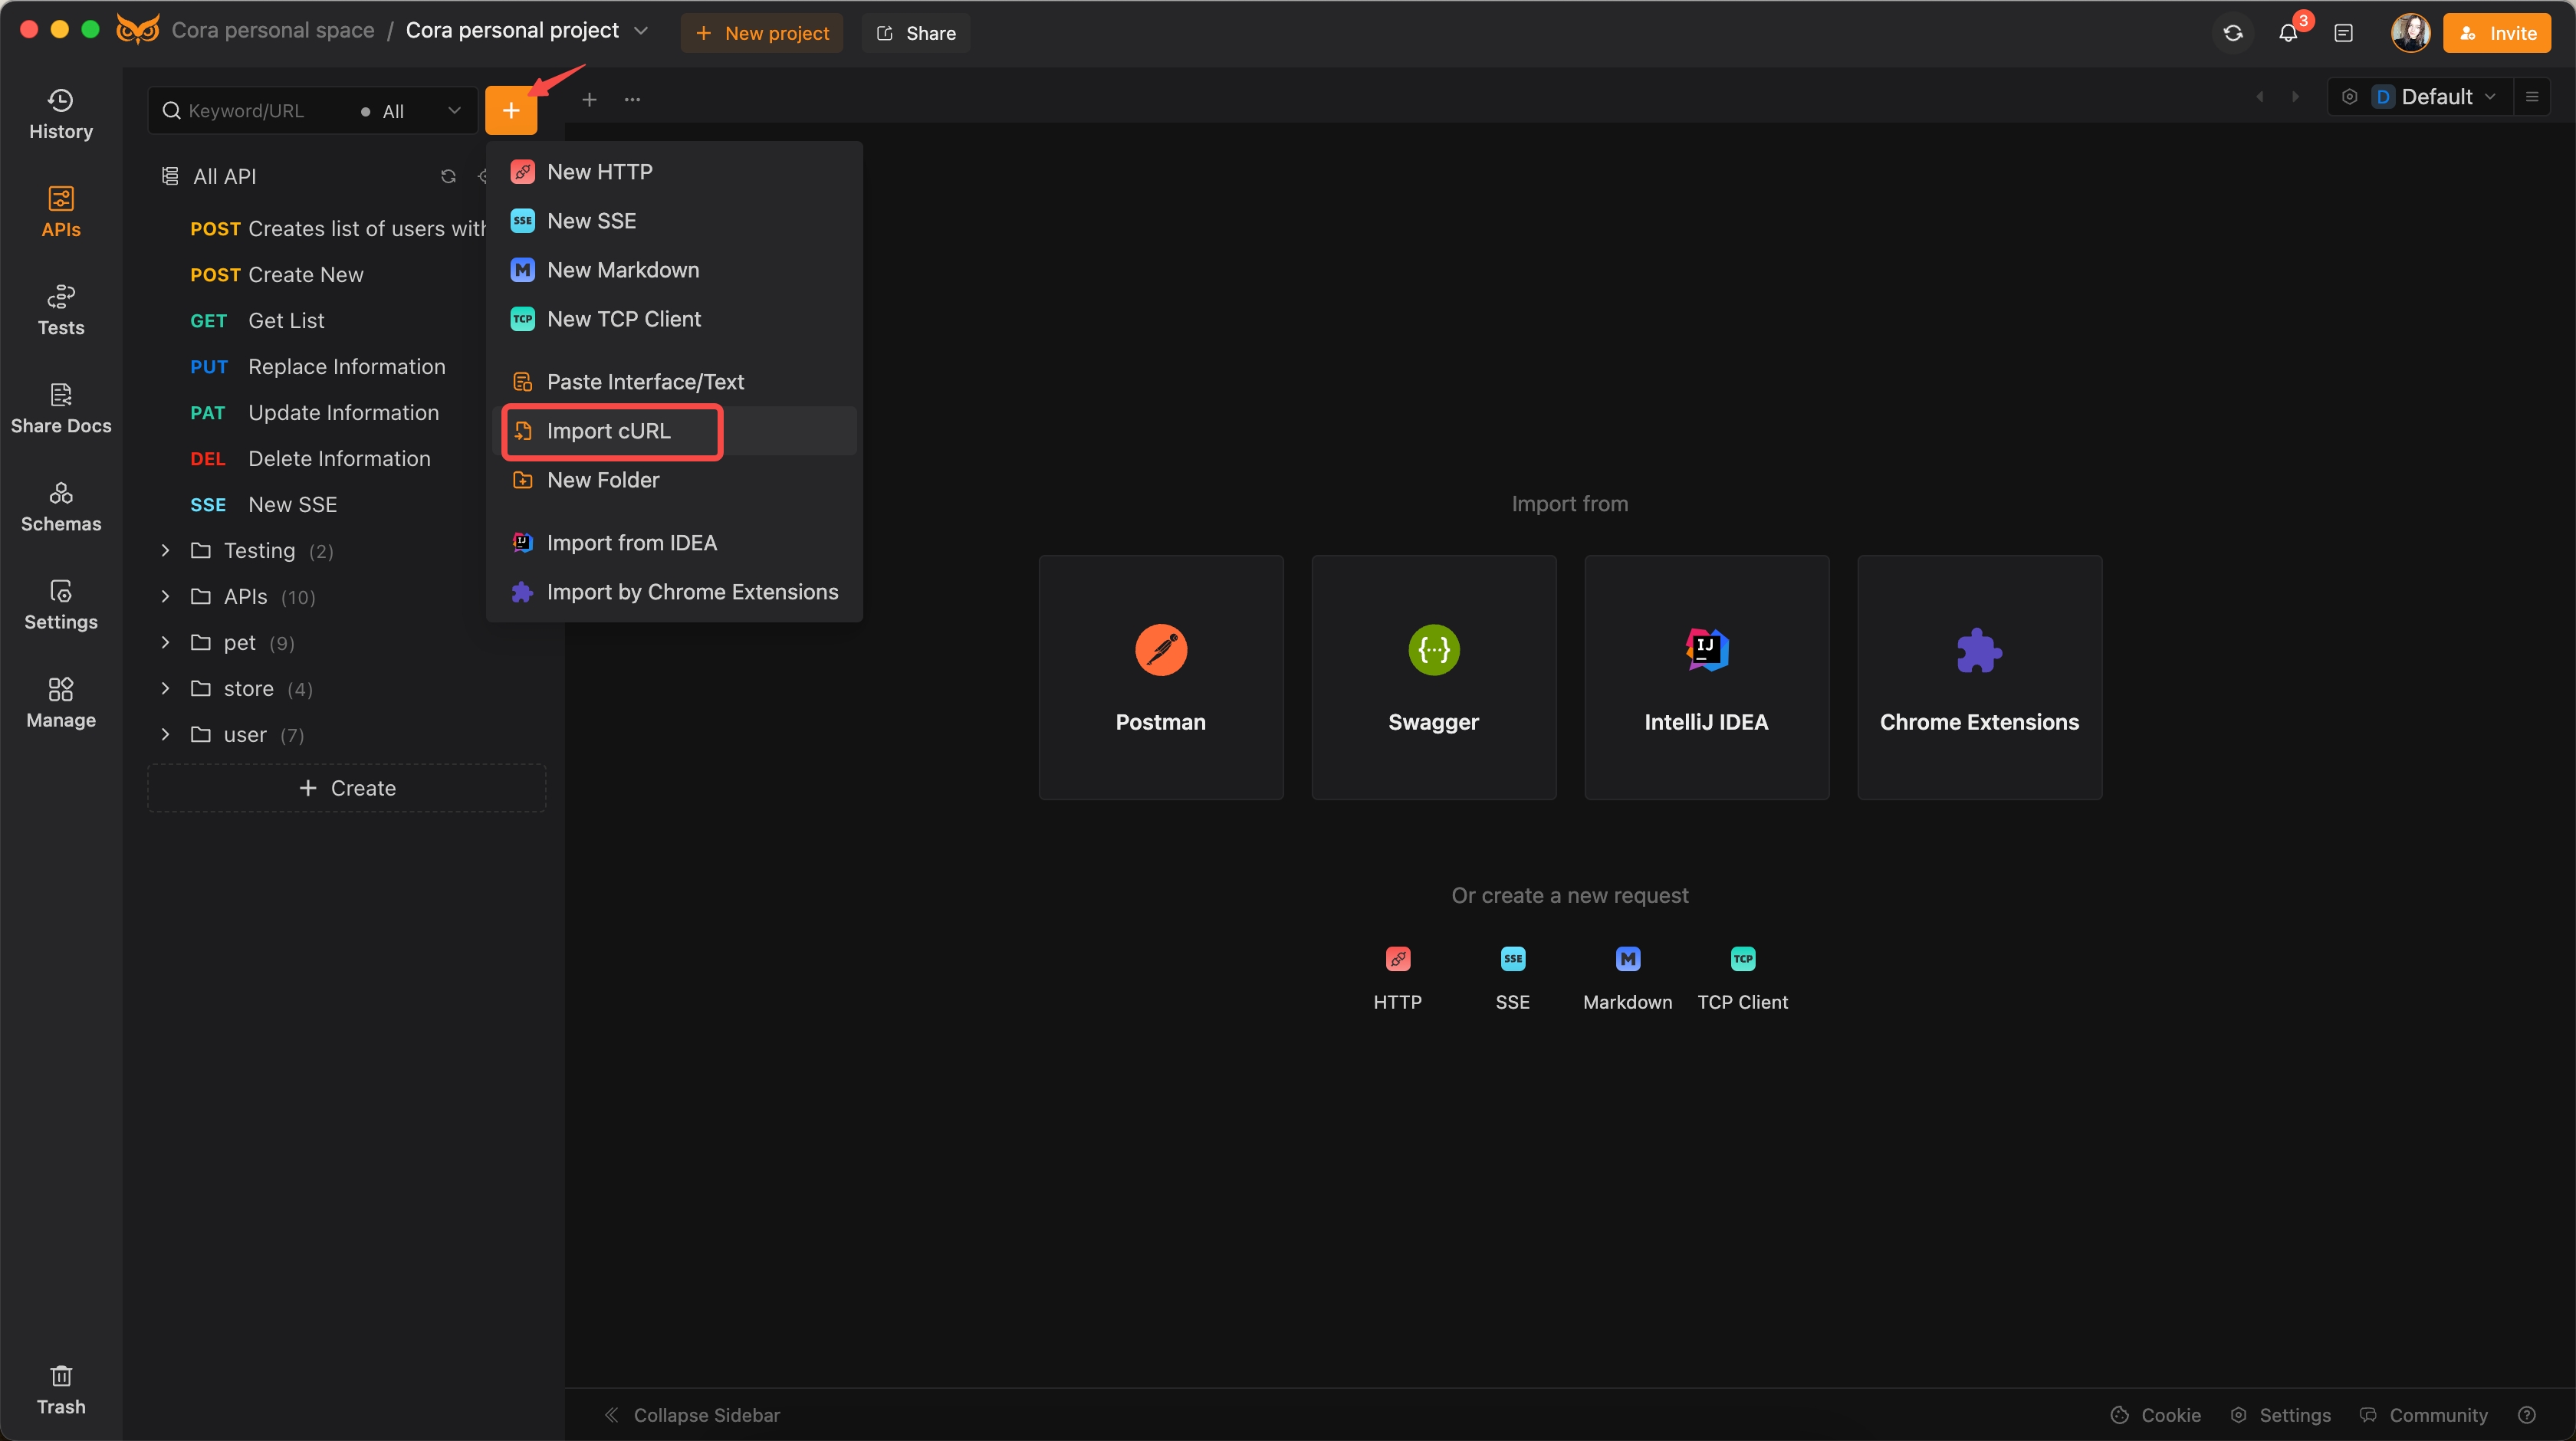
2.Open EchoAPI: Log in and navigate to the project where you want to import the cURL command.

3.Import cURL Command: On the EchoAPI interface, find the option to import a request. Paste your cURL command into the provided field.

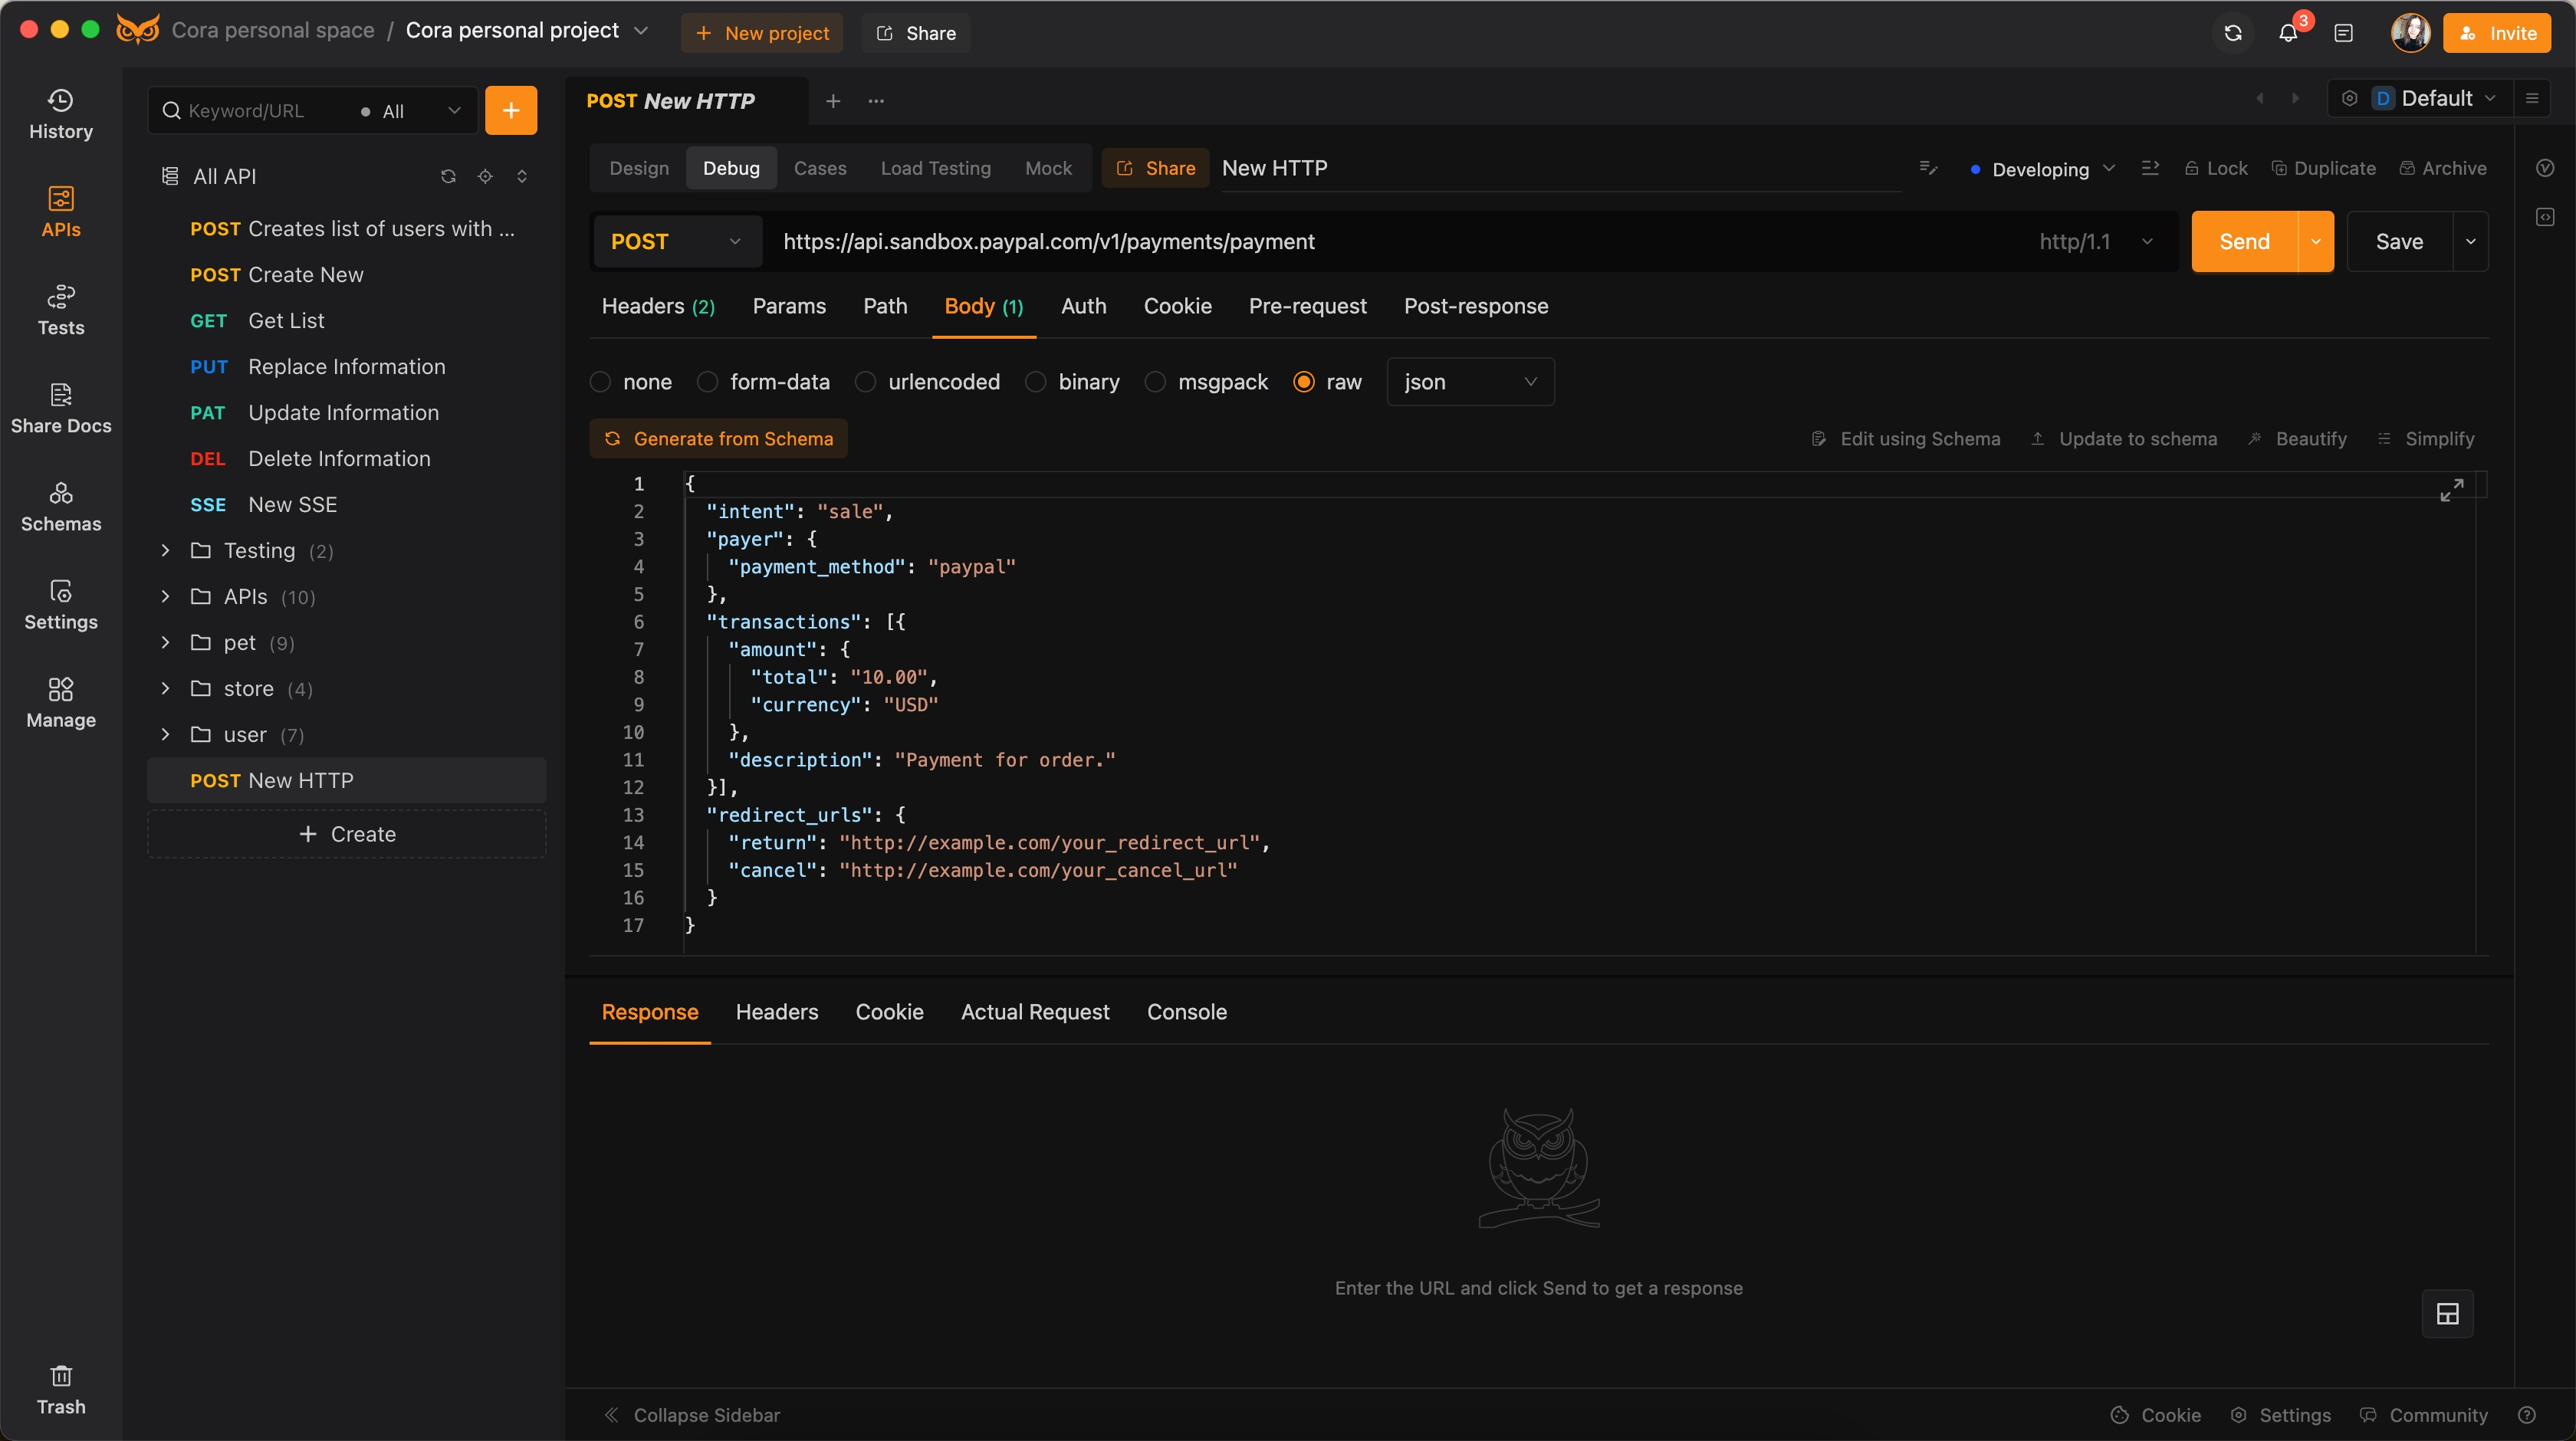
4.Convert and Save: EchoAPI will convert your cURL command into a structured request. Save this request in your project for future use or modification.

Common Issues and Solutions
- Authentication Errors: Ensure your API keys are correct and properly encoded in the request headers.
- Endpoint Errors: Verify that the endpoint URL is correct and matches the intended environment (e.g., sandbox vs. production).
- Data Format Issues: Check that the data format (JSON, XML, etc.) matches the API requirements.
- Rate Limits: Be aware of API rate limits and ensure your application handles retries gracefully.
Conclusion
Understanding how to obtain Payoneer API keys and make requests using tools like EchoAPI enables developers to integrate Payoneer's powerful payment solutions seamlessly into their applications. This process not only streamlines payment operations but also enhances the overall functionality and security of your services. By leveraging Payoneer API's efficiency and EchoAPI's user-friendly interface, developers can create a seamless payment experience for users, fostering growth and operational efficiency for businesses.


 EchoAPI for VS Code

 EchoAPI for IntelliJ IDEA

 EchoAPl-Interceptor

 EchoAPl CLI
 EchoAPI Client
 API Design
 API Debug
 API Documentation
 Mock Server


