How to set an Authorization bearer token in Postman?
When working with APIs that require authentication using bearer tokens, it's essential to knowHow to set authorization bearer in Postman. Follow these simple steps to ensure your requests are properly authenticated:
Open Postman Application
Launch the Postman application on your device to begin the process.
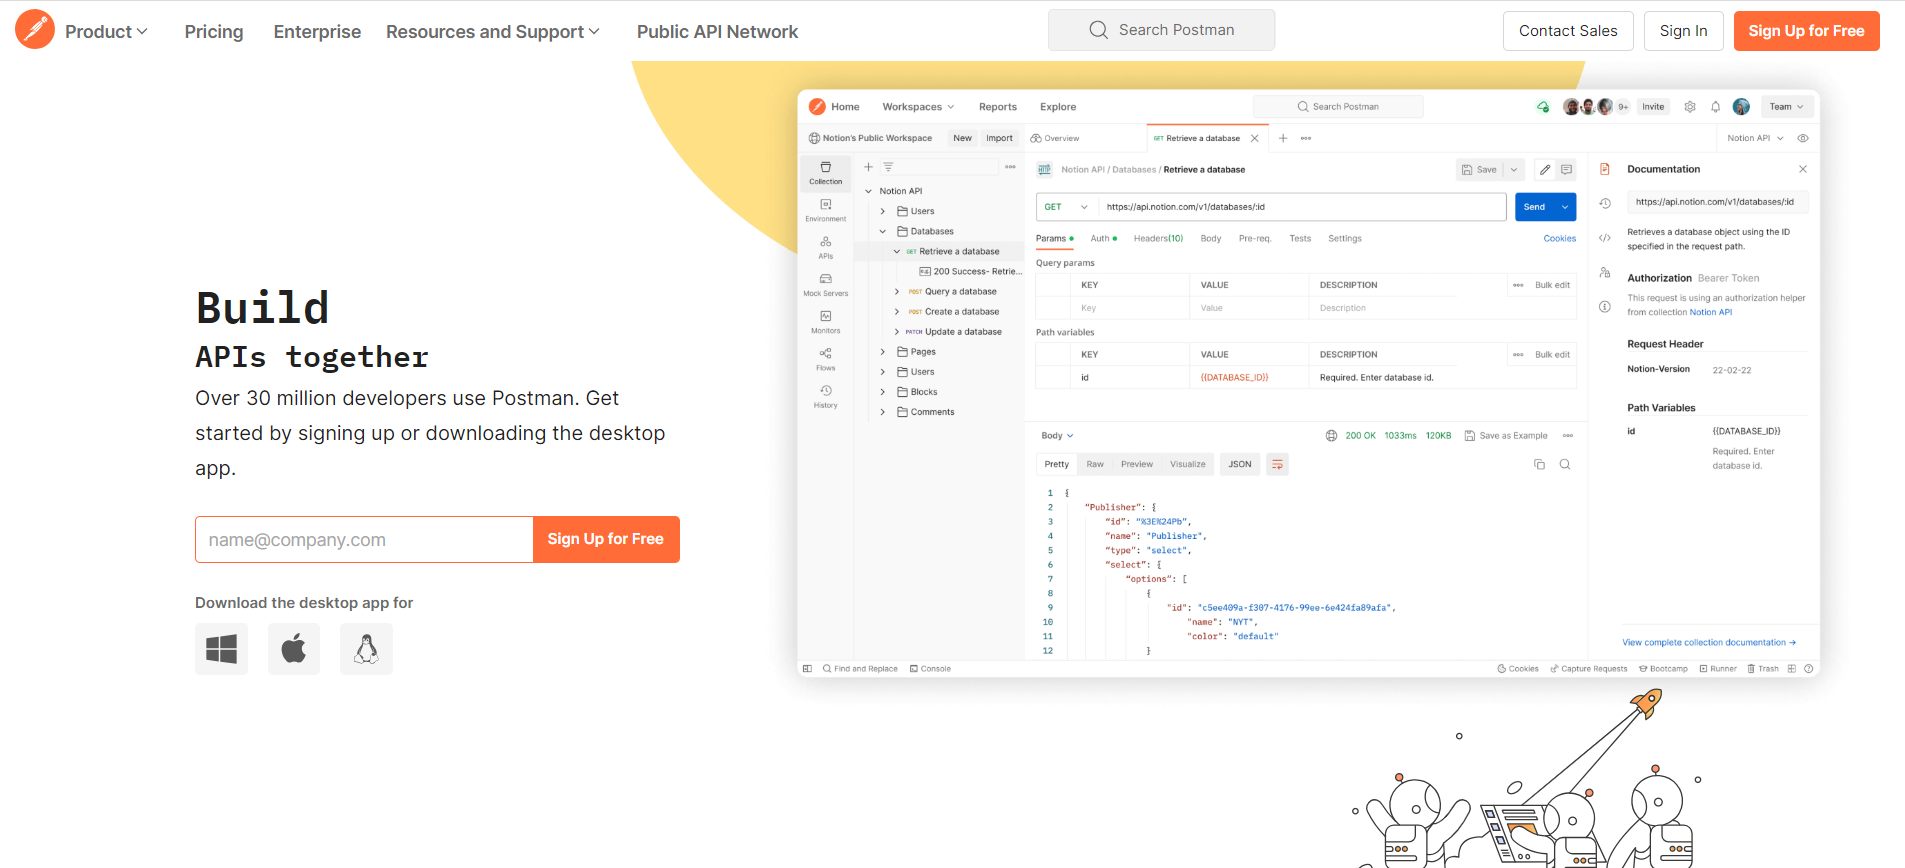
1. Create a New Request or Open an Existing One
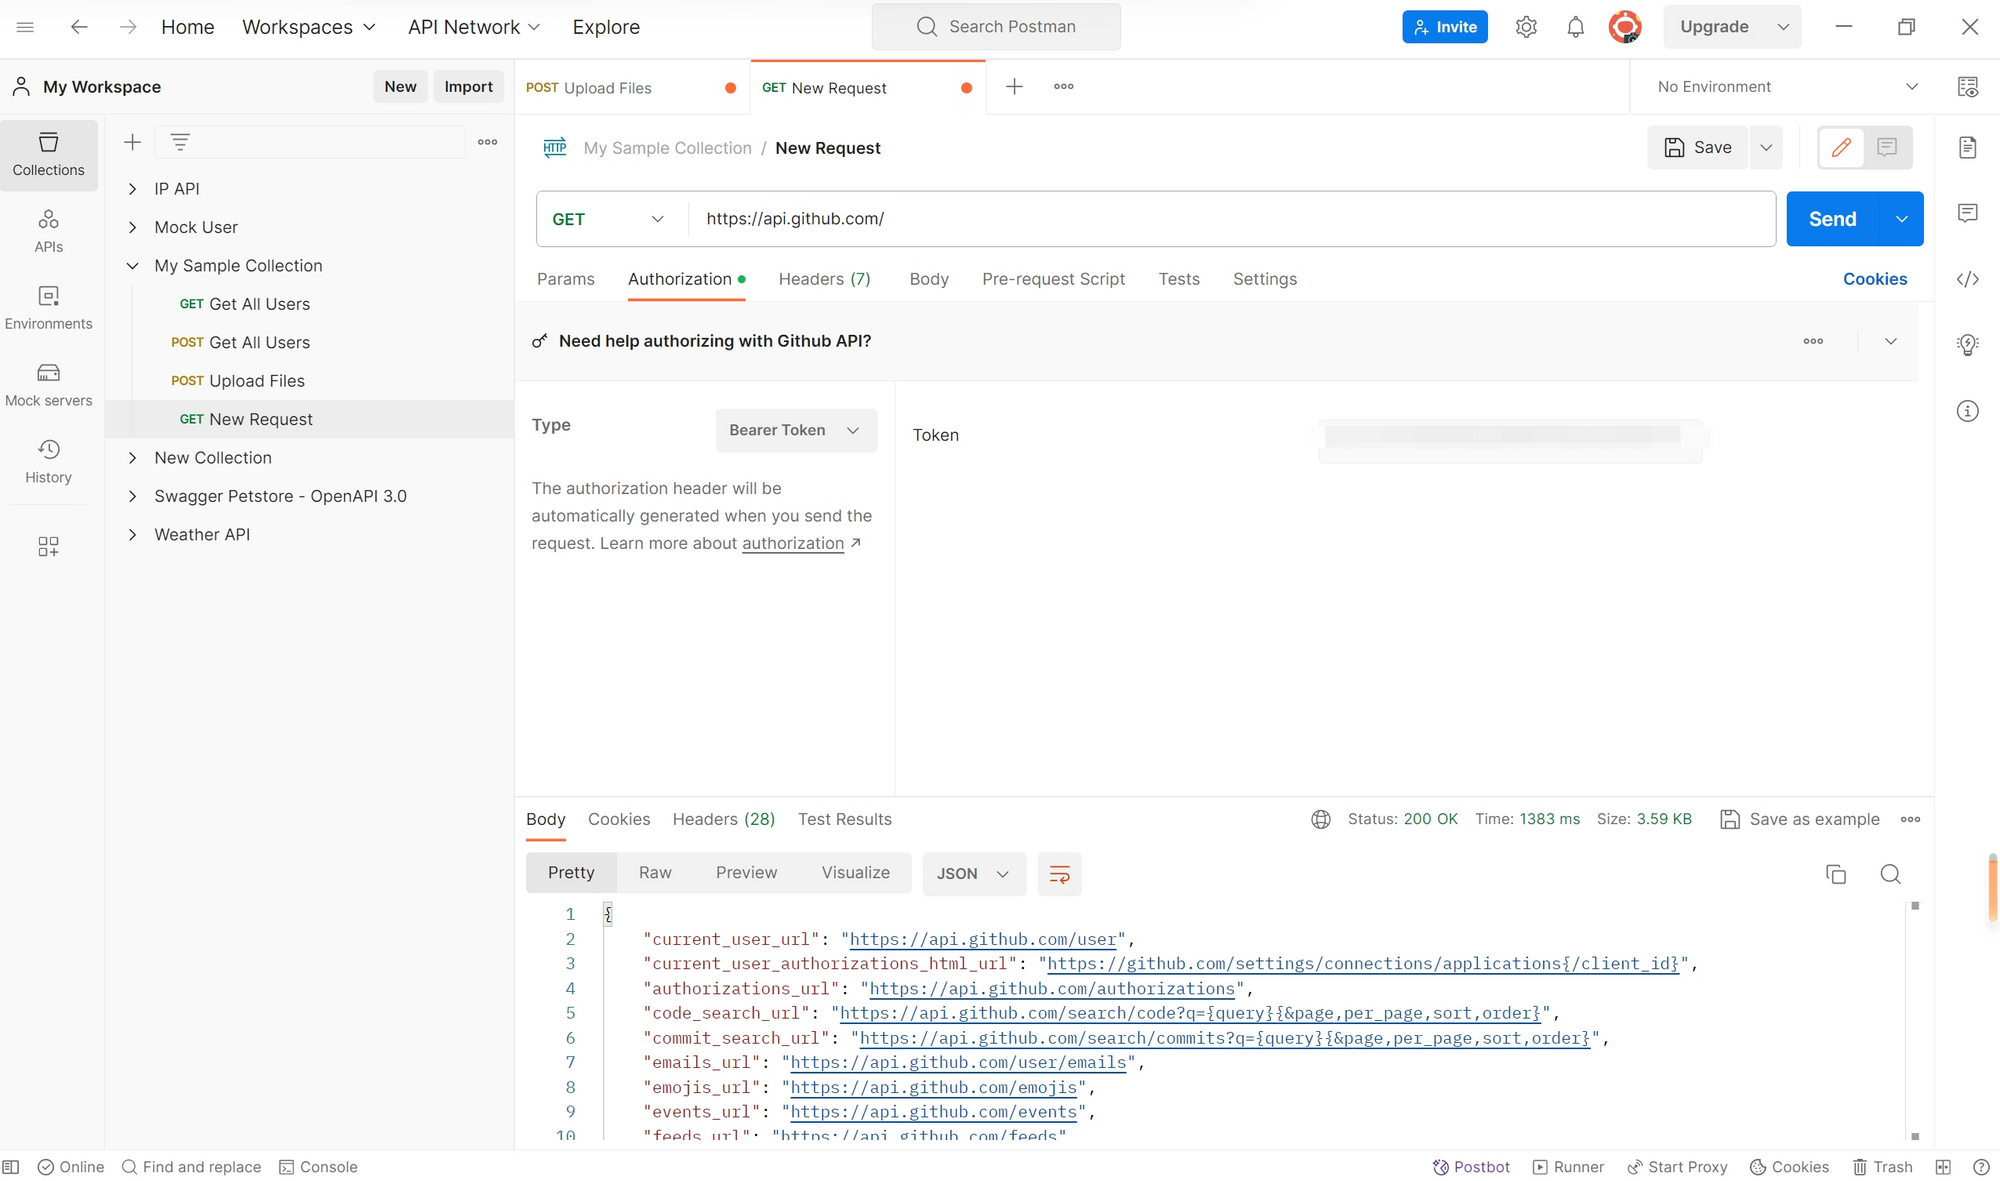
Either create a new request by clicking on the "New" button or open an existing request where you need to add the authorization bearer.
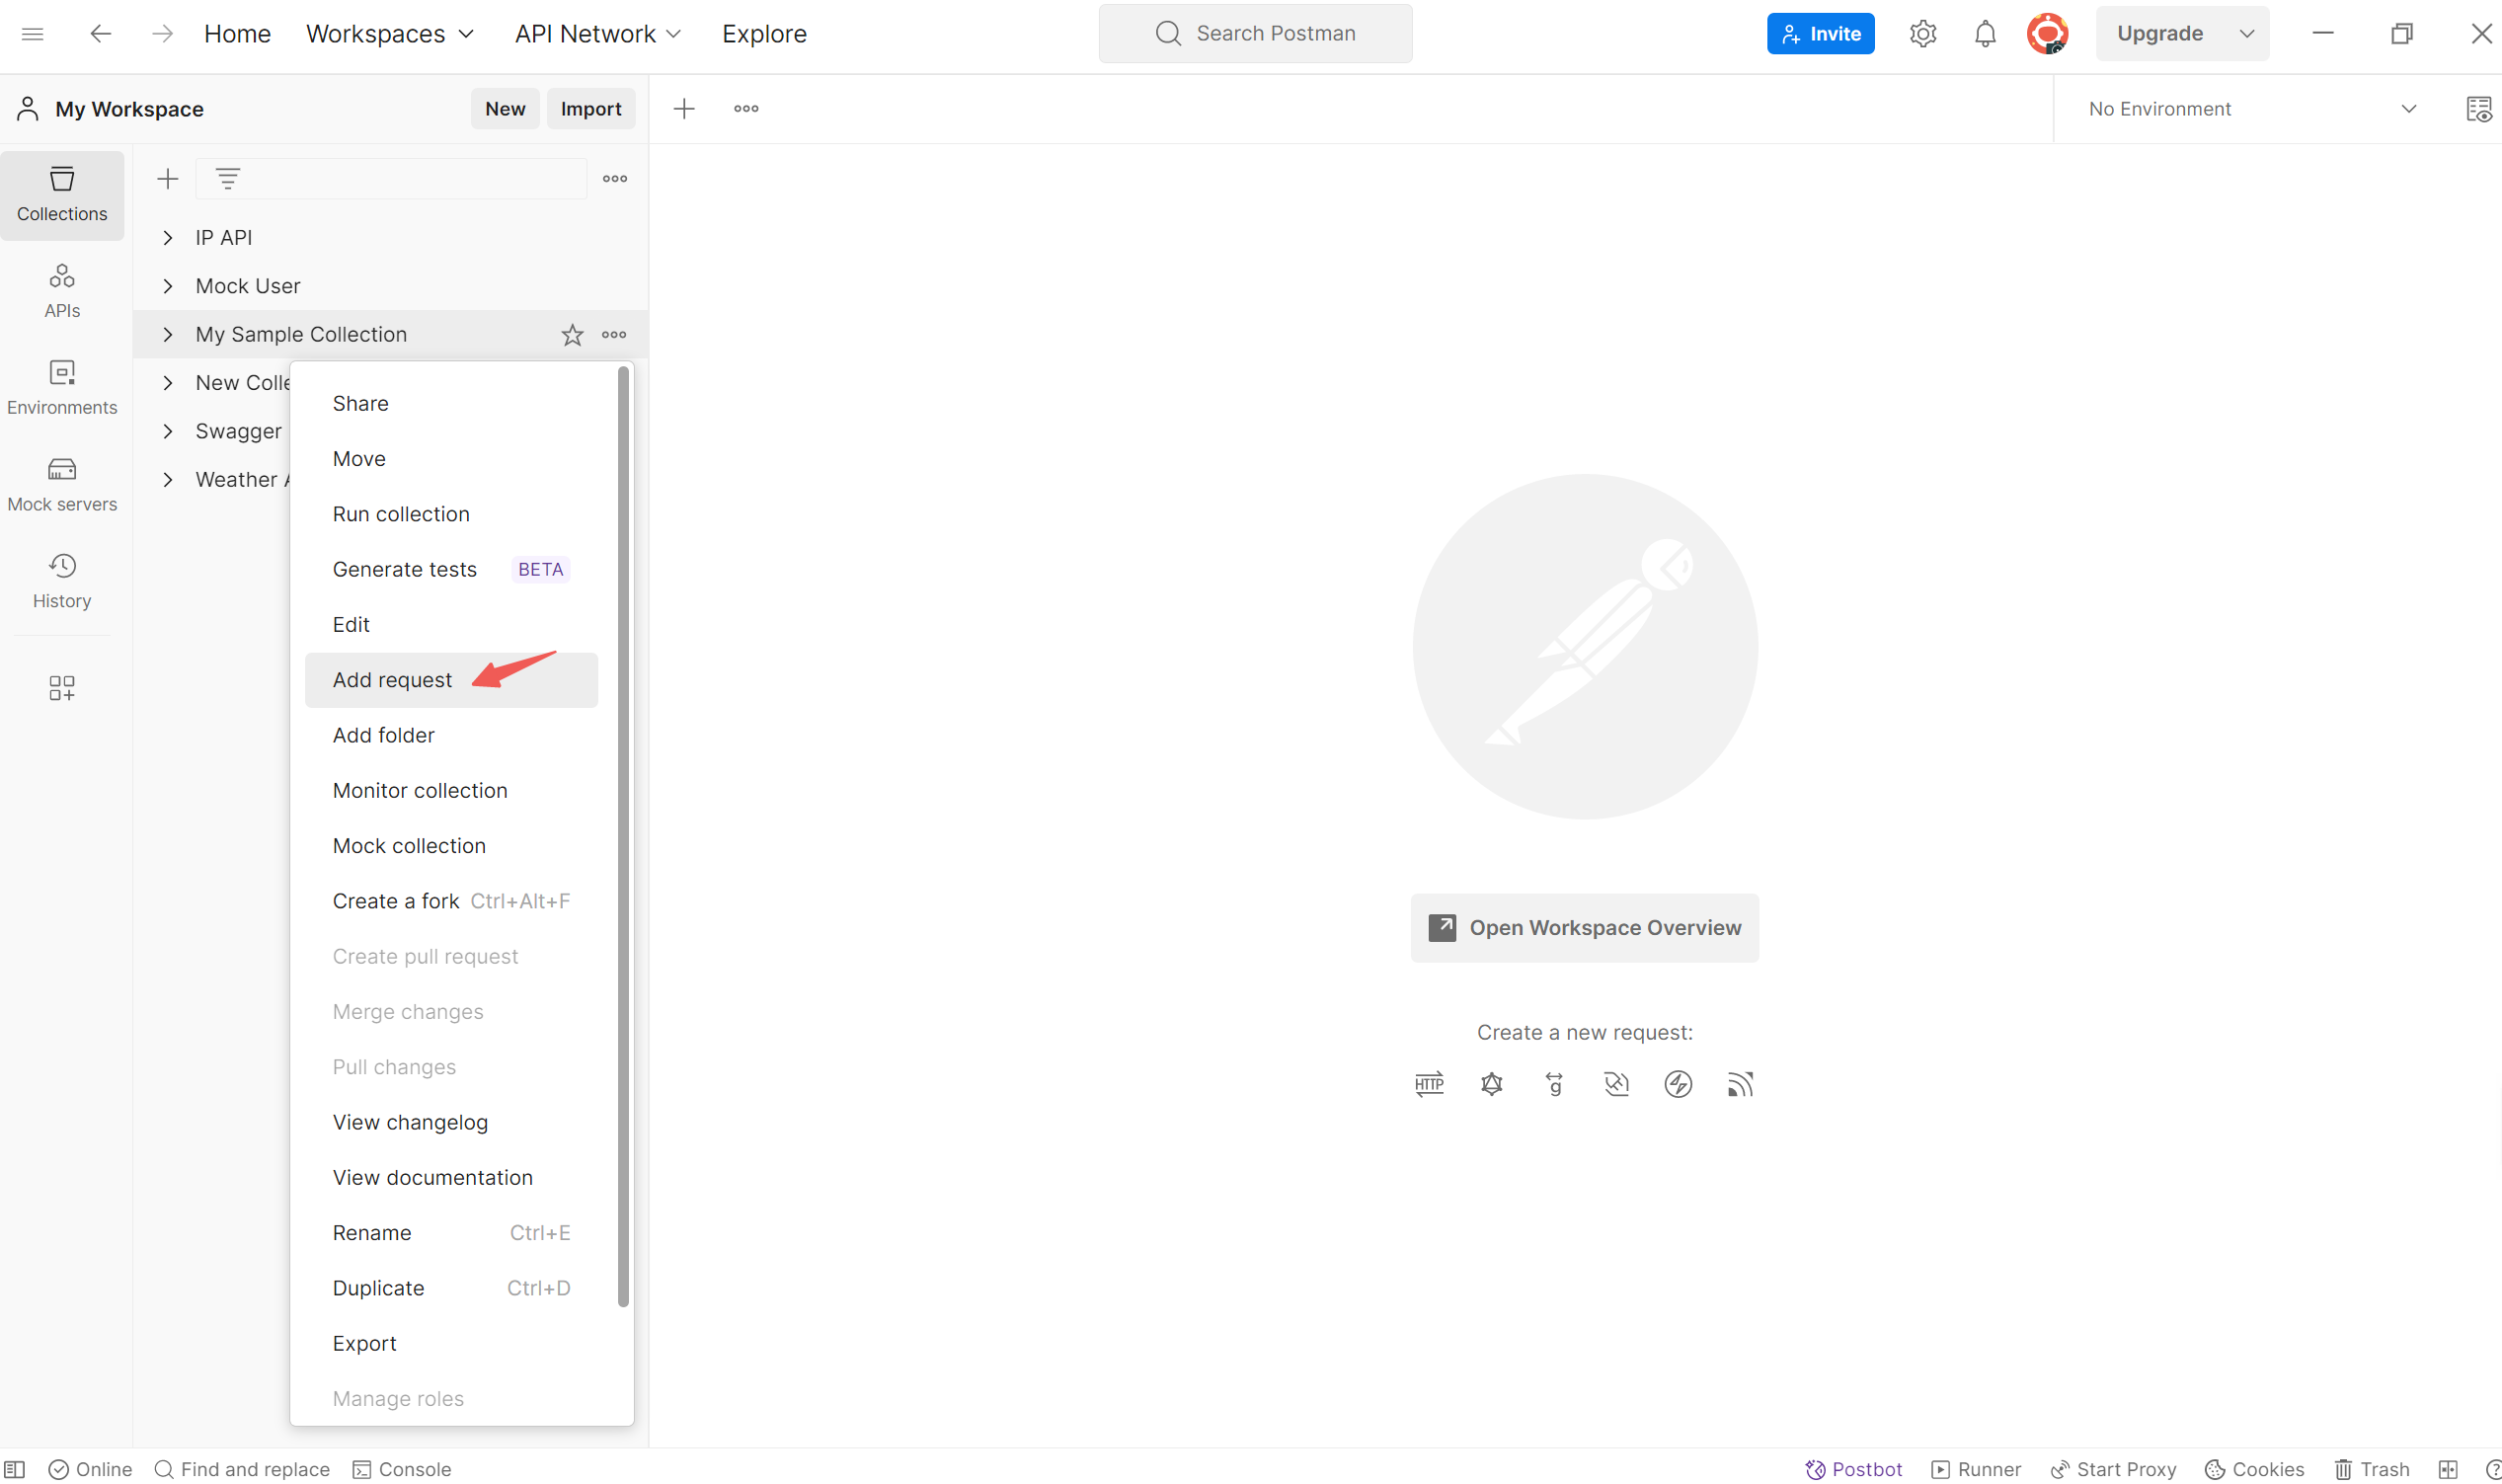
2. Navigate to the Authorization Tab and Select Bearer Token Type
Within the request, locate and click on the "Authorization" tab present below the request URL.From the dropdown menu under "Type," choose "Bearer Token" as the type of authorization you want to add.
3. Enter the Bearer Token
In the provided input field, enter the bearer token you have received from the API provider or generated yourself.
4. Apply and Save Authorization Settings
Click on the "Save" or "Update" button to apply the bearer token authorization to your request.
5. Send the Request
Once the authorization bearer is added and saved, you can proceed to send the request to the API endpoint by clicking on the "Send" button.
6. Verify Authorization
After sending the request, review the response to ensure that the authorization bearer was successfully applied and that the request is authenticated.
A Better Way to Set Bearer Token in EchoAPI
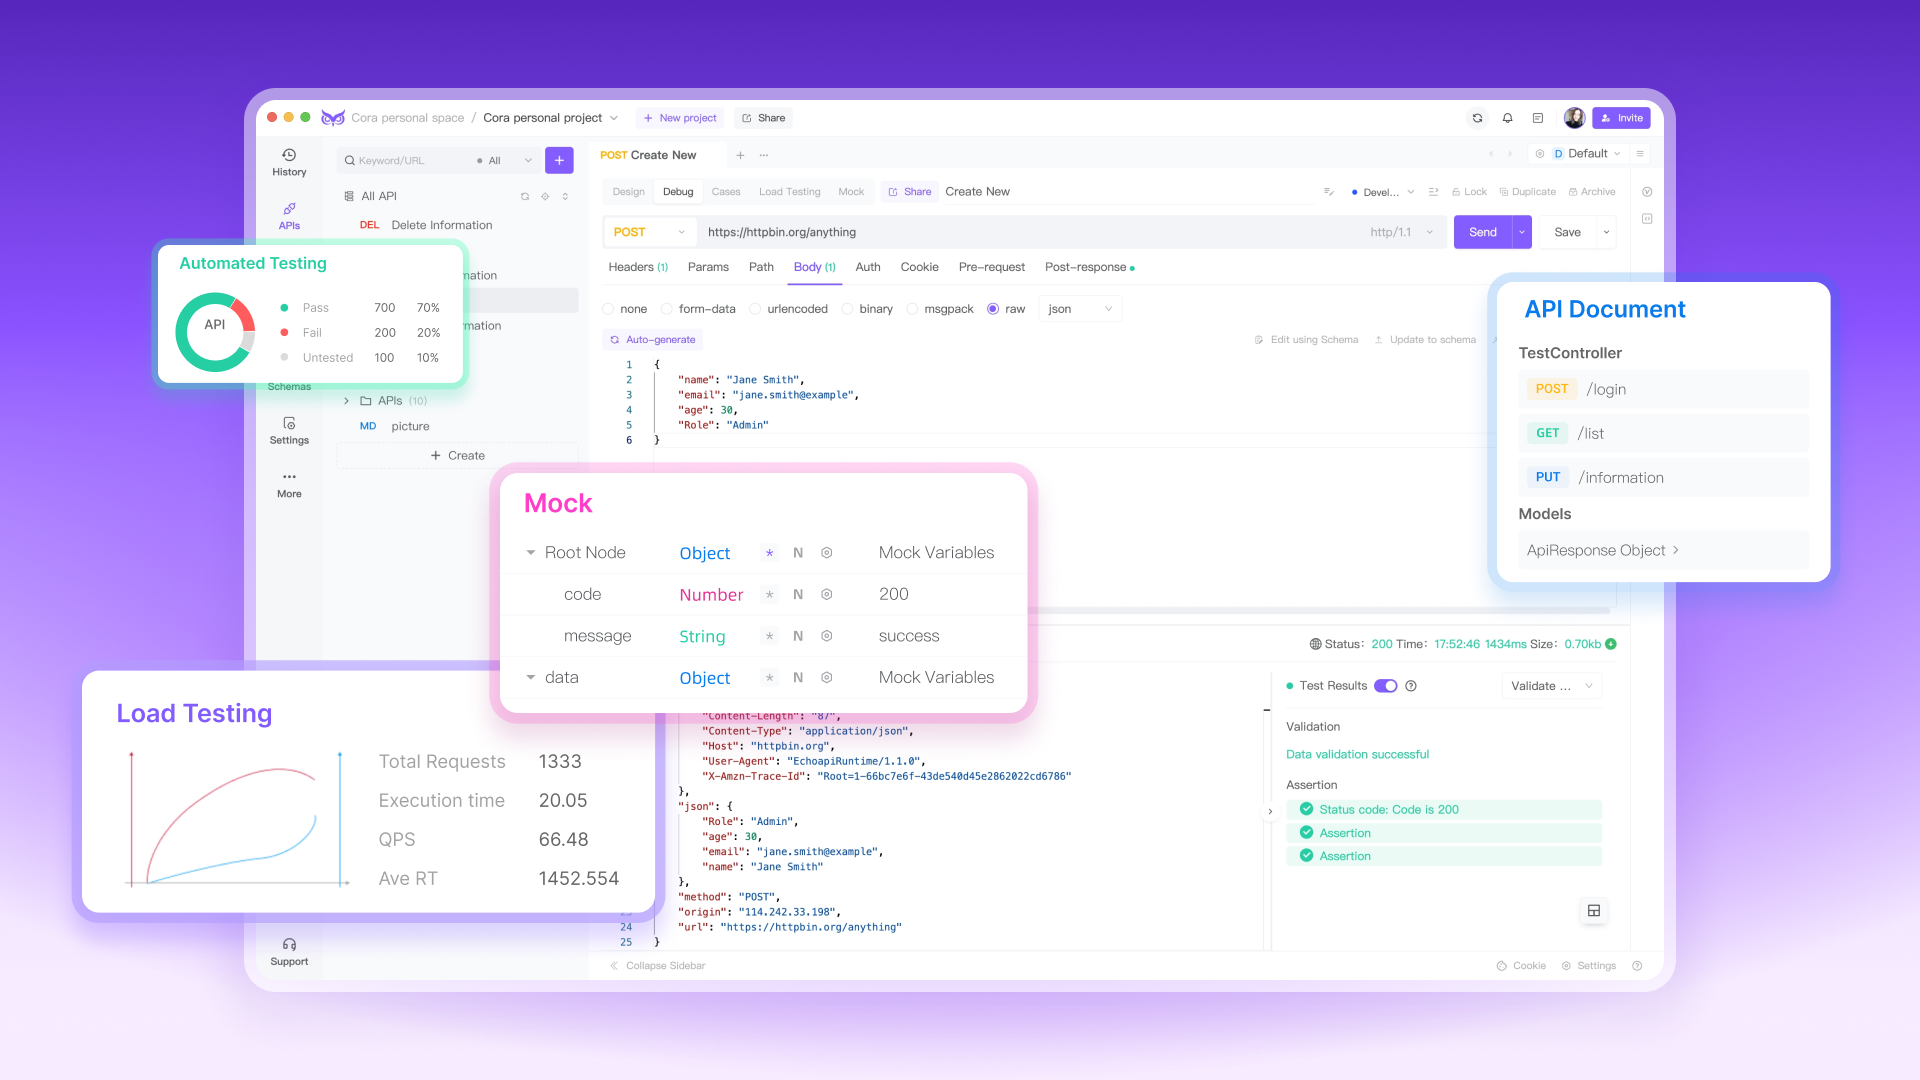
EchoAPI is a API comprehensive development collaboration platform designed to cater to the business requirements across the entire development lifecycle. It facilitates seamless coordination among team members, starting from the product manager outlining requirements to collaborative interface design discussions between frontend and backend developers. The platform enables the creation and sharing of mockups for frontend utilization, followed by backend coding and interface debugging to ensure alignment with expectations.
Step 1:Obtain the Bearer Token
To begin, acquire a valid bearer token that contains essential information such as user ID, permissions, and expiry details. If you need guidance on generating a bearer token, refer to the following example.
Step 2:Create a New HTTP Request with a Bearer Token
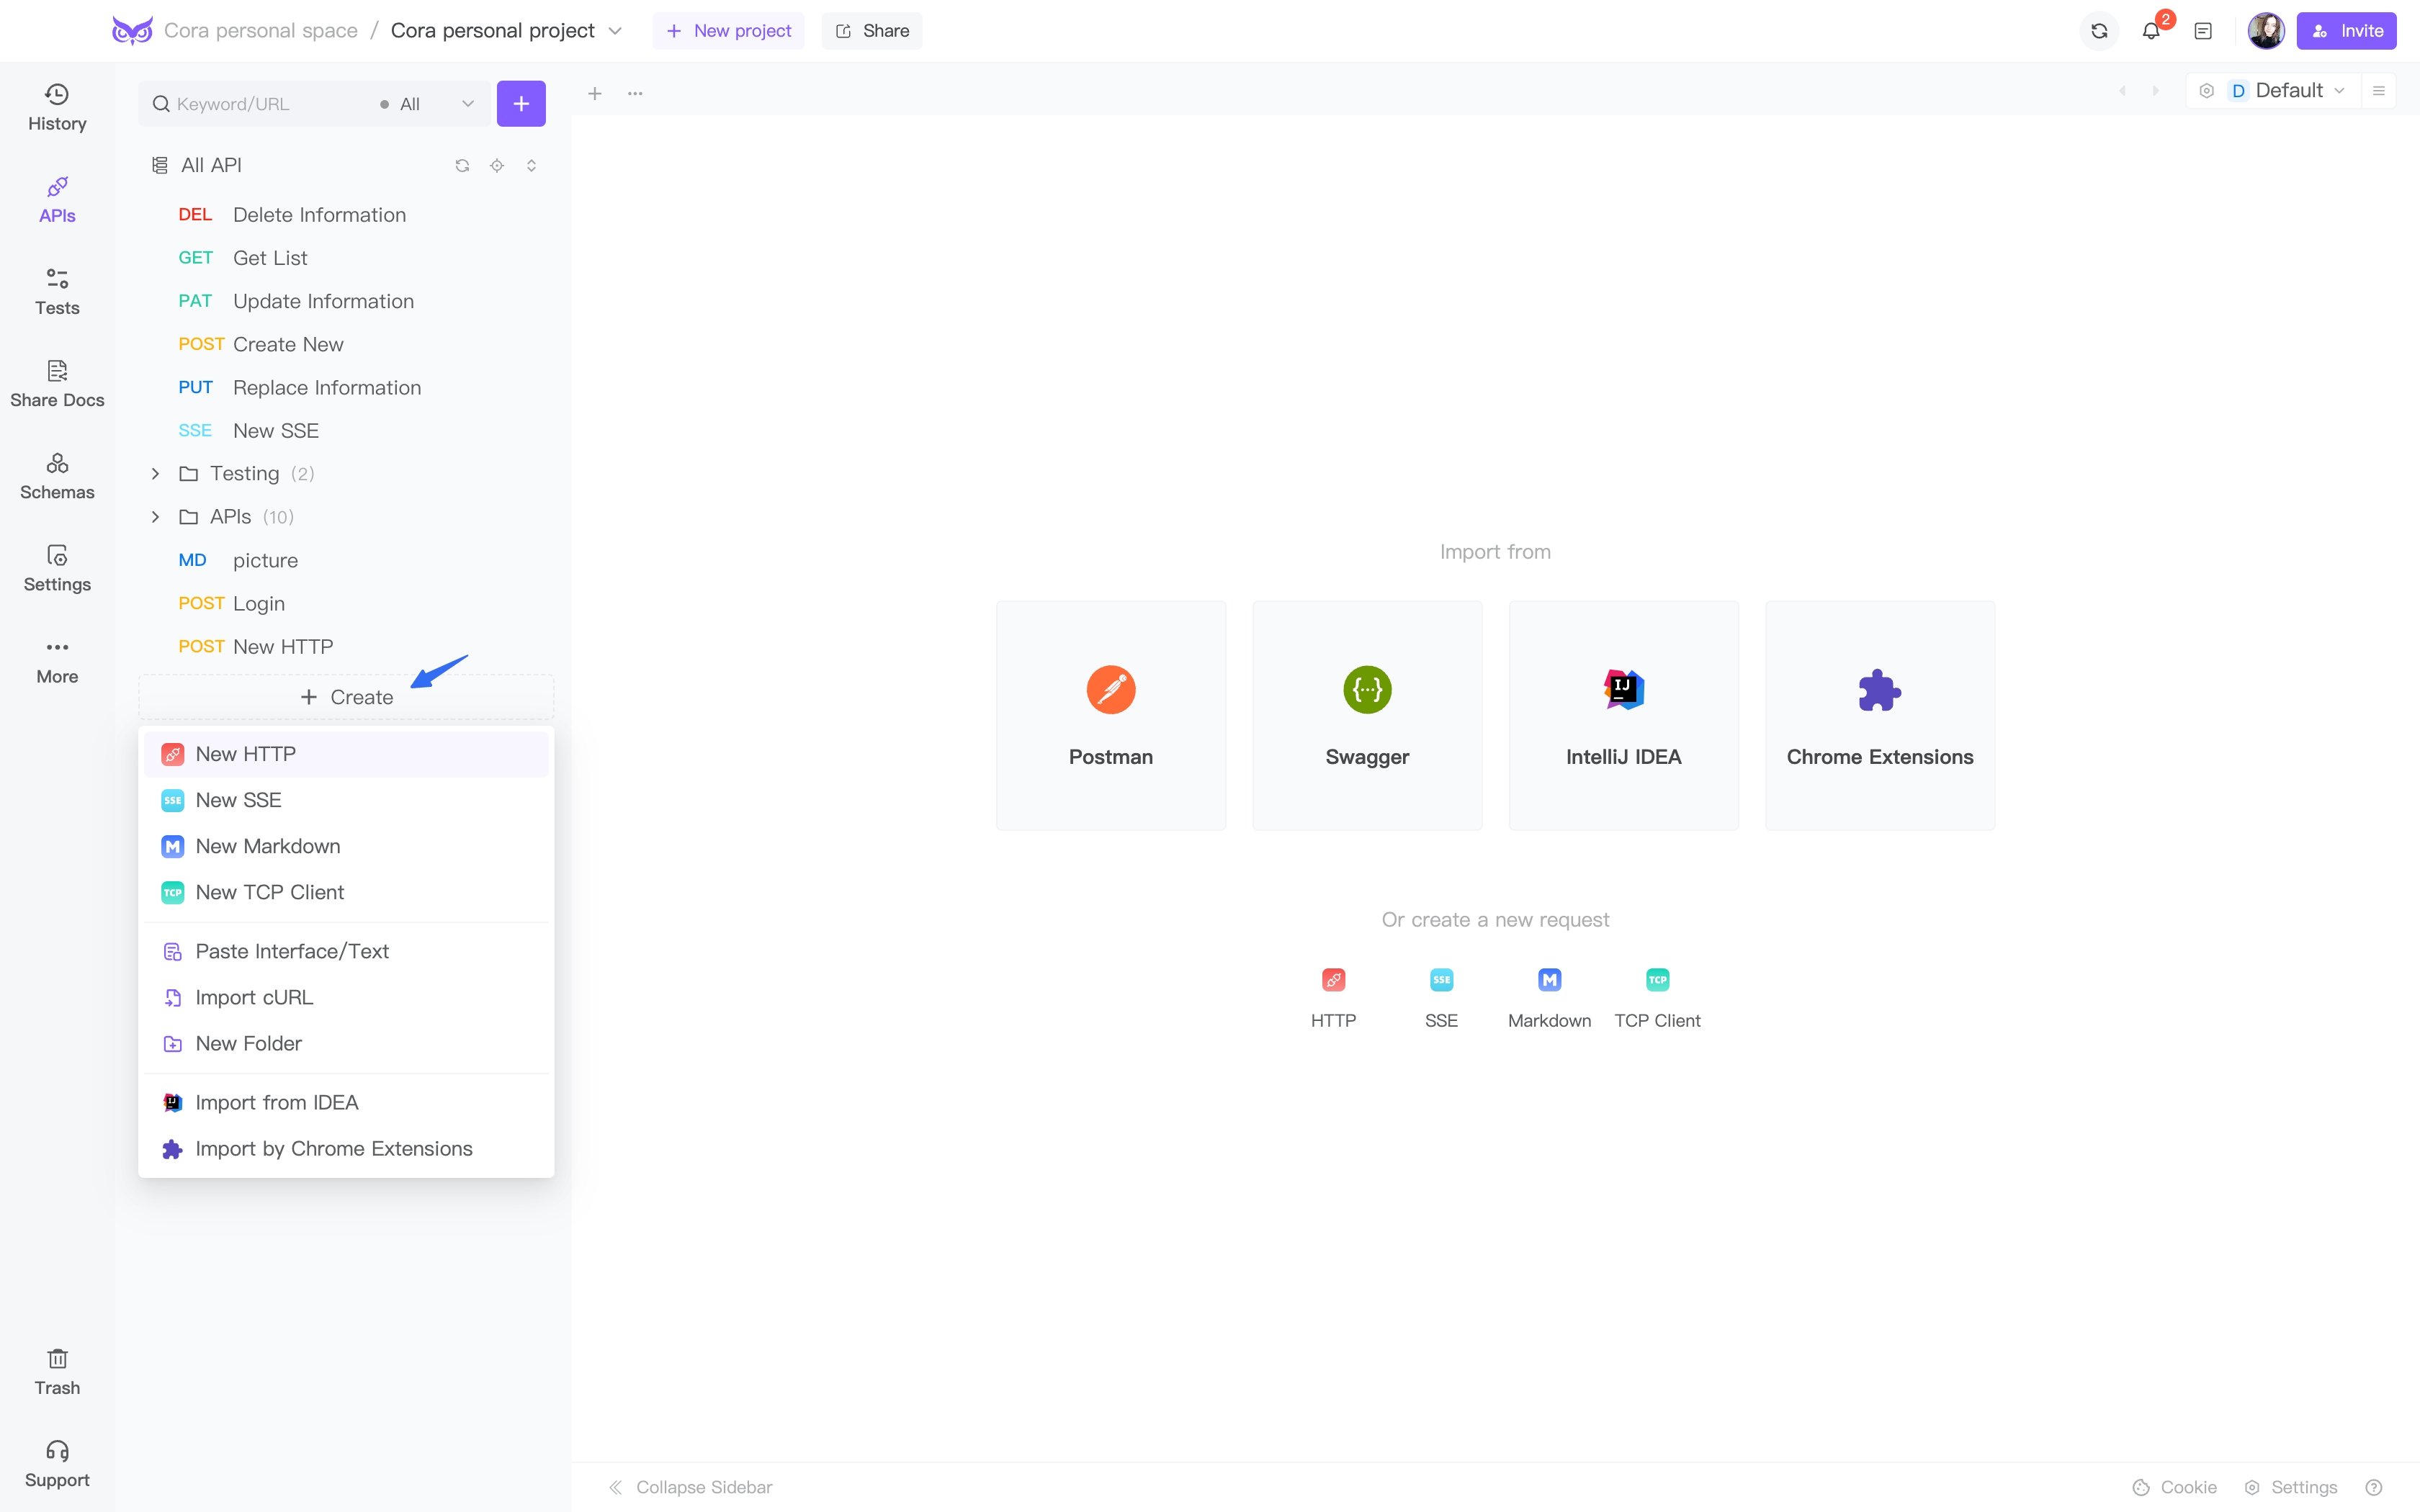
In EchoAPI, initiate an HTTP GET or POST request by selecting the "+ Create" button. Proceed by entering the URL and opting for "Bearer Token" from the authentication type dropdown. Input your bearer token in the designated field.
Step 3:Enter Your Bearer Token
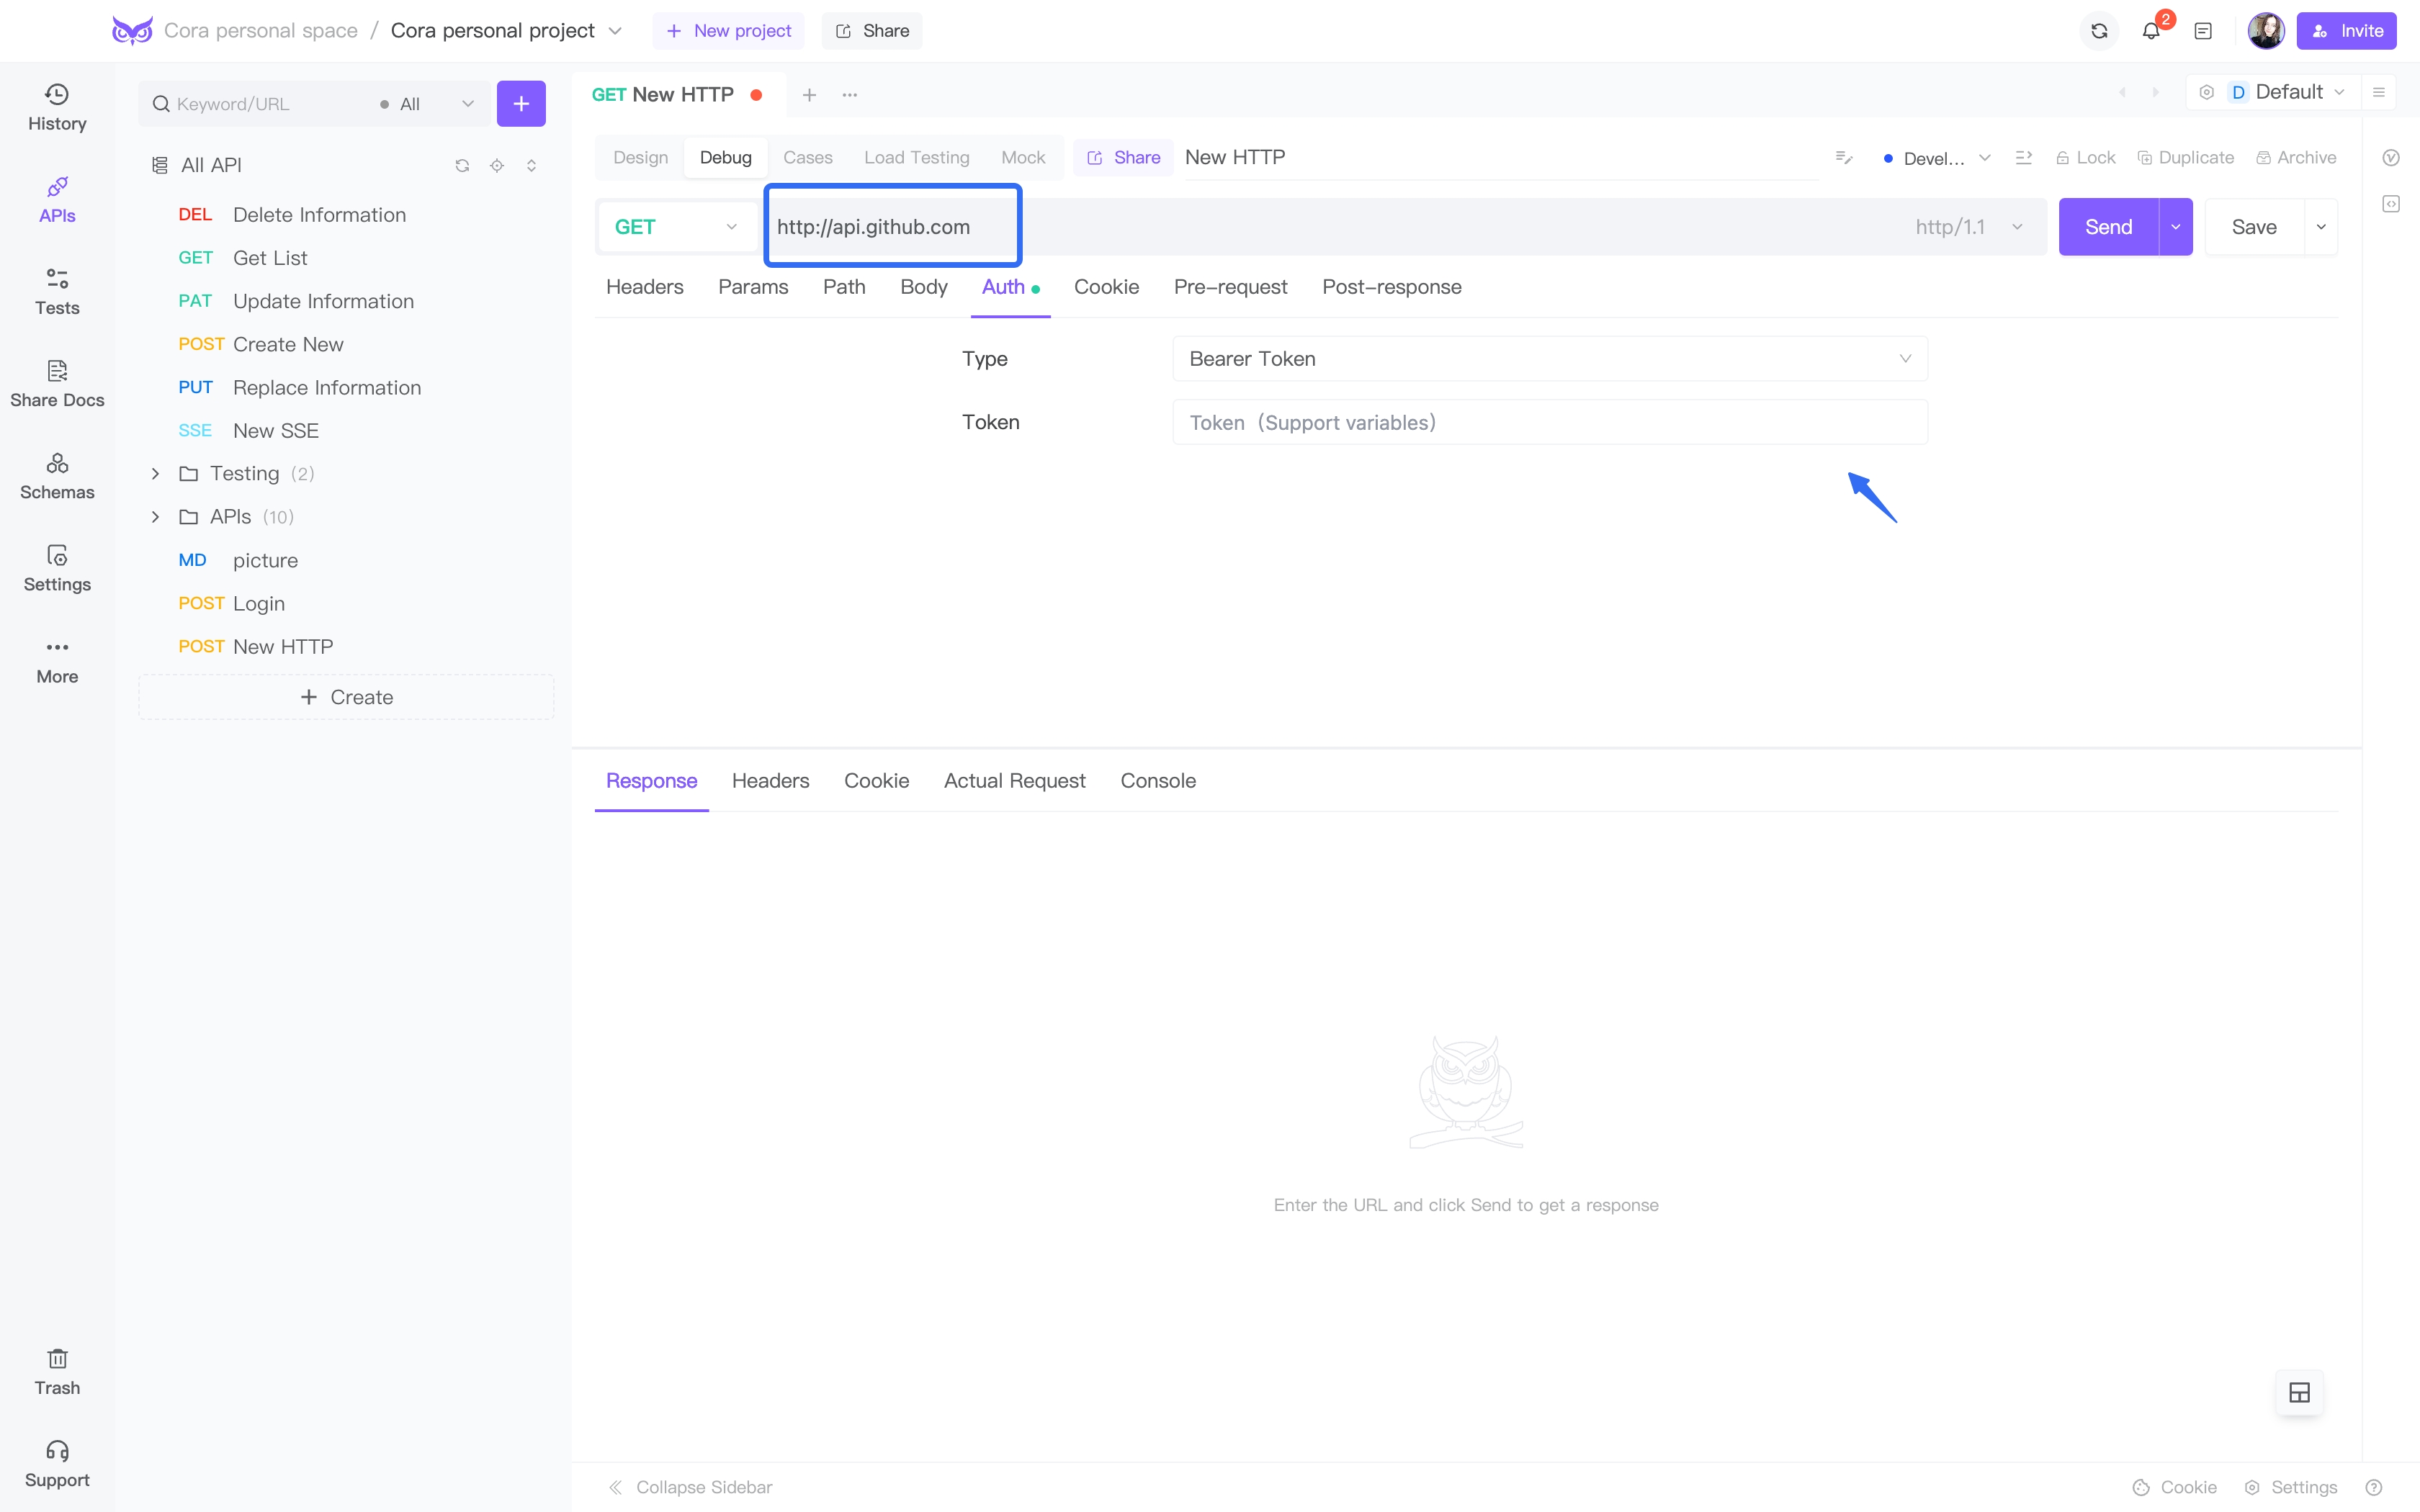
Provide your specific bearer token string in the "Token" field. This step ensures that the server can verify the token's validity and authorize the GET or POST request securely. Remember, bearer tokens should always be transmitted over HTTPS for enhanced security.
Step 4:Send the Request and Review the Response
Click on the "Send" button to validate the token with the API server. The server will decode the header, extract the token, validate it, and authenticate the request if the token is both valid and active.
Response Handling
Upon successful authorization, the server will respond with the requested resource. At this point, the client can seamlessly engage with protected resources using the authenticated request, ensuring a secure and efficient interaction process.
Conlusion
This guide should help users understand and execute the process of adding an authorization bearer to their Postman requests effectively.


 EchoAPI for VS Code

 EchoAPI for IntelliJ IDEA

 EchoAPl-Interceptor

 EchoAPl CLI
 EchoAPI Client
 API Design
 API Debug
 API Documentation
 Mock Server


