How to Test Hawk Authentication for REST APIs
This article explores why you should consider Hawk Authentication, explains what it is, provides implementation examples in Java and Go, and discusses tools for testing Hawk Authentication, including EchoAPI.
This article explores why you should consider Hawk Authentication, explains what it is, provides implementation examples in Java and Go, and discusses tools for testing Hawk Authentication, including EchoAPI. Finally, we'll conclude with the advantages of adopting this authentication method.
Understanding Hawk Authentication for REST APIs
In today's world of web services, ensuring secure communication between clients and servers is essential. Among various authentication methods, Hawk stands out for its simplicity and robustness.

Why Use Hawk Authentication for REST APIs?
Hawk authentication offers several key advantages for REST APIs:
Lightweight and Simple: Hawk is designed to be easy to implement and does not require extensive overhead. It uses HTTP headers, making it compatible with many existing web technologies.
Nonce and Timestamp Validation: Hawk uses nonce and timestamp mechanisms to prevent replay attacks, thereby enhancing security.
Signature-Based Authentication: Hawk uses HMAC signatures to ensure that only clients with the correct credentials can access the API, thereby safeguarding sensitive information.
Granular Control: Hawk allows for fine-grained control over permissions and access levels, making it suitable for APIs with varying levels of access requirements.
Stateless: Hawk is stateless, which aligns well with REST principles since no session information needs to be stored on the server.
What is Hawk Authentication?
Hawk is a simple and efficient authentication scheme designed for HTTP APIs. It allows clients to authenticate requests through a combination of user credentials, a unique identifier, and a timestamp. A signature is generated based on the request and shared secrets, ensuring that requests have not been tampered with during transmission.
The main components of Hawk authentication include:
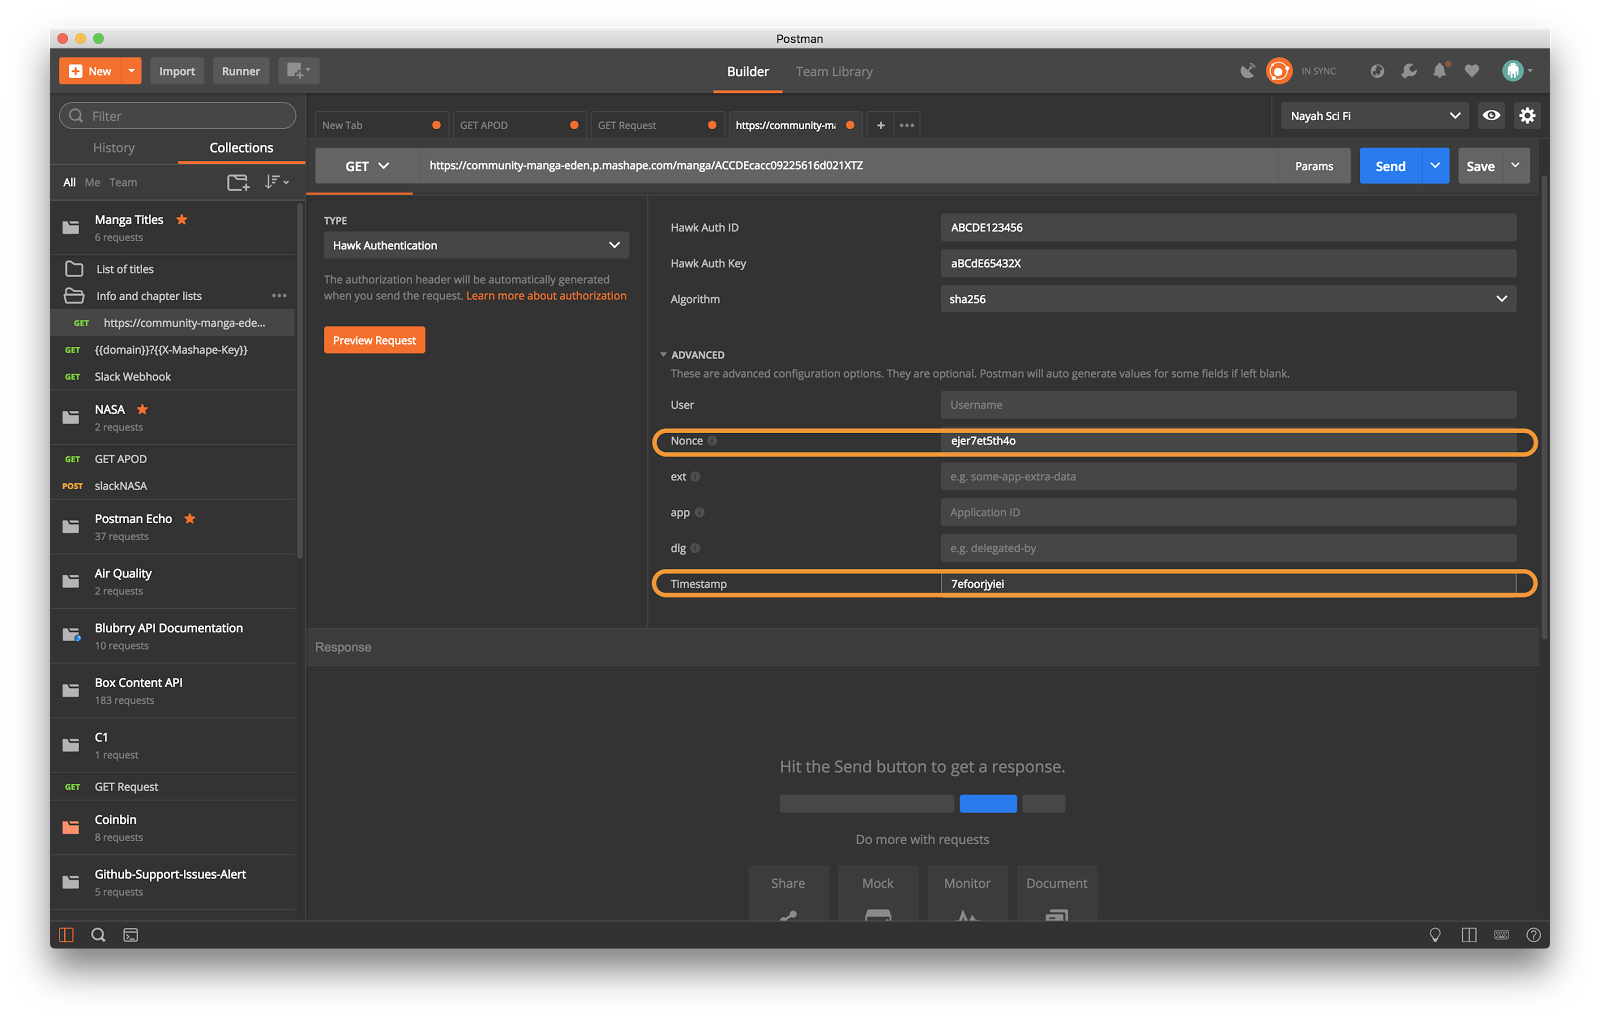
Credentials: These consist of an ID and a key that the client and server share.
Nonce: A unique value generated for each request, preventing replay attacks.
Timestamp: The time at which the request was initiated, adding an additional layer of security.
The process involves hashing the request with the shared key to generate a signature, which is sent with the HTTP headers for server-side verification.
Implementing Hawk Authentication in Java
To implement Hawk authentication in a Java application, you can use libraries such as Hawk4j. Below is a simplified example:
java
import org.hawk4j.Hawk;

public class HawkExample {
    public static void main(String[] args) {
        String hawkId = "your-hawk-id";
        String hawkKey = "your-hawk-key";
        String method = "GET";
        String uri = "/api/resource";
        String host = "example.com";
        String nonce = "unique-nonce";
        long timestamp = System.currentTimeMillis() / 1000;

        // Generate Hawk credentials
        String authorizationHeader = Hawk.generateAuthorizationHeader(method, uri, host, hawkId, hawkKey, nonce, timestamp);

        // Set up HTTP request using the generated header
        // Here you would use your preferred HTTP client to make the request
        System.out.println("Authorization Header: " + authorizationHeader);
    }
}
Implementing Hawk Authentication in Go
In Go, you can use the Hawk package available via GitHub. Below is an example of how to implement it:
go
package main

import (
    "fmt"
    "github.com/heroiclabs/hawk"
    "time"
)

func main() {
    hawkID := "your-hawk-id"
    hawkKey := "your-hawk-key"
    method := "GET"
    uri := "/api/resource"
    host := "example.com"
    nonce := "unique-nonce"
    timestamp := time.Now().Unix()

    // Generate Hawk credentials
    header, err := hawk.CreateAuthorizationHeader(method, uri, host, hawkID, hawkKey, nonce, timestamp)
    if err != nil {
        fmt.Println("Error generating header:", err)
        return
    }

    // Output the authorization header
    fmt.Println("Authorization Header:", header)
}
How to Use Tools to Test Hawk Authentication
Several tools can assist in testing Hawk Authentication:
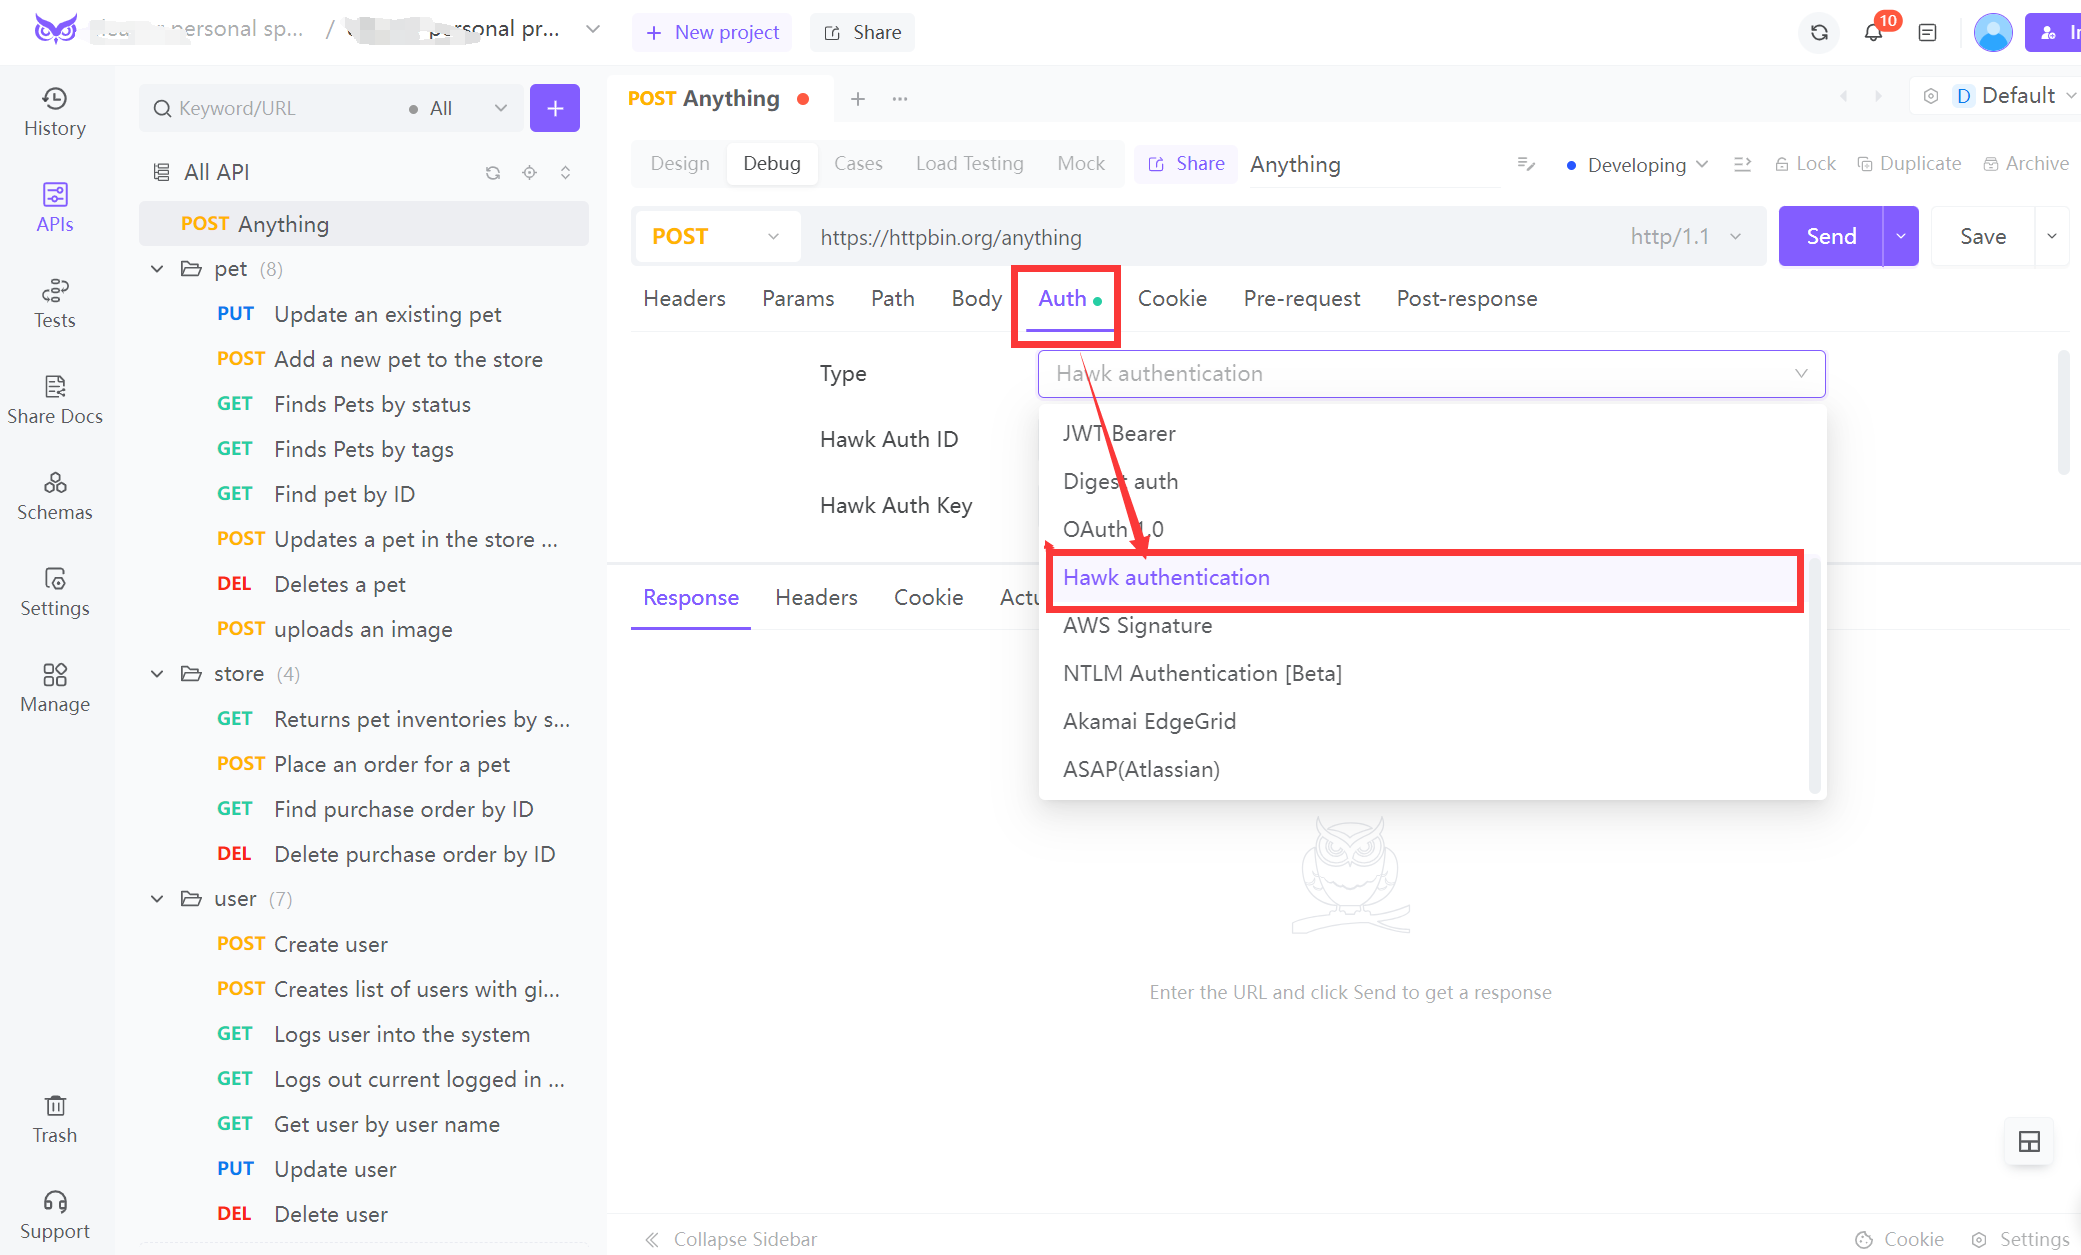
EchoAPI: EchoAPI allows you to easily craft requests and inspect responses, making it straightforward to validate your implementation. Simply add the necessary headers and test your API’s response to ensure that it adheres to the expected behavior.

Postman: You can manually set the Authorization header with your generated Hawk signature to see if your server accepts authenticated requests.

cURL: This command-line tool can be used similarly by passing the necessary headers, including the Hawk signature.
Automated Testing Libraries: Libraries like JUnit for Java and testing packages for Go allow you to script automated tests that generate and validate Hawk Authentication.
Custom Scripts: Building custom scripts to loop through multiple requests can help test the robustness of your Hawk Authentication setup.
Conclusion
Hawk Authentication provides a robust, lightweight method for securing REST APIs, minimizing security threats like replay attacks while ensuring message integrity. Implementing Hawk Authentication in Java and Go enhances the security of your applications. Testing tools like EchoAPI, Postman, and cURL, can streamline the debugging process, ensuring that the authentication mechanism is both effective and reliable. With its simplicity and strong security features, Hawk Authentication is an excellent choice for API protection in diverse environments, especially when combined with tools like EchoAPI for streamlined testing and validation.


 EchoAPI for VS Code

 EchoAPI for IntelliJ IDEA

 EchoAPl-Interceptor

 EchoAPl CLI
 EchoAPI Client
 API Design
 API Debug
 API Documentation
 Mock Server


