Mastering Postman: Understanding Commonly Used Request Headers
Understanding and configuring request headers is an important skill for debugging APIs effectively using tools like Postman.
When working with APIs, we often encounter various interfaces requiring specific request headers. These headers play a crucial role in defining how the client communicates with the server, ensuring proper data exchange or authentication. Beyond the examples we've explored in earlier articles, today we will dive into how to debug APIs effectively by understanding commonly used request headers.

This article provides a clear explanation of what they are, their purposes, and how they fit into API testing workflows.
What Are Request Headers?
Request headers are key-value pairs sent to the server as part of an HTTP request. They provide information about the request context or client environment, instructing the server on how to handle the incoming data or respond appropriately.

Why Are Request Headers Important?
Understanding request headers is essential for debugging APIs because they help configure how the client and server interact. For example:
- Some APIs strictly require proper headers for a successful request.
- Certain headers communicate the client's expectations for the response format.
- Headers may carry authentication tokens or other technical information that helps access server resources securely.
Commonly Used Request Headers: A Breakdown
Below is a list of commonly used request headers you’ll encounter while debugging APIs in Postman, along with their explanations:
1. Host: Identifying the Server
- The
Hostheader specifies the address of the server being accessed. It is mandatory for HTTP/1.1 requests. - Example:
Host: api.example.com
2. Connection: Managing Persistent Connections
- This header controls whether the connection should remain open after completing the current request.
- Example:
Connection: keep-alive
3. Accept: Declaring Accepted Response Formats
- The
Acceptheader informs the server about the response formats the client can understand. For example, JSON, XML, or HTML. - Example:
Accept: application/json
4. X-Requested-With: Identifying an Asynchronous Request
- Often used in AJAX requests, this header specifies whether the request was made via standard HTTP or an asynchronous call.
- Example:
X-Requested-With: XMLHttpRequest
5. User-Agent: Indicating the Client's Identity
- This header sends information about the client's application type, operating system, or software version.
- Example:
User-Agent: PostmanRuntime/7.32.0
6. Referer: Specifying the Origin of the Request
- Indicates the URL of the page that referred the request. This information is commonly used for analytics or security purposes.
- Example:
Referer: https://www.google.com
7. Cookie: Carrying Session Data
- This header contains cookies sent by the client, often for maintaining session information or tracking user interactions.
- Example:
Cookie: SessionID=abc123; UserID=456
8. Content-Type: Defining the Request Body's Format
- The
Content-Typeheader declares the format of the data being sent in the request body. It ensures the server correctly interprets the payload. - Common values include:
application/jsonapplication/x-www-form-urlencodedmultipart/form-data
- Example:
Content-Type: application/json
Practical Example: Debugging with Request Headers in Postman

To grasp these headers in action, let’s walk through debugging an API with specific request headers in Postman:
Scenario: Sending a POST Request with Required Headers
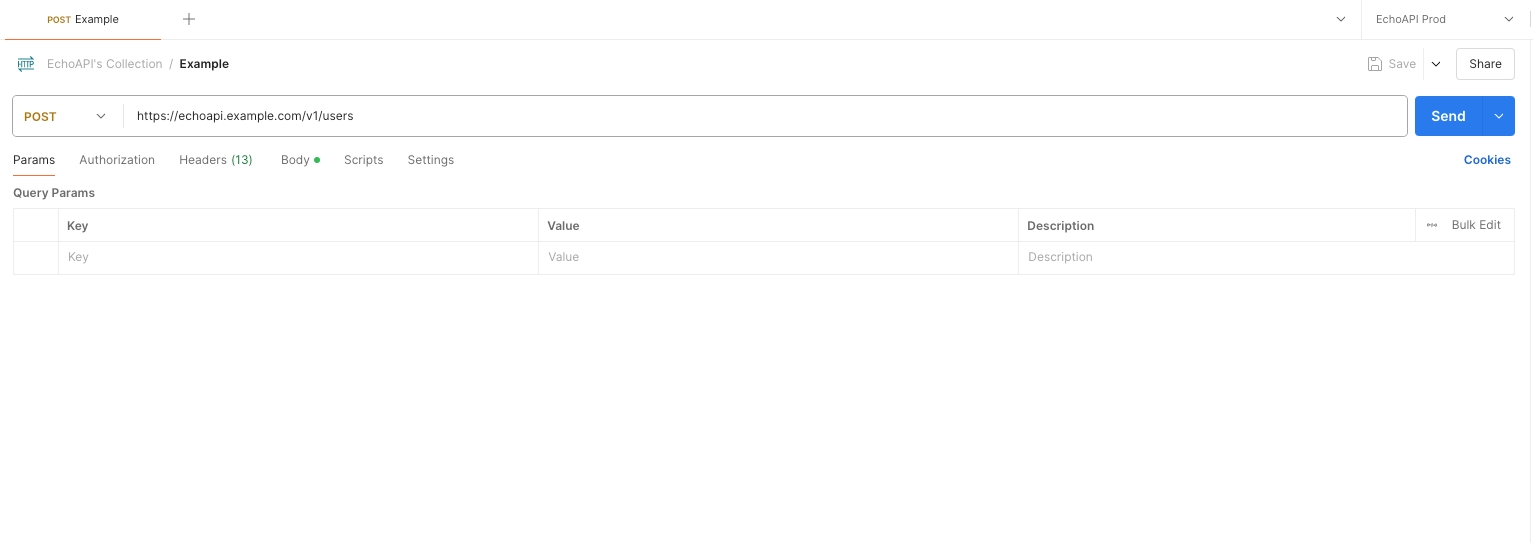
1. API Endpoint:
- URL:
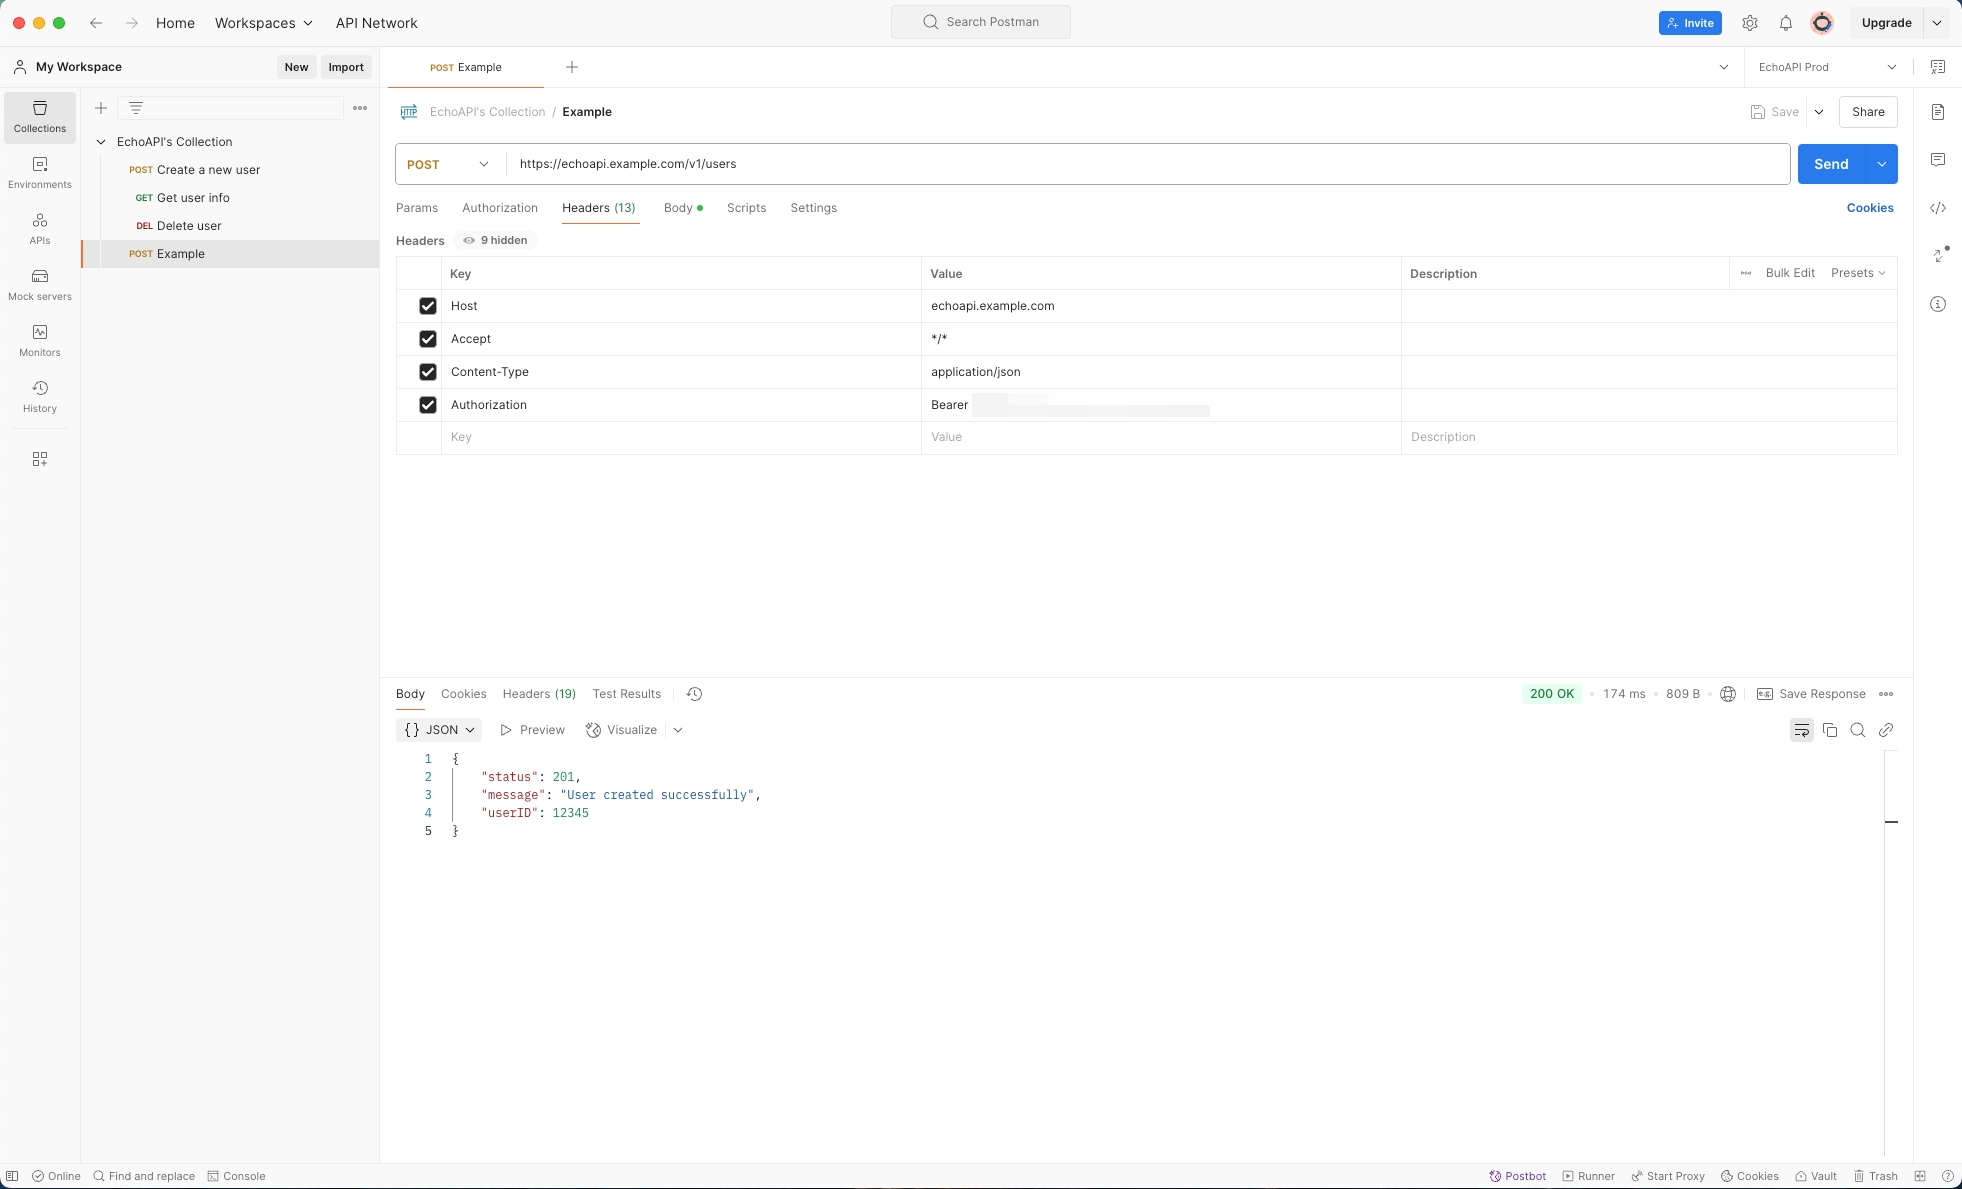
https://echoapi.example.com/v1/users

2. Headers Configuration in Postman:
Open Postman, navigate to the Headers tab, and input the following required headers:
Host: echoapi.example.comAccept: application/jsonContent-Type: application/jsonAuthorization: Bearer <YourAuthToken>

3. Request Body:
Under the Body tab, provide payload data, such as:
{
    "name": "John Doe",
    "email": "john.doe@example.com",
    "role": "Admin"
}

4. Send Request and Review Response:
Click Send to execute the request. The server should return a response based on the provided headers and body. For example:
{
    "status": 201,
    "message": "User created successfully",
    "userID": 12345
}

Through this hands-on example, you can see how adding essential headers allows seamless interaction with an API that requires specific configurations.
Conclusion
Understanding and configuring request headers is an important skill for debugging APIs effectively using tools like Postman. Headers ensure the client-server communication meets the expected standards, handling everything from connection management to data type specification and user session tracking.
To recap, the most commonly used request headers include:
- Host, to specify the server.
- Connection, to manage link persistency.
- Accept, for preferred response formats.
- X-Requested-With, for asynchronous requests.
- User-Agent, for client identification.
- Referer, to identify the source of the request.
- Cookie, for client-side data retention.
- Content-Type, to indicate how the request body is formatted.
By mastering these key request headers and their roles, you’ll be equipped with the insights needed to work confidently with diverse APIs. Debugging becomes smoother and more efficient, helping you deliver better and more reliable software solutions.


 EchoAPI for VS Code

 EchoAPI for IntelliJ IDEA

 EchoAPl-Interceptor

 EchoAPl CLI
 EchoAPI Client
 API Design
 API Debug
 API Documentation
 Mock Server


