Spy Agency 3.0: How to Secure WebSockets with JWT Authentication
In this article, we explore how to secure WebSocket communications using JWT authentication to protect sensitive data during real-time operations.
Previously, we explored designing real-time operations using WebSockets + DTOs.
Now, we have a high-stakes mission ahead. We need to ensure that WebSocket communications remain secure during our missions. If an enemy infiltrates our real-time channels, classified intelligence could be compromised.
Your task? Implement JWT authentication to ensure only authorized operatives can access our network. Let's move!
1️⃣ Why Secure WebSockets?

WebSockets allow instant, bi-directional communication, but without proper security measures, enemy agents could:
- Intercept transmissions (Sensitive intel leaks)
- Impersonate operatives (Session hijacking)
- Launch unauthorized attacks (Compromising mission-critical data)
🔹 Your Objective: Authenticate every agent before they establish a connection using JWT!

2️⃣ How JWT + WebSockets Work Together
Step 1: Agent Authentication (JWT Issuance)
Before an agent can access the WebSocket mission channel, they must first authenticate and obtain proper clearance.
1. Agent logs into HQ via a secure API
- The agent provides their operational credentials (e.g., username & password or multi-factor authentication).
- The request is sent over HTTPS to prevent eavesdropping.
Example API request:
POST /api/auth/login
Content-Type: application/json
{ "username": "AgentX", "password": "TopSecret123" }
2. Server validates credentials and issues a JWT clearance token
- If authentication is successful, the server generates a JWT (JSON Web Token) containing:
- The agent’s unique ID
- Their clearance level
- An expiration time to enforce session limits
- The JWT is signed using a private key to prevent tampering.
Example JWT payload:
{
  "sub": "AgentX",
  "role": "field-operative",
  "exp": 1714598400
}
3. Agent Receiving the JWT Token
The agent receives the JWT token as part of the server’s response after a successful authentication request. The token is typically as an HTTP-only cookie.
Server Sends JWT as an HTTP-Only Cookie (More Secure)
For better security, the server sets an HTTP-only cookie that automatically gets sent with requests.
Example HTTP Response (Cookie Method)
HTTP/1.1 200 OK
Set-Cookie: jwt=eyJhbGciOiJIUzI1NiIsInR5cCI6IkpXVCJ9...; HttpOnly; Secure; SameSite=Strict
4. How the Agent Handles It (Browser Automatically Stores the Cookie)
- The browser automatically stores the cookie, and it is included in subsequent requests.
- No need for client-side storage.
- The token is inaccessible to JavaScript, preventing XSS attacks.
**Client-Side Example (No Need to Manually Store JWT) **
fetch("https://hq-secure.com/api/auth/login", {
  method: "POST",
  credentials: "include", // Ensures cookies are sent with the request
  headers: { "Content-Type": "application/json" },
  body: JSON.stringify({ username: "AgentX", password: "TopSecret123" }),
})
  .then(response => {
    if (response.ok) console.log("Login successful, JWT stored in HttpOnly cookie!");
  })
  .catch(error => console.error("Authentication failed", error));
Downside: WebSockets do not automatically include cookies in connection requests. The client will need to manually retrieve the JWT from cookies and attach it when opening the WebSocket connection.
Step 2: Establishing a Secure WebSocket Connection
Once authenticated, the agent must present their clearance token when initiating a WebSocket connection.
1. Agent presents JWT upon connection request
- The WebSocket client includes the JWT in the request headers or as a query parameter.
Example WebSocket connection request:
const socket = new WebSocket("wss://hq-secure.com/missions?token=eyJhbGciOiJIUzI1...");
2. WebSocket server verifies clearance before establishing a link
- The server extracts and validates the JWT, checking:
- Signature integrity (to ensure it wasn’t altered)
- Expiration time (to reject outdated tokens)
- Agent’s clearance level (to allow only authorized access)
- If the JWT is invalid or expired, the connection is rejected.
3. Access Control: Grant or Deny
- ✅ If valid, the WebSocket connection is established, allowing the agent to receive mission-critical updates.
- ❌ If invalid or expired, the server immediately closes the connection.
Example server-side validation:
if (!isValidJWT(token)) {
    socket.close(4001, "Unauthorized: Invalid Token");
}
By enforcing JWT-based authentication for WebSocket connections, we ensure that only cleared agents can access mission data while maintaining secure, real-time communication.
3️⃣ Implementing JWT + WebSockets in Node.js
Step 1: Install Necessary Tools
npm install express socket.io jsonwebtoken cors
Step 2: Generate & Verify JWT Credentials
const jwt = require("jsonwebtoken");
const SECRET_KEY = "top_secret_mission_code"; // 🔥 Keep this confidential!

// Generate Secure Clearance Token
display of code
function generateToken(agent) {
  return jwt.sign({ id: agent.id, codename: agent.codename }, SECRET_KEY, { expiresIn: "1h" });
}

// Verify Agent Clearance
function verifyToken(token) {
  try {
    return jwt.verify(token, SECRET_KEY);
  } catch (err) {
    return null;
  }
}
Step 3: WebSocket HQ - Accepting Only Authorized Operatives
const express = require("express");
const http = require("http");
const { Server } = require("socket.io");

const app = express();
const server = http.createServer(app);
const io = new Server(server, { cors: { origin: "*" } });

// Secure WebSocket Communications
io.use((socket, next) => {
  const token = socket.handshake.auth.token;
  const agent = verifyToken(token);
  if (!agent) return next(new Error("Unauthorized access - Clearance Denied!"));
  socket.agent = agent; // Attach agent details to session
  next();
});

io.on("connection", (socket) => {
  console.log(`Agent Connected: ${socket.agent.codename}`);

  socket.on("message", (msg) => {
    console.log(`Transmission from ${socket.agent.codename}: ${msg}`);
  });

  socket.on("disconnect", () => {
    console.log(`Agent Disconnected: ${socket.agent.codename}`);
  });
});

server.listen(3000, () => console.log("Secure WebSocket HQ running on port 3000"));
✅ Now, only verified agents can establish a secure line of communication!
4️⃣ Field Agent Setup: Connecting with Secure WebSockets
Step 1: Install WebSocket Client Module
npm install socket.io-client
Step 2: Field Agent’s Connection to HQ
import { io } from "socket.io-client";

const clearanceToken = localStorage.getItem("jwt"); // Retrieve secure token
const socket = io("http://localhost:3000", {
  auth: { token: clearanceToken },
});

socket.on("connect", () => {
  console.log("✅ Secure Channel Established with HQ!");
});

socket.on("message", (msg) => {
  console.log("Incoming Transmission:", msg);
});

socket.on("disconnect", () => {
  console.log("Secure Channel Lost! Retrying...");
});
✅ Now, only agents with a valid clearance token can access mission-critical updates!
5️⃣ Agent Security Protocols: Best Practices
✅ Use HTTP-only cookies to store JWTs (prevents enemy XSS attacks).
✅ Set short-lived tokens (e.g., 1-hour validity) to minimize breach risks.
✅ Implement refresh tokens to re-authenticate operatives after expiration.
✅ Encrypt WebSocket channels (WSS) using SSL/TLS for secure communication.
✅ Monitor & log all WebSocket connections to detect suspicious activity.
6️⃣ How EchoAPI Helps

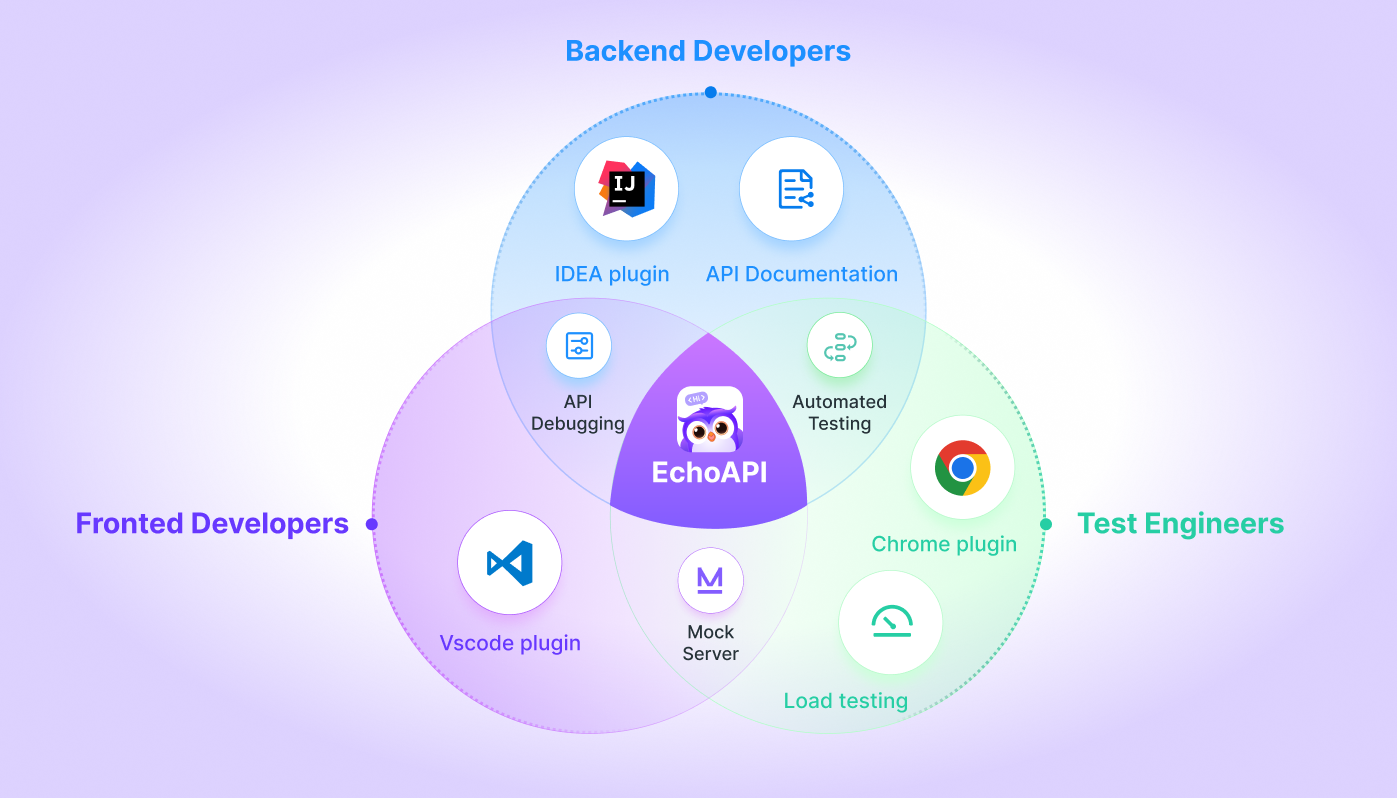
EchoAPI is a powerful tool that allows you to test, debug, and monitor WebSocket communications in real-time.
Benefits of EchoAPI:
- All-in-One API Solution → Design, test, debug, CI/CD integration, mock services, stress testing, and seamless documentation—all in one place.
- No Login Required → Access and use without any account setup—just jump in and start working!
- AI-Powered Imports → Convert API documents into actionable interfaces with intelligent recognition tools.
- Free Plugins → Compatible with IntelliJ IDEA, VS Code, Cursor, and Chrome—at no extra cost.
- Offline Support → Work anytime, anywhere—no internet required.
- Multiple Communication Protocols → Supports HTTP, GraphQL, WebSocket, TCP, SSE, and more.
- Smart Authentication → Built-in support for OAuth 2.0, JWT Bearer, AWS Signature, Basic Auth, Hawk Authentication, and more.
- Cross-Tool Compatibility → Import/export projects from Postman, Swagger, and Insomnia with ease.
- Easy Team Collaboration → Work in real-time, sync data instantly, and share progress seamlessly.

Mission Accomplished: Why JWT + WebSockets?
| Security Feature | Mission Benefit |
|---|---|
| JWT Authentication | Ensures only authorized agents connect |
| No Need for API Polling | Reduces HQ server load |
| Secure Real-Time Updates | Protects classified intel |
| Persistent Identity | Maintains session across reconnections |
HQ Command: You now have the tools to establish a secure real-time network using JWT & WebSockets. Deploy this strategy in the field and ensure no unauthorized access to mission-critical communications!


 EchoAPI for VS Code

 EchoAPI for IntelliJ IDEA

 EchoAPl-Interceptor

 EchoAPl CLI
 EchoAPI Client
 API Design
 API Debug
 API Documentation
 Mock Server


