Thunder Client Guide: How to Set Up Environments and Environment Variables
Thunder Client for VS Code simplifies API development with environment variables. This guide covers setup and introduces EchoAPI as an alternative.
When it comes to developing and testing APIs, using environment variables can significantly simplify the process, making your work more efficient and organized. Thunder Client, a lightweight REST API Client Extension for Visual Studio Code (VS Code), offers robust support for managing environments and variables. This guide will walk you through the process of setting up environments and environment variables in Thunder Client. We'll cover the different types of environments you can use, how to set up and manage them, and finally, we'll introduce you to EchoAPI, a powerful alternative you might find useful.
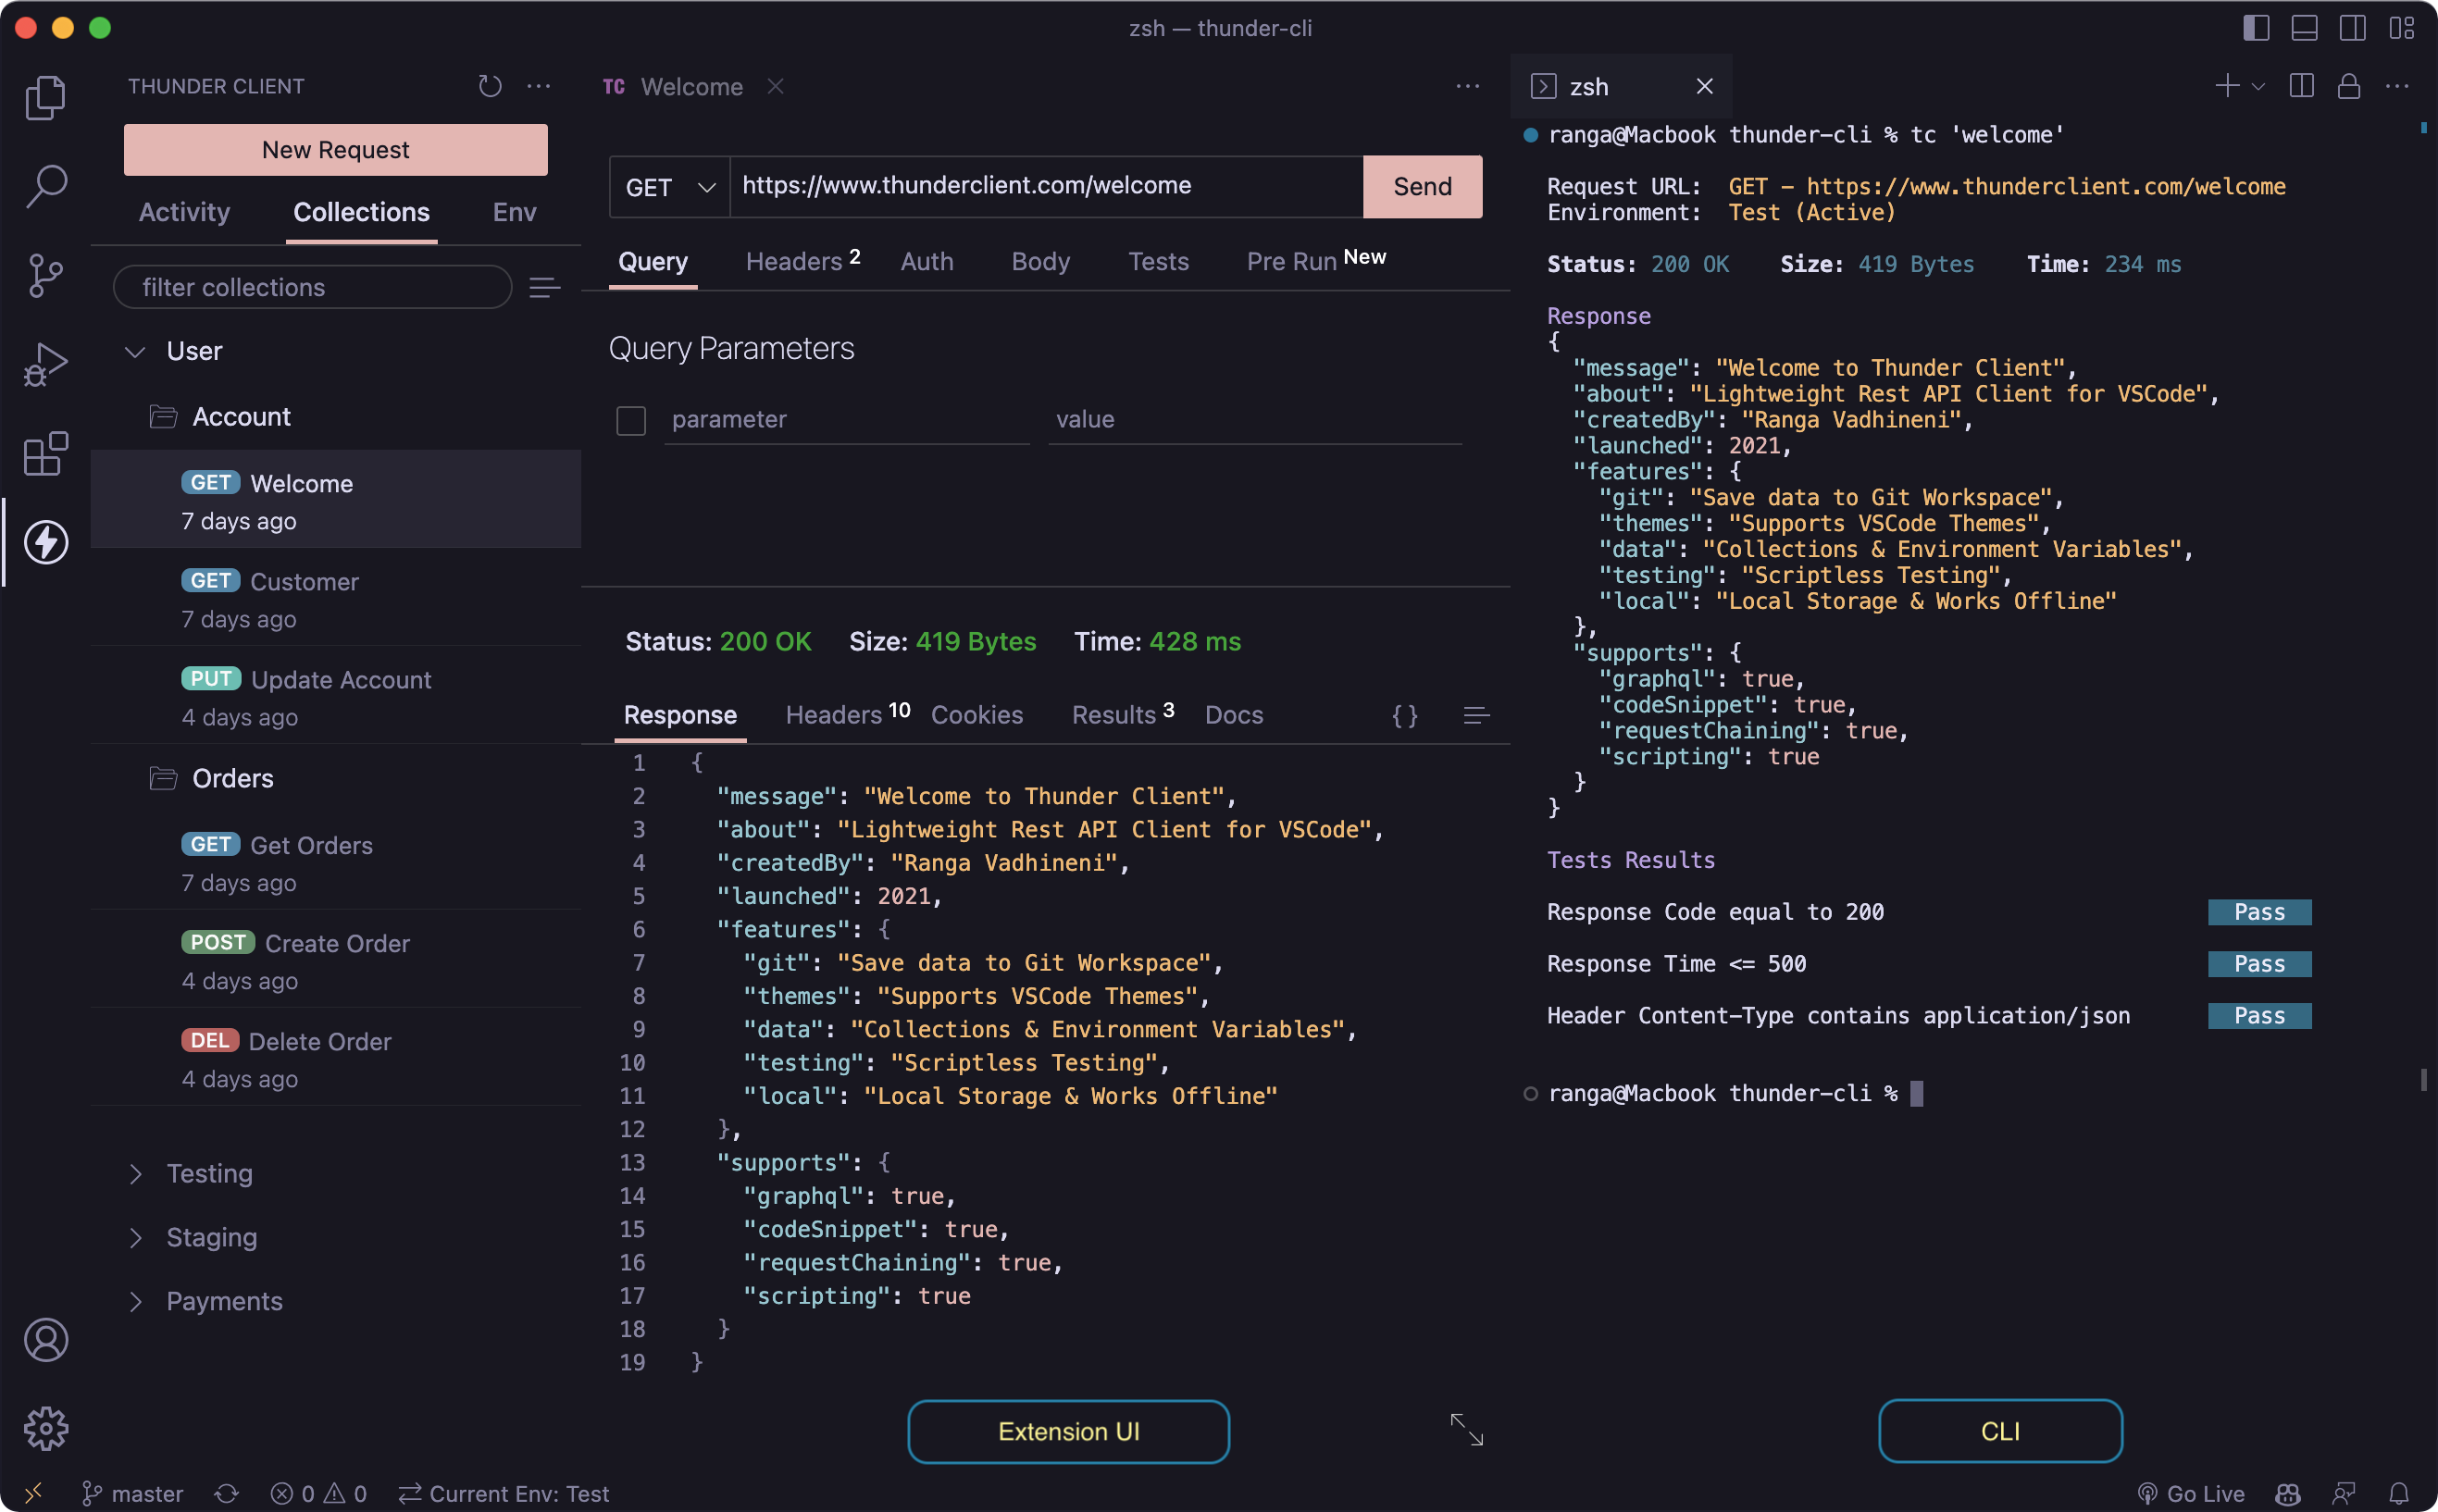

Understanding Thunder Client Environments and Variables
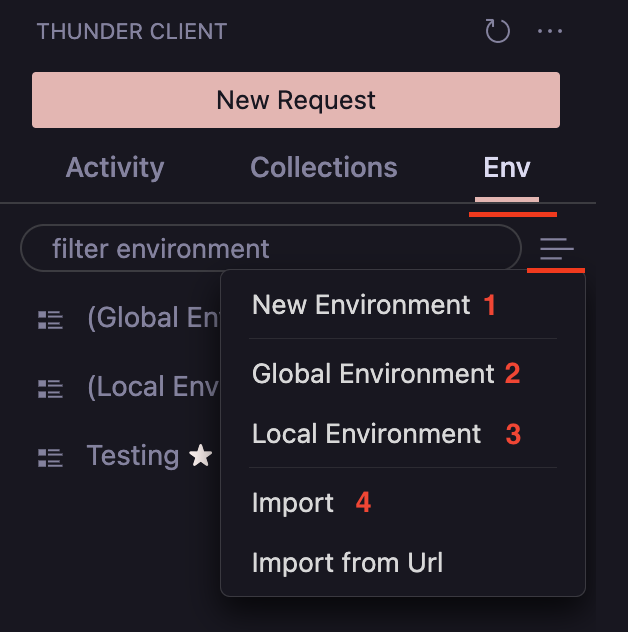
In API development, keeping track of different configurations for various environments (like development, staging, and production) can be challenging. Thunder Client makes this easier by allowing you to define and manage environment variables. Here's an outline of the types of environments and variables supported by Thunder Client:
- OS Environment Variables
You can reference your operating system's environment variables directly within Thunder Client by using the format{{variable}}. These serve as global variables that can be accessed across all API requests. - Global Environment
This environment allows you to store variables that are accessible across all collections. These variables are saved in thetc_env_global.jsonfile, making it easy to manage values that are needed everywhere in your projects. - Local Environment
Use the Local Environment to store secrets and transient tokens locally on your computer. This is especially useful when you want to exclude sensitive information from your git projects. Local Environment variables are global in nature and available across all collections. - .env Files
Thunder Client supports the use of .env files, which are particularly useful for managing environment variables in a simple key-value format. To utilize .env files, create an environment in Thunder Client, link it to your .env file, and then you can use the variables in your requests. - Active Environment
To activate an environment, you need to select it from the options menu and set it as active. This makes the variables in the chosen environment available for your API requests. - Attaching Environment to a Collection
You can attach specific environments to collections from the Collection Settings view. This is useful for linking multiple collections to different environments. Be cautious if you frequently switch environments, as this could lead to unintended configurations. - Collection and Request Variables
These are specific to a collection or request and are defined in the Pre Run Tab within the settings. These variables are only available during the execution of the request.
Setting Up Environment Variables
Using environment variables in Thunder Client enhances the reusability and manageability of your API requests. Here’s how to go about it:
- Creating an Environment
Open Thunder Client in VS Code by clicking the Thunder Client icon in the Action Bar.
In the Environments section, click on the New Environment button, name your environment, and add your variables in the key-value format. - Linking .env Files
To link a .env file:- Create an environment by using the "New Environment" button.
- Open the environment and choose the option to link a .env file.
- Select your .env file, save it, and the variables defined in that file will be available for use.
- Setting Variables in Requests
Use the format{{variableName}}to reference environment variables in your request URLs, headers, body, or tests. This ensures that the variables are automatically substituted with their respective values when the request is executed. - Activating an Environment
From the Environments menu, select the desired environment and choose the "Set Active" option. This activates the environment, making its variables available for all your requests.
Using Collection and Request Variables
For setting variables specific to a collection or a request, go to the specific setting, open the Pre Run Tab, and use the scripting tab to set your variables using:
tc.setVar("name", "Thunder Client", "request");
tc.setVar("baseUrl", "http://localhost:8744", "request");
Advanced Features
- Encrypted Environments
Available in the Enterprise Plan, this feature allows you to store your environment variables in an encrypted format. This adds an extra layer of security, especially for sensitive information. - Integration with Secret Managers
Thunder Client can integrate with secret managers like Azure Key Vault and AWS Secrets Manager. By setting environment variables likeTC_AZURE_VAULT_URLfor Azure orTC_AWS_SECRET_NAMEandTC_AWS_REGIONfor AWS, Thunder Client can fetch and use secrets directly from these managers. - Importing .env Files
If you have configurations from tools like Postman or other clients, you can import .env files into Thunder Client. This is particularly useful for transitioning existing projects or incorporating external configurations.

Recommendation: EchoAPI for VS Code
While Thunder Client is an excellent tool for managing API environments and variables, EchoAPI for VS Code offers an ultra-lightweight alternative. EchoAPI supports Scratch Pad for short-term request storage and provides a robust set of features for API design, debugging, automated testing, and load testing. Here are some benefits of using EchoAPI:
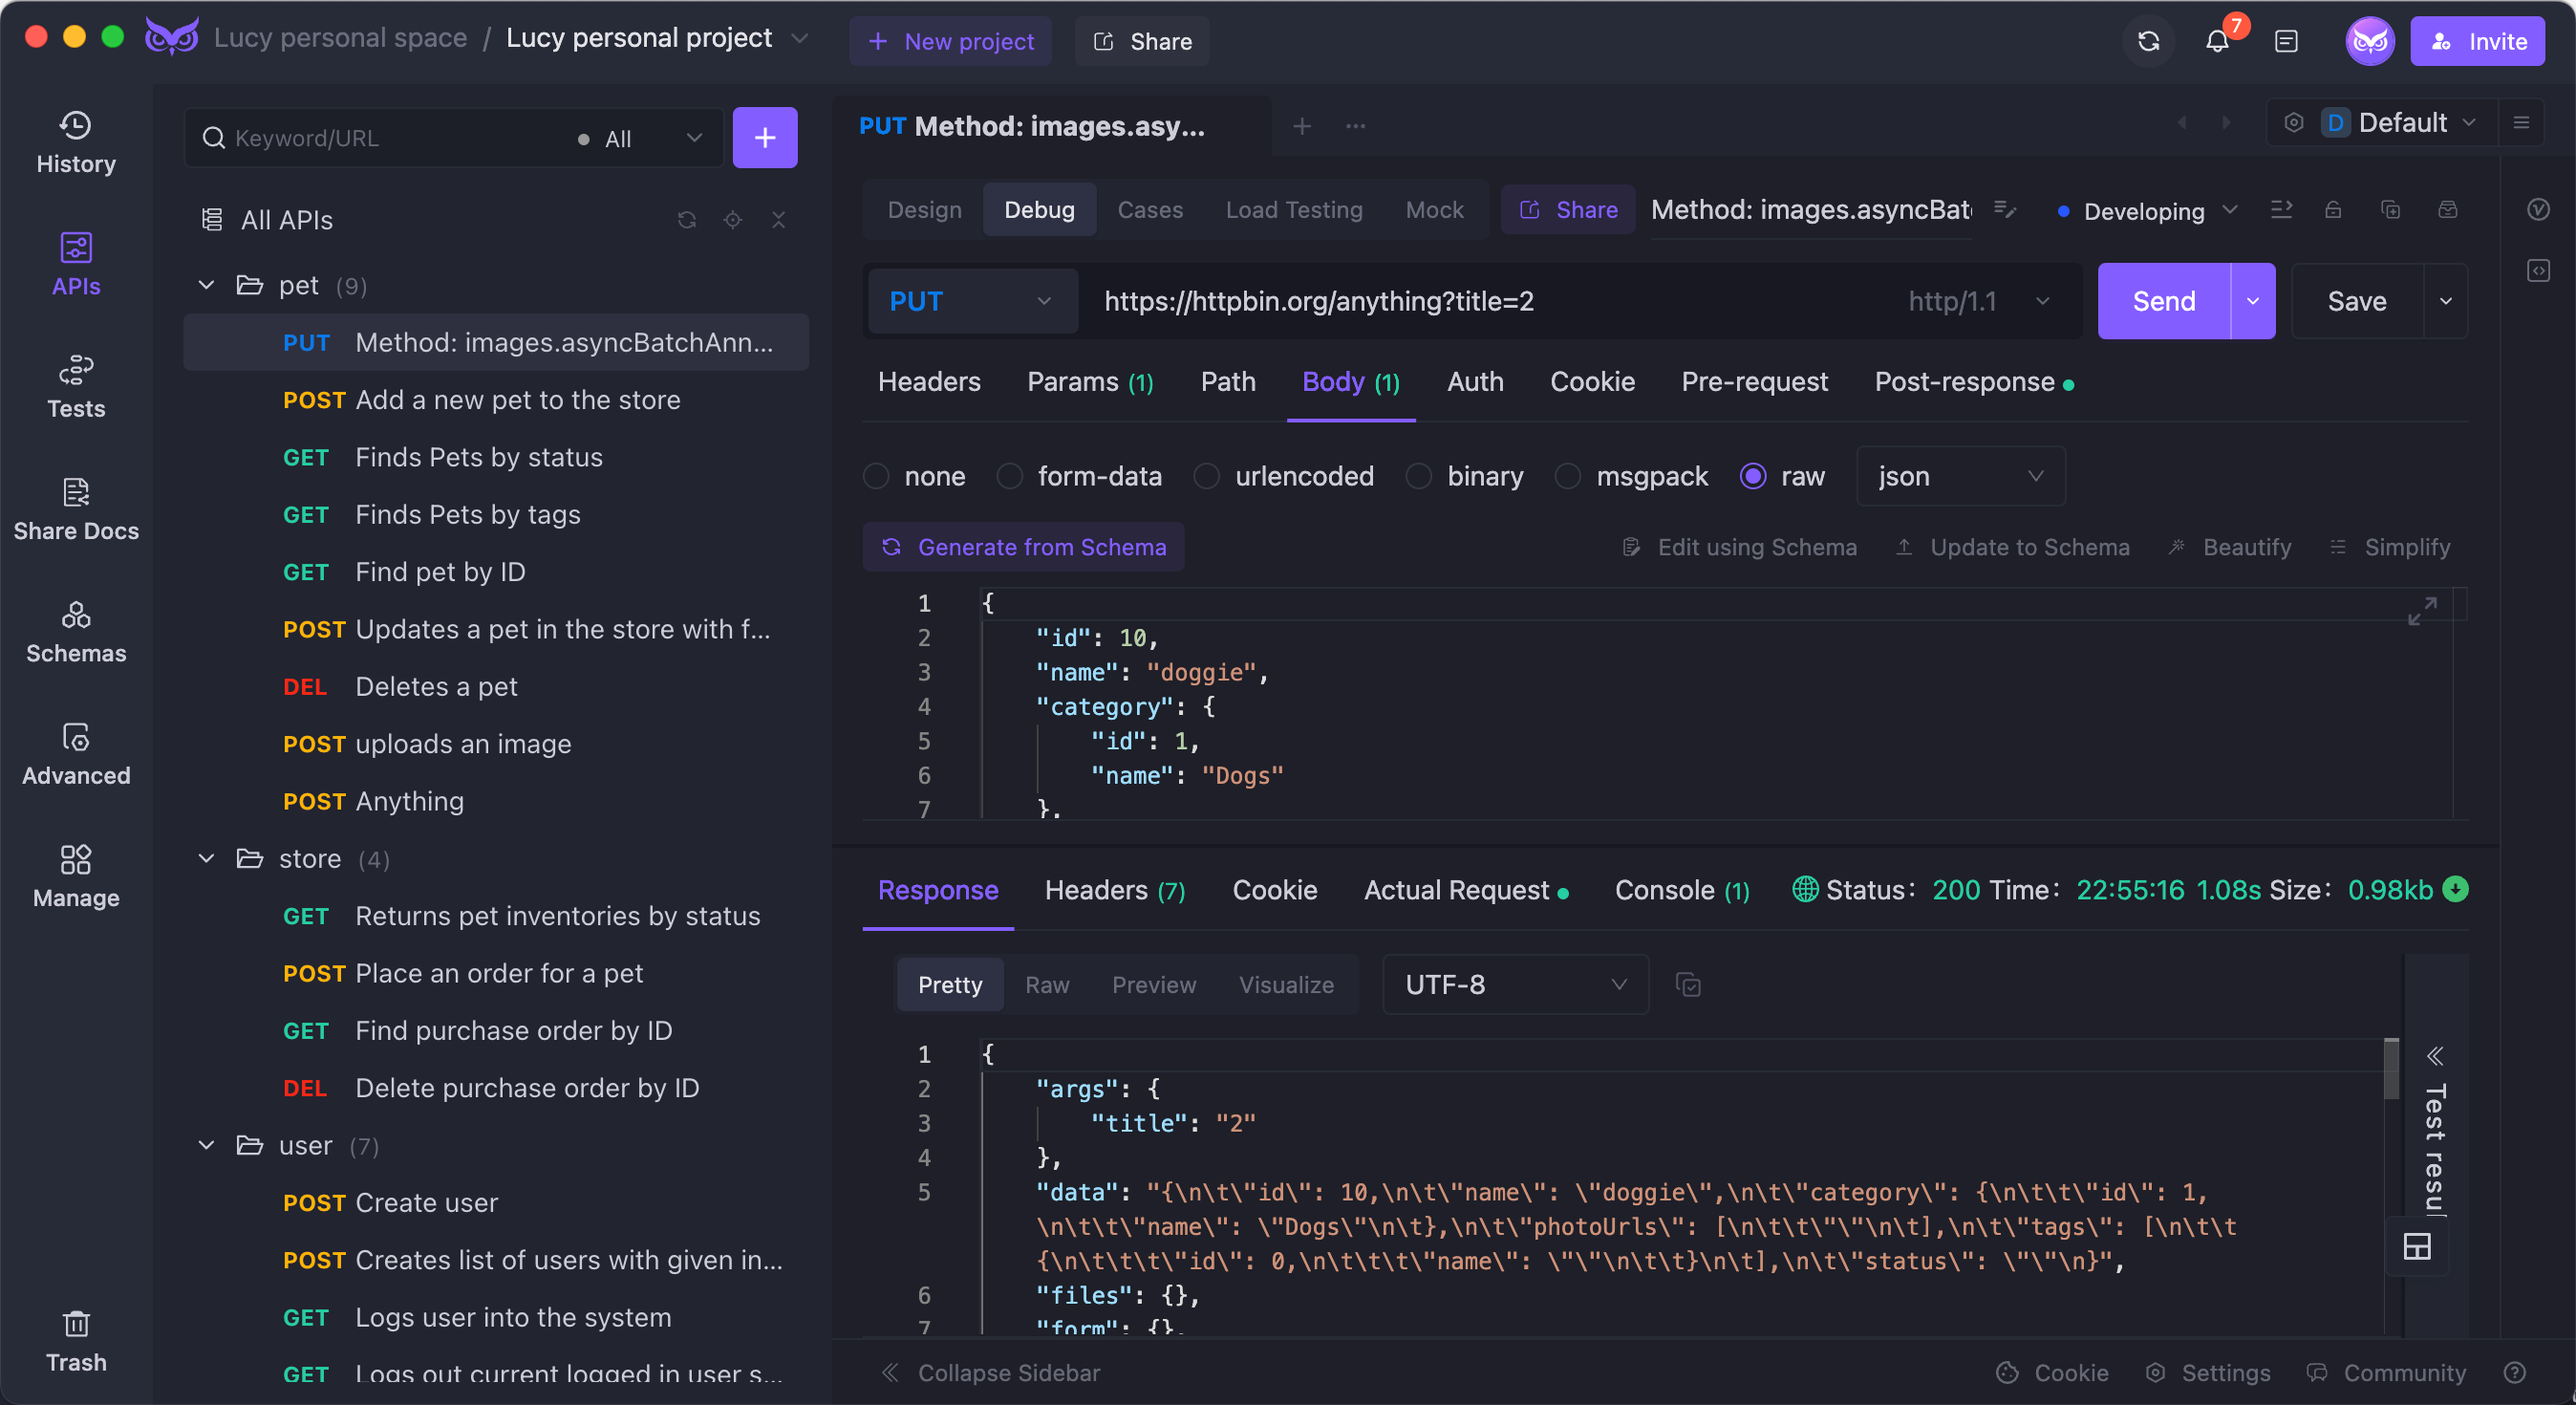
- No Login Required: Use all features without the need for an account.
- Supports Scratch Pad: Quickly draft and test API requests without saving.
- Ultra Lightweight: Minimal resource usage ensures fast performance.
- 100% Compatible with Postman Script Syntax: Easily transition from Postman and continue using familiar script syntax.
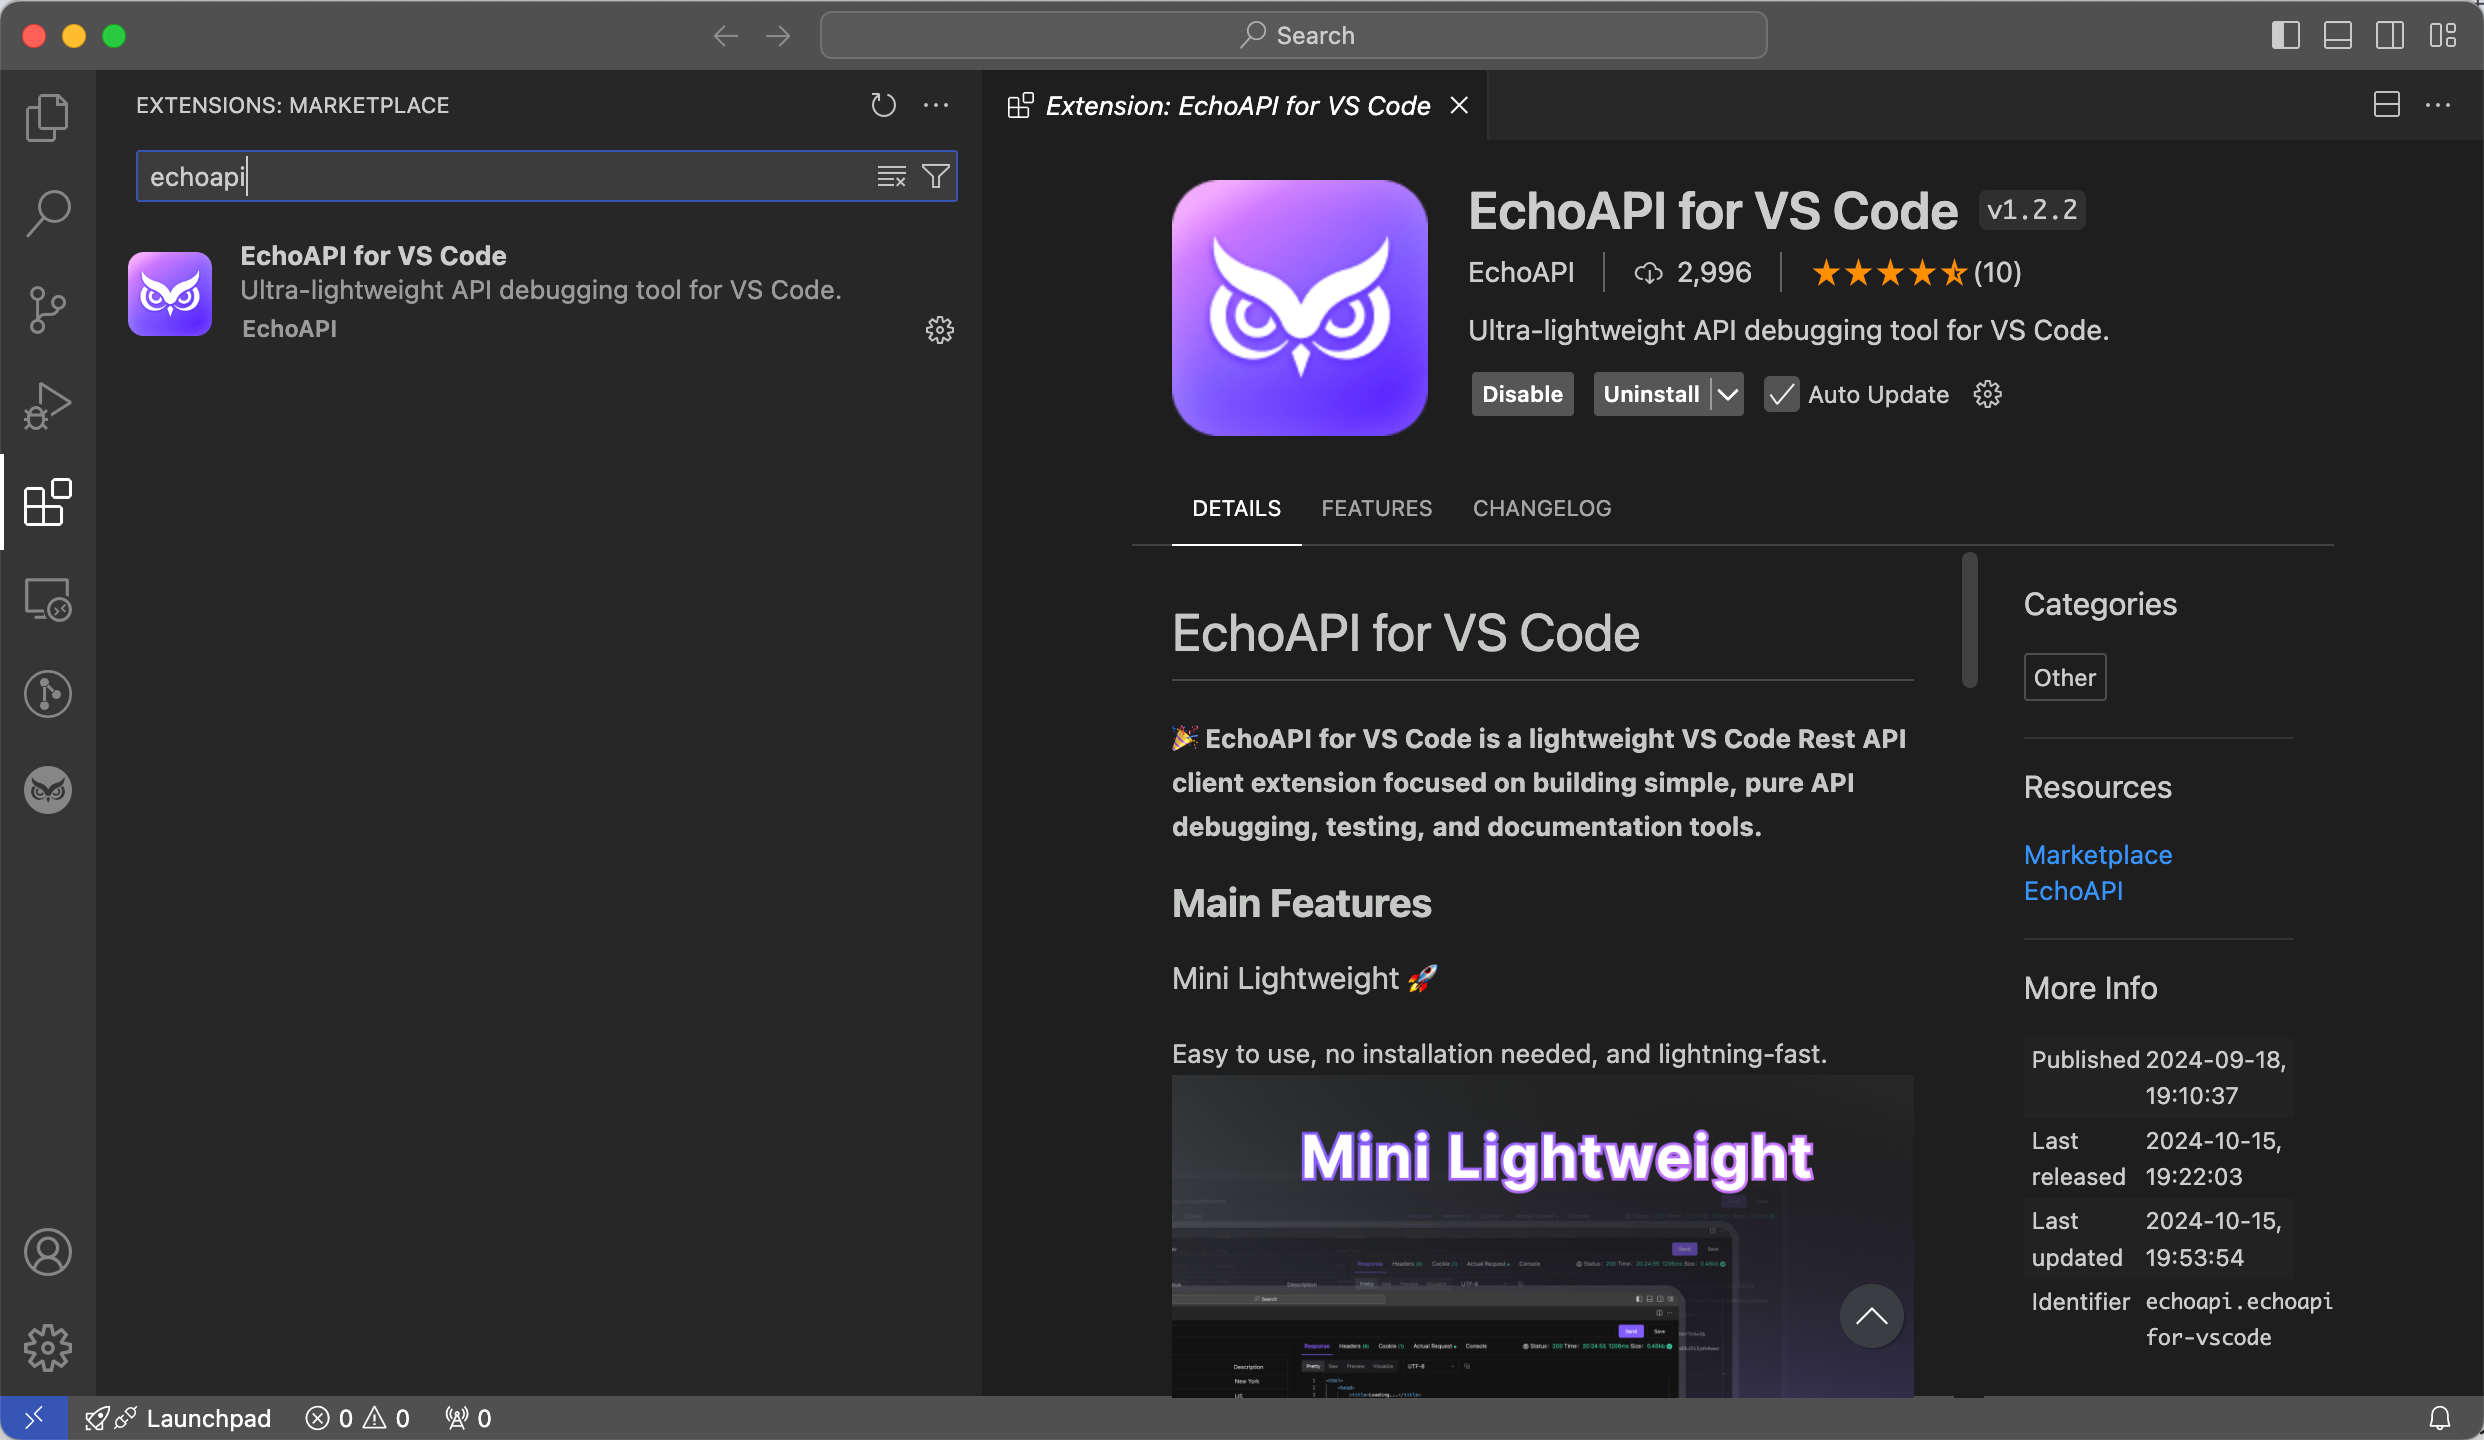
EchoAPI also integrates with IntelliJ IDEA, VS Code, and a Chrome request capture extension, making it a versatile tool for API development and testing.


 EchoAPI for VS Code

 EchoAPI for IntelliJ IDEA

 EchoAPl-Interceptor

 EchoAPl CLI
 EchoAPI Client
 API Design
 API Debug
 API Documentation
 Mock Server


