Understanding Akamai EdgeGrid Authentication for REST APIs
Fast, secure content delivery is essential today. Akamai's EdgeGrid boosts web performance and security with HMAC-SHA256-based token authentication. Easily implement in Python, Java, or Go, and test with EchoAPI, Postman, and curl to keep your app secure and reliable.
In our hyper-connected world, getting content to users quickly and securely is a top priority. That’s where Akamai comes in. They’re big players in the content delivery and cloud services game, and they offer this nifty platform called EdgeGrid that helps make your web applications faster, more reliable, and super secure.
But, with great power comes great responsibility—or, in this case, the need for great security. That’s where Akamai EdgeGrid Authentication (Auth) steps in to save the day.
What Exactly is Akamai EdgeGrid Auth?
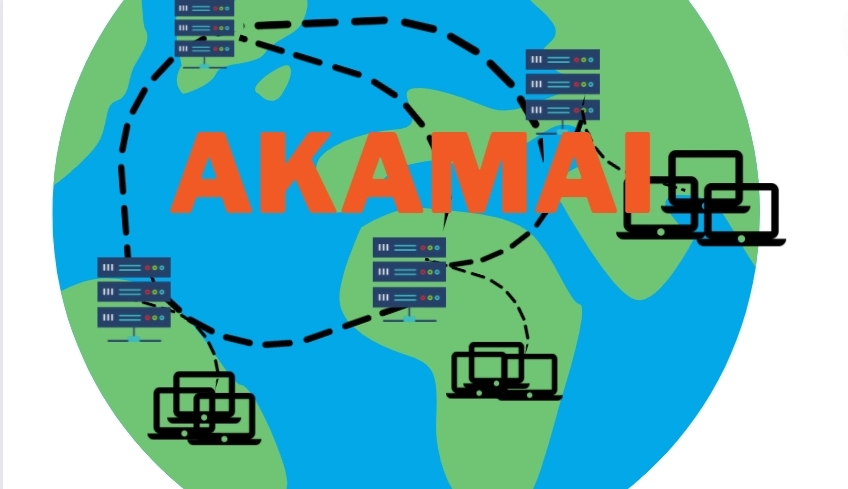
Think of Akamai EdgeGrid Auth like a bouncer at an exclusive club. Only those with the right credentials get in. It’s a system designed to make sure that when you send a request to Akamai’s services via their REST APIs (more on those later), it’s legit, and nobody’s sneaking in where they shouldn’t be.
Here’s how it works:
-
Token-Based Security: Every time you knock on Akamai’s door (i.e., send a request), you bring along a special token. This token isn’t just any old ticket—it’s got a timestamp, a nonce (a fancy word for a unique identifier), and a signature that proves you’re on the list. This helps keep the bad guys out and your data safe.
-
HMAC-SHA256 Signature: Okay, I know that sounds like a mouthful, but it’s simpler than it seems. This is just a way of making sure that your token hasn’t been tampered with. It’s like a digital seal of approval, made by combining your request details with a secret key that only you and Akamai know.
-
Timestamp and Nonce: These two little guys are like your token’s best friends. The timestamp says, “Hey, this request is fresh, so let it through,” while the nonce makes sure that even if you send the same request twice, it’ll still be unique. Together, they’re a dynamic duo that helps prevent anyone from replaying your old requests and causing trouble.
-
Integration with Akamai’s APIs: The cool thing about Akamai EdgeGrid Auth is that it’s made to work perfectly with Akamai’s APIs. It’s like peanut butter and jelly—they’re just better together. This means less hassle for you and more security for your apps.
-
Easy Implementation: Akamai knows you’ve got enough on your plate, so they’ve made it super easy to get this auth thing going. They provide all the tools and libraries you need, whether you’re coding in Python, Java, or Go. It’s like they’ve packed your lunch and laid out your clothes for the day—you just need to get up and go.
How to Implement Akamai EdgeGrid Authentication
Implementing Akamai EdgeGrid Authentication might sound complex, but it's actually pretty straightforward once you get the hang of it. Let’s break it down step by step for different programming languages like Python, Java, and Go. No matter which language you’re working with, the process is pretty similar: create a signed token, attach it to your API request, and you’re good to go.
Python Implementation
Python is known for its simplicity, and implementing EdgeGrid Auth here is no exception. Here’s how you can do it:
1. Install the Required Libraries: First, you’ll need some libraries to help with HTTP requests and JWT (JSON Web Token) creation. You can install them using pip:
pip install requests PyJWT
2. Generate the JWT: You’ll need to create a JWT that contains all the necessary claims (like your API client token, access token, etc.). Here’s a quick example:
import jwt
import time

def generate_jwt(private_key, client_token, access_token):
  payload = {
      'client_token': client_token,
      'access_token': access_token,
      'exp': int(time.time()) + 3600  # Token expiration time
  }
  return jwt.encode(payload, private_key, algorithm='HS256')
3. Make the API Request: Now, you can use the requests library to send your API request. Just attach the signed JWT in the Authorization header:
import requests

private_key = 'your_private_key'
client_token = 'your_client_token'
access_token = 'your_access_token'

jwt_token = generate_jwt(private_key, client_token, access_token)

headers = {
  'Authorization': f'Bearer {jwt_token}'
}

response = requests.get('https://your-api-endpoint', headers=headers)
print(response.json())
Java Implementation
Java might be a bit more verbose, but it’s just as powerful. Here’s how you can set up EdgeGrid Auth:
1. Include Dependencies: Make sure you have the necessary libraries for JWT and HTTP requests. If you’re using Maven, your pom.xml might look something like this:
<dependency>
  <groupId>io.jsonwebtoken</groupId>
  <artifactId>jjwt</artifactId>
  <version>0.9.1</version>
</dependency>
2. Create and Sign the JWT: You’ll generate the JWT with the required claims and sign it using your private key:
import io.jsonwebtoken.Jwts;
import io.jsonwebtoken.SignatureAlgorithm;

import java.util.Date;

public String generateJwt(String privateKey, String clientToken, String accessToken) {
  return Jwts.builder()
          .claim("client_token", clientToken)
          .claim("access_token", accessToken)
          .setExpiration(new Date(System.currentTimeMillis() + 3600000))
          .signWith(SignatureAlgorithm.HS256, privateKey)
          .compact();
}
3. Send the API Request: Now, you can use HttpURLConnection or another HTTP library to send the request:
import java.net.HttpURLConnection;
import java.net.URL;

public void sendRequest(String jwtToken) throws Exception {
  URL url = new URL("https://your-api-endpoint");
  HttpURLConnection connection = (HttpURLConnection) url.openConnection();
  connection.setRequestProperty("Authorization", "Bearer " + jwtToken);
  connection.setRequestMethod("GET");

  int responseCode = connection.getResponseCode();
  System.out.println("Response Code: " + responseCode);
}
Go Implementation
Go is known for its efficiency and simplicity. Implementing EdgeGrid Auth in Go is pretty straightforward:
1. Install Packages: You’ll need a package to handle JWTs. You can install it using:
go get github.com/dgrijalva/jwt-go
2. Build and Sign the JWT: Here’s how you can create and sign a JWT in Go:
package main

import (
  "fmt"
  "time"
  "github.com/dgrijalva/jwt-go"
)

func generateJWT(privateKey []byte, clientToken string, accessToken string) (string, error) {
  token := jwt.NewWithClaims(jwt.SigningMethodHS256, jwt.MapClaims{
      "client_token": clientToken,
      "access_token": accessToken,
      "exp":          time.Now().Add(time.Hour).Unix(),
  })
  return token.SignedString(privateKey)
}
3. Send the API Request: You can use Go’s net/http package to make the request with the JWT:
package main

import (
  "fmt"
  "net/http"
)

func main() {
  privateKey := []byte("your_private_key")
  clientToken := "your_client_token"
  accessToken := "your_access_token"

  jwtToken, _ := generateJWT(privateKey, clientToken, accessToken)

  req, _ := http.NewRequest("GET", "https://your-api-endpoint", nil)
  req.Header.Set("Authorization", "Bearer "+jwtToken)

  client := &http.Client{}
  resp, _ := client.Do(req)

  fmt.Println("Response Status:", resp.Status)
}
How to Test Akamai EdgeGrid Auth Using Tools💡
Once you’ve implemented** Akamai EdgeGrid Authentication** in your application, the next crucial step is testing it. Testing ensures that your implementation is secure, works as expected, and is ready for production. Luckily, there are several tools you can use to test your EdgeGrid Auth implementation effectively. Let’s dive into how you can use tools like EchoAPI, Postman, and curl to test your setup.
Testing with EchoAPI
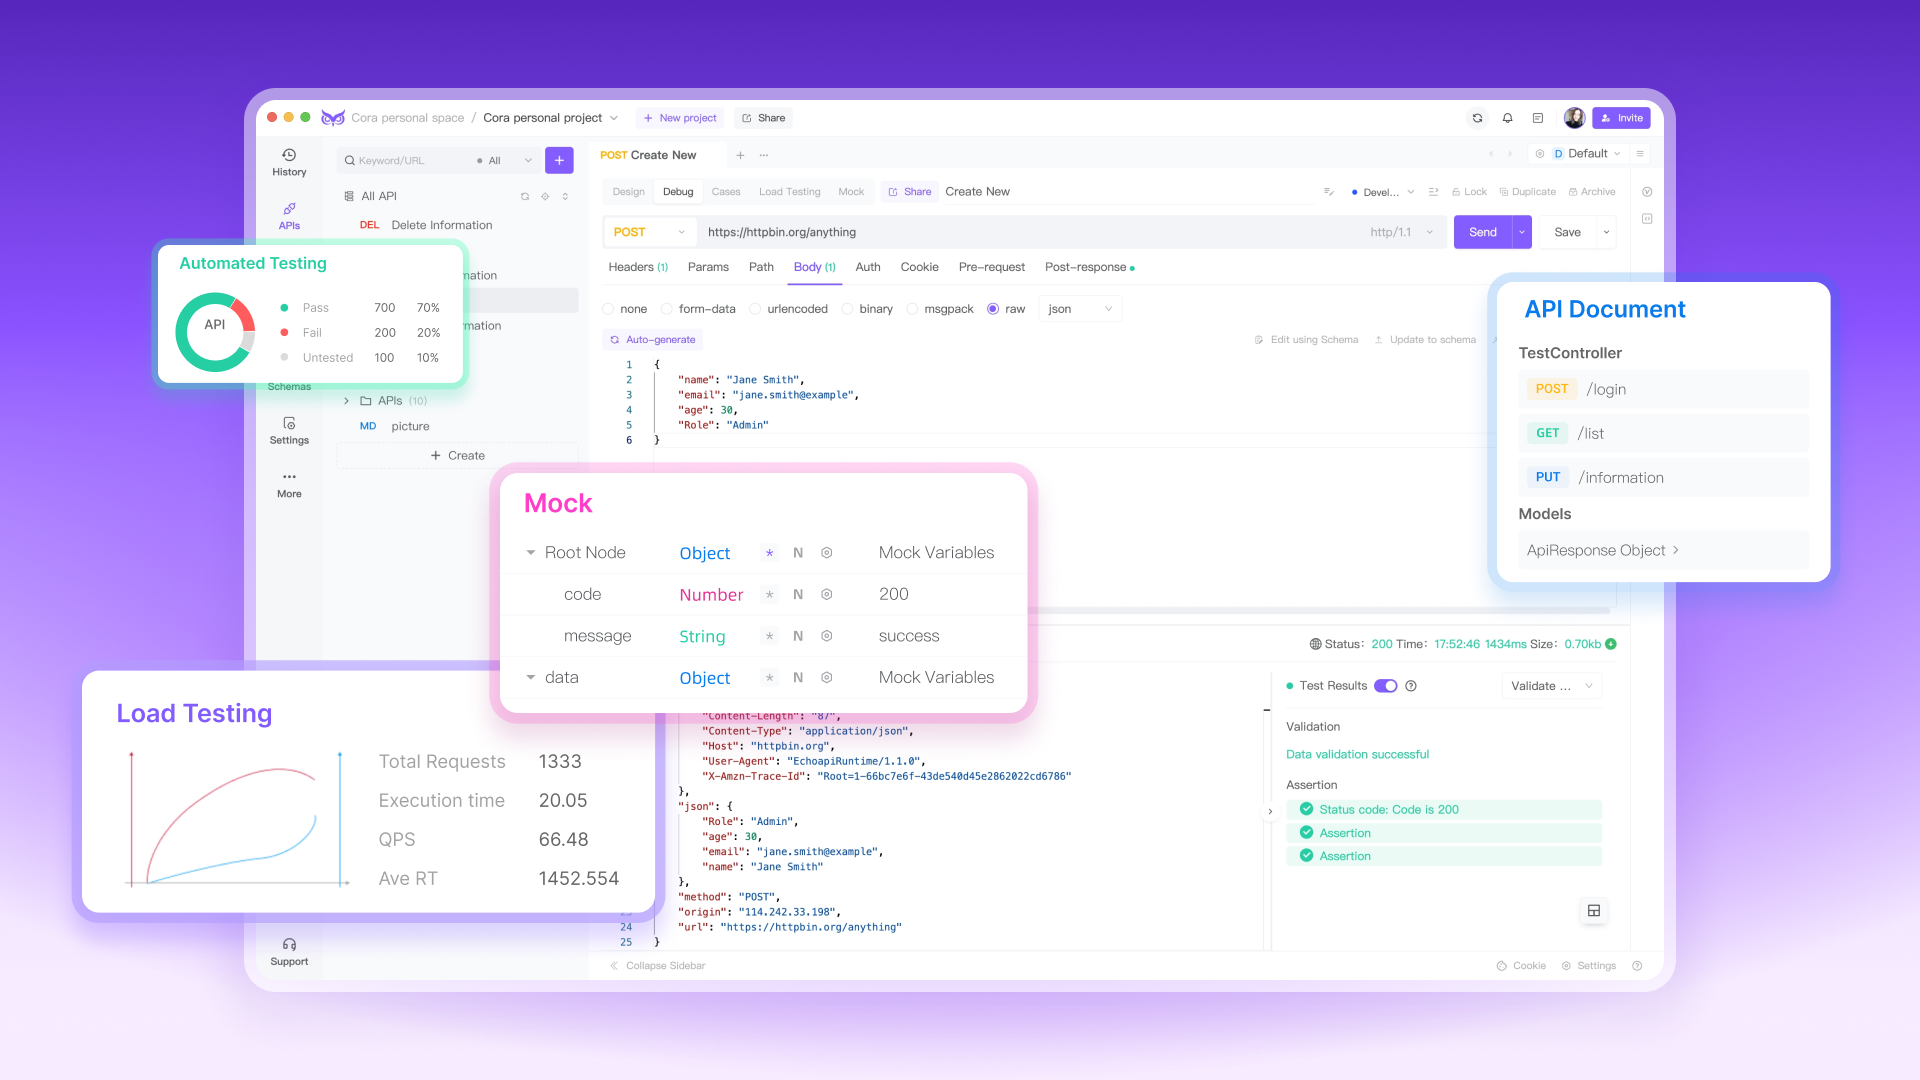
EchoAPI is a user-friendly tool that makes it easy to test your Akamai EdgeGrid Authentication setup. The following steps, based on the provided screenshots, will guide you through configuring and testing your Akamai EdgeGrid Auth in EchoAPI.
To get started, you'll need to set up the necessary authentication parameters in EchoAPI:
1. Navigate to the Auth Tab:
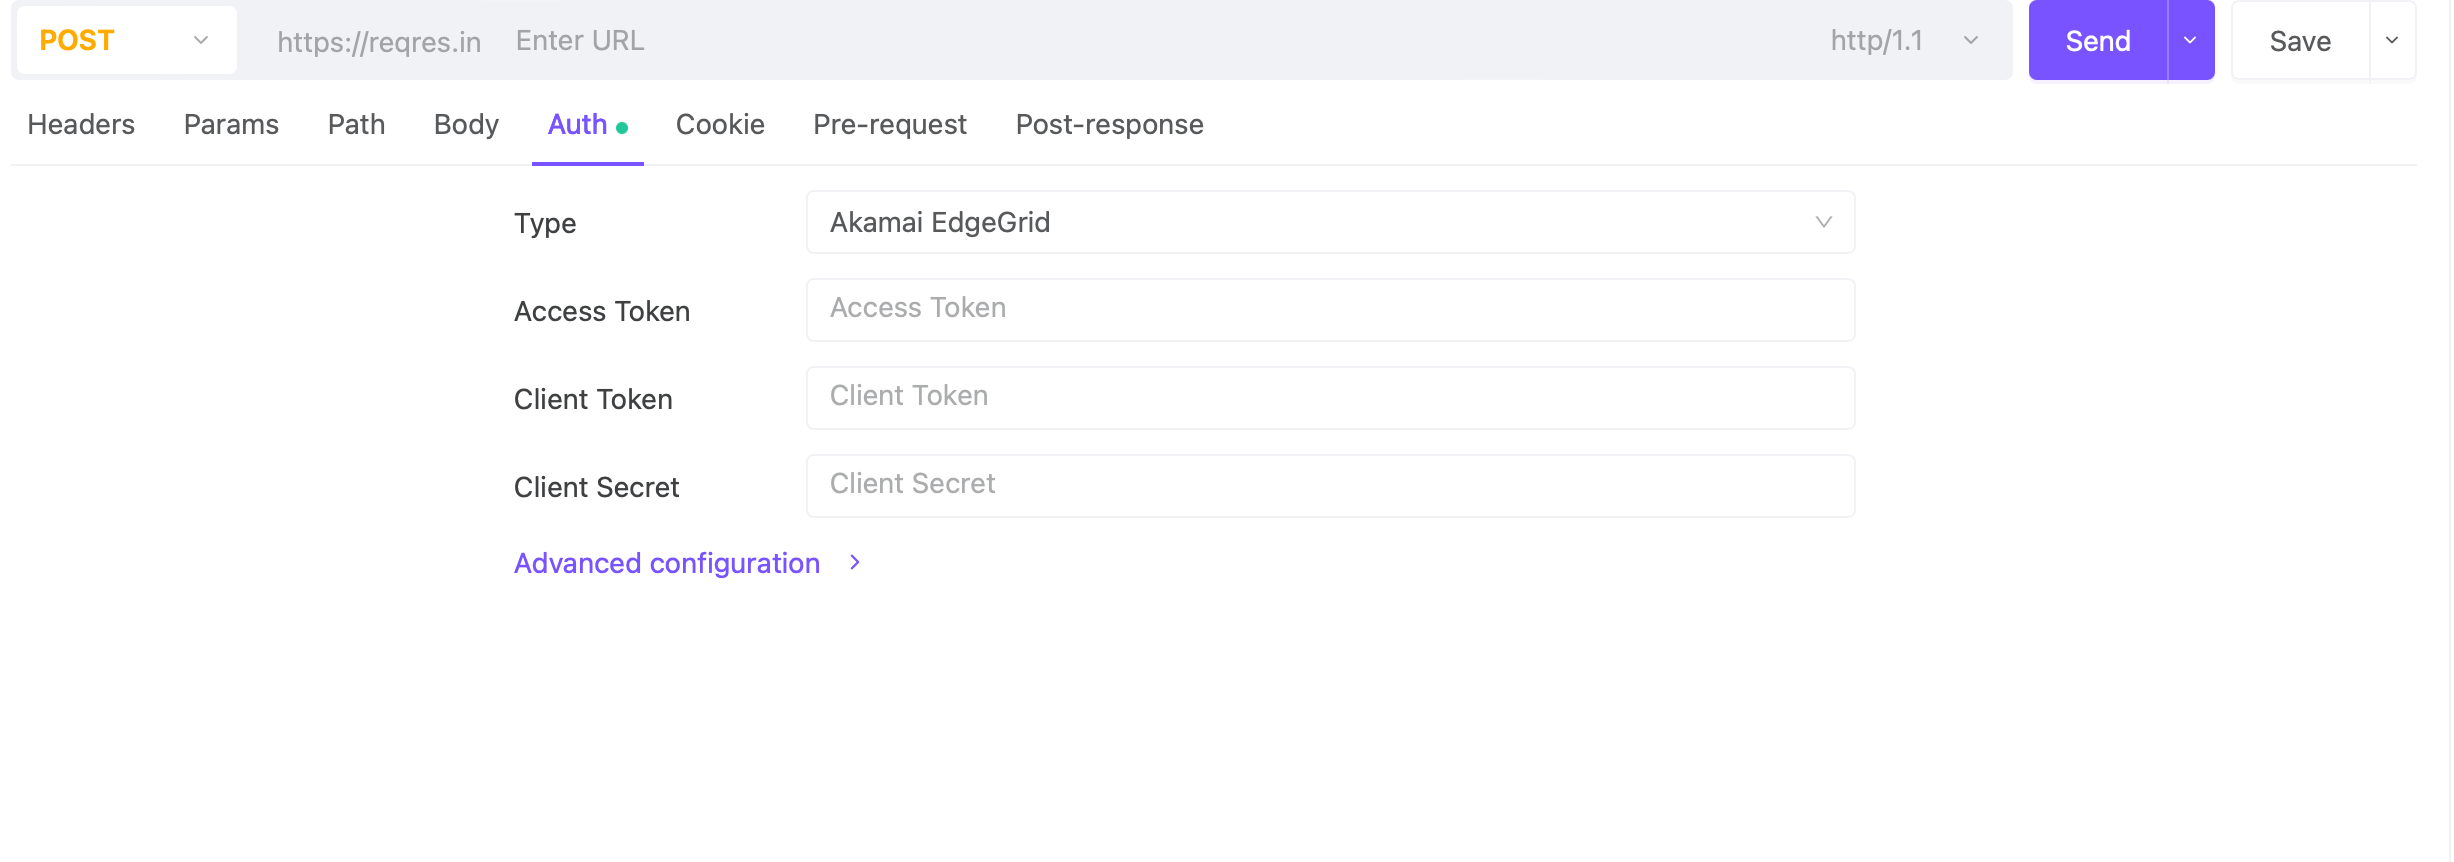
2. In the request setup, click on the 'Auth' tab.
Select Akamai EdgeGrid from the Type dropdown menu.
3. Enter Your Credentials:
Access Token: Input your Access Token provided by Akamai.
Client Token: Enter your Client Token.
Client Secret: Provide the Client Secret associated with your API client.
These fields are essential for creating the signed request that Akamai requires for authentication.
4. Advanced Configuration:
If needed, expand the Advanced configuration section.

Here, you can manually set values for Nonce, Timestamp, Base URI, and Headers to Sign. However, EchoAPI auto-generates default values for these fields unless you specify otherwise.
Nonce: This unique value ensures each request is unique, even if sent multiple times.
Timestamp: The time when the request is made; it ensures that the request is fresh.
Base URI: Enter the base URL for your Akamai API if it needs to be specified differently.
Headers to Sign: Specify any headers that should be included in the signature calculation, which can be critical for ensuring the authenticity and integrity of the request.
Choose the appropriate HTTP method (e.g., GET, POST) for your API request. Enter the full URL of the API endpoint you wish to interact with. If your request requires headers, parameters, or a body, make sure to fill those out as needed in the respective tabs (Headers, Params, Body).
Click the Send button to execute the request. EchoAPI will process the request, using the Akamai EdgeGrid authentication you configured.
After the request is sent, review the response in EchoAPI. A successful response (such as a 200 OK status) indicates that your Akamai EdgeGrid Auth is correctly set up and functioning.
Testing with Postman
Postman is another popular tool for testing APIs, and it’s quite similar to EchoAPI. Here’s how to use it for testing Akamai EdgeGrid Auth:
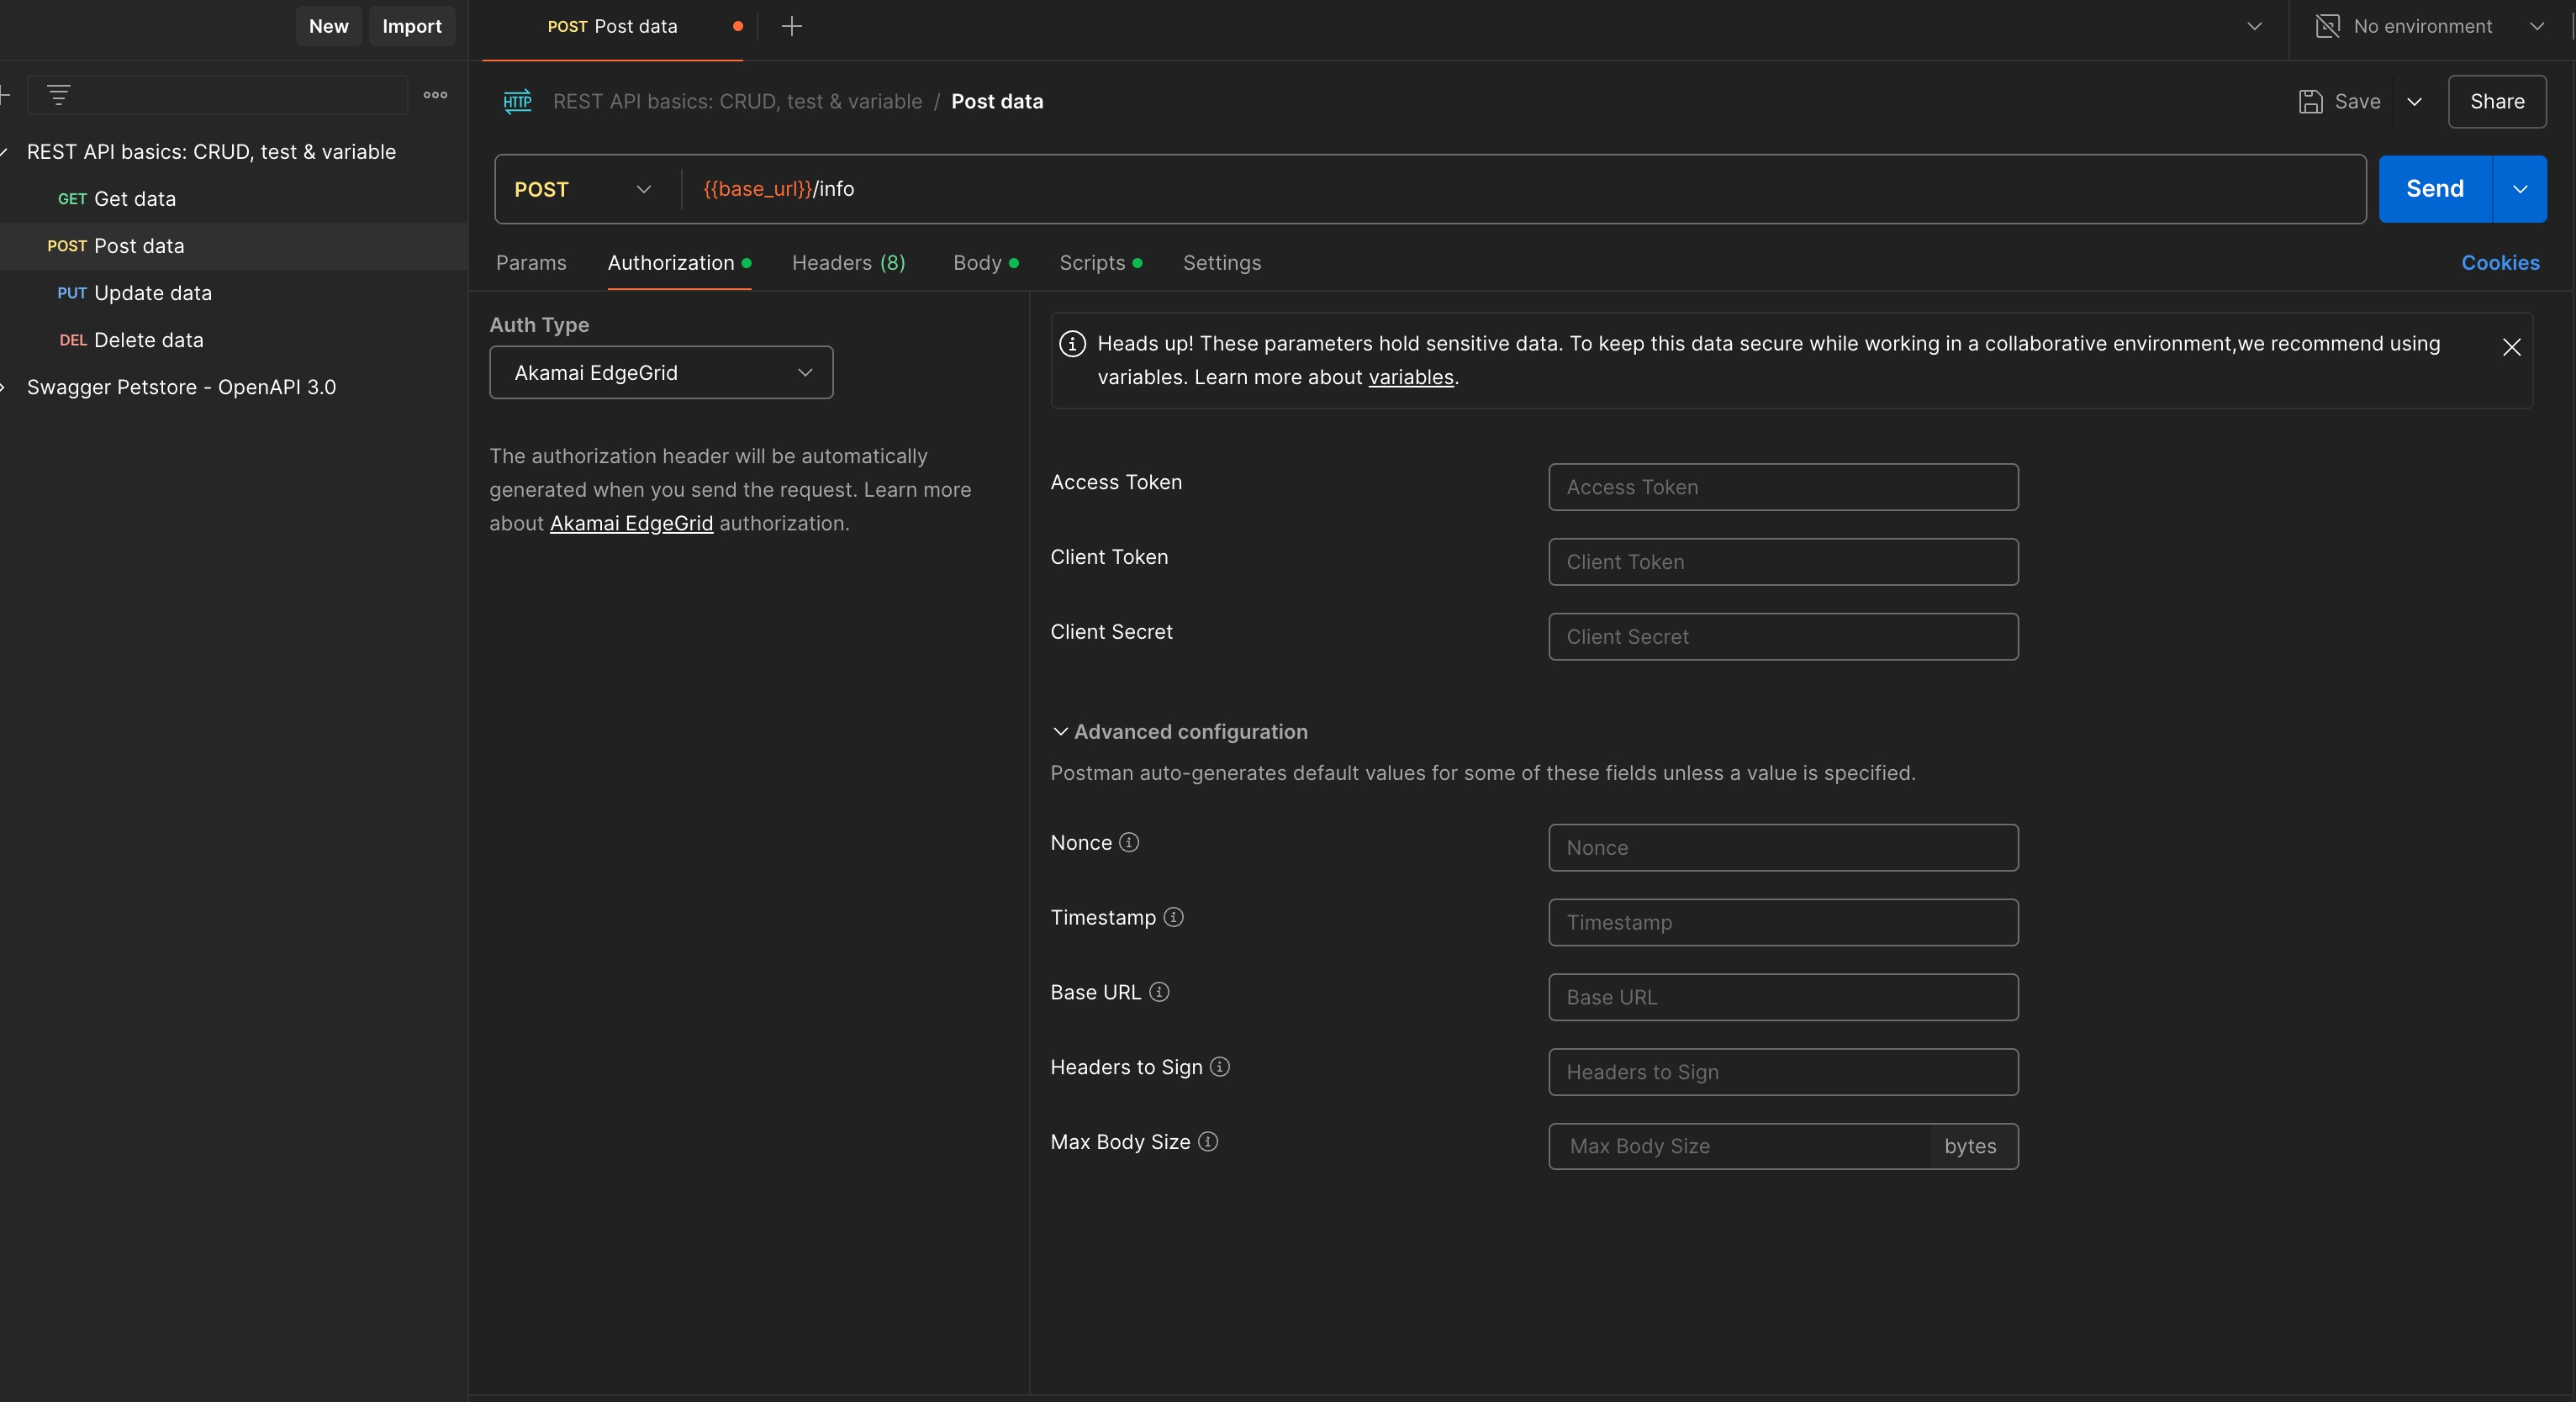
1. Environment Setup: Just like in EchoAPI, you’ll start by setting up environment variables in Postman. Go to the "Environment" section in Postman and create variables like API_ENDPOINT, CLIENT_TOKEN, and ACCESS_TOKEN. These variables can be referenced in your requests to keep things organized.
2. Craft Your Request: Choose your HTTP method (GET, POST, etc.). Enter your API endpoint URL, using the environment variable (e.g., {{API_ENDPOINT}}/your-resource). Add the Authorization header with the value Bearer {{YOUR_JWT_TOKEN}}.
3. Test and Inspect: Send the request and check the response. If the response code is 200, you’re good to go. If not, Postman’s detailed response view can help you troubleshoot what might be going wrong.
Testing with curl
For those who prefer command-line tools, curl is a great option for testing your Akamai EdgeGrid Auth implementation. Here’s how to use it:
1. Create the JWT: First, ensure you’ve generated your JWT (as shown in the implementation sections earlier).
2. Send the API Request: Use curl to send the request with the JWT in the Authorization header:
curl -X GET "https://your-api-endpoint/your-resource" \
-H "Authorization: Bearer YOUR_JWT_TOKEN" \
3.Check the Response: After running the command, curl will display the response directly in your terminal. A successful response (200 OK) indicates that your EdgeGrid Auth is working properly.
Conclusion
Akamai EdgeGrid Authentication is an essential component for securely interacting with Akamai’s REST APIs. By ensuring that each API request is properly authenticated and authorized, you can protect your applications from unauthorized access and ensure that your content is delivered quickly and securely to end users. Whether you’re working in Python, Java, or Go, Akamai provides the tools you need to implement this robust authentication method, helping you maintain a secure and reliable digital presence.


 EchoAPI for VS Code

 EchoAPI for IntelliJ IDEA

 EchoAPl-Interceptor

 EchoAPl CLI
 EchoAPI Client
 API Design
 API Debug
 API Documentation
 Mock Server


